Changing Hostname or Domain in LiquidFiles
This article outlines how to change Hostname or Domain in LiquidFiles.
License Considerations
Your LiquidFiles license is tied to your current hostname. The license requirement is that each LiquidFiles system requires its own license so you cannot have two systems https://lf1.company.com and https://lf2.company.com, or https://liquidfiles.domain1.com and https://liquidfiles.domain2.com using the same license.
But, the hostname or domain is not strictly locked to the license. If you change the hostname or domain, as long as your LiquidFiles system can conctact the LiquidFiles license server https://license.liquidfiles.com, it will automatically the license with the new domain.
Example Change Hostname/Update License
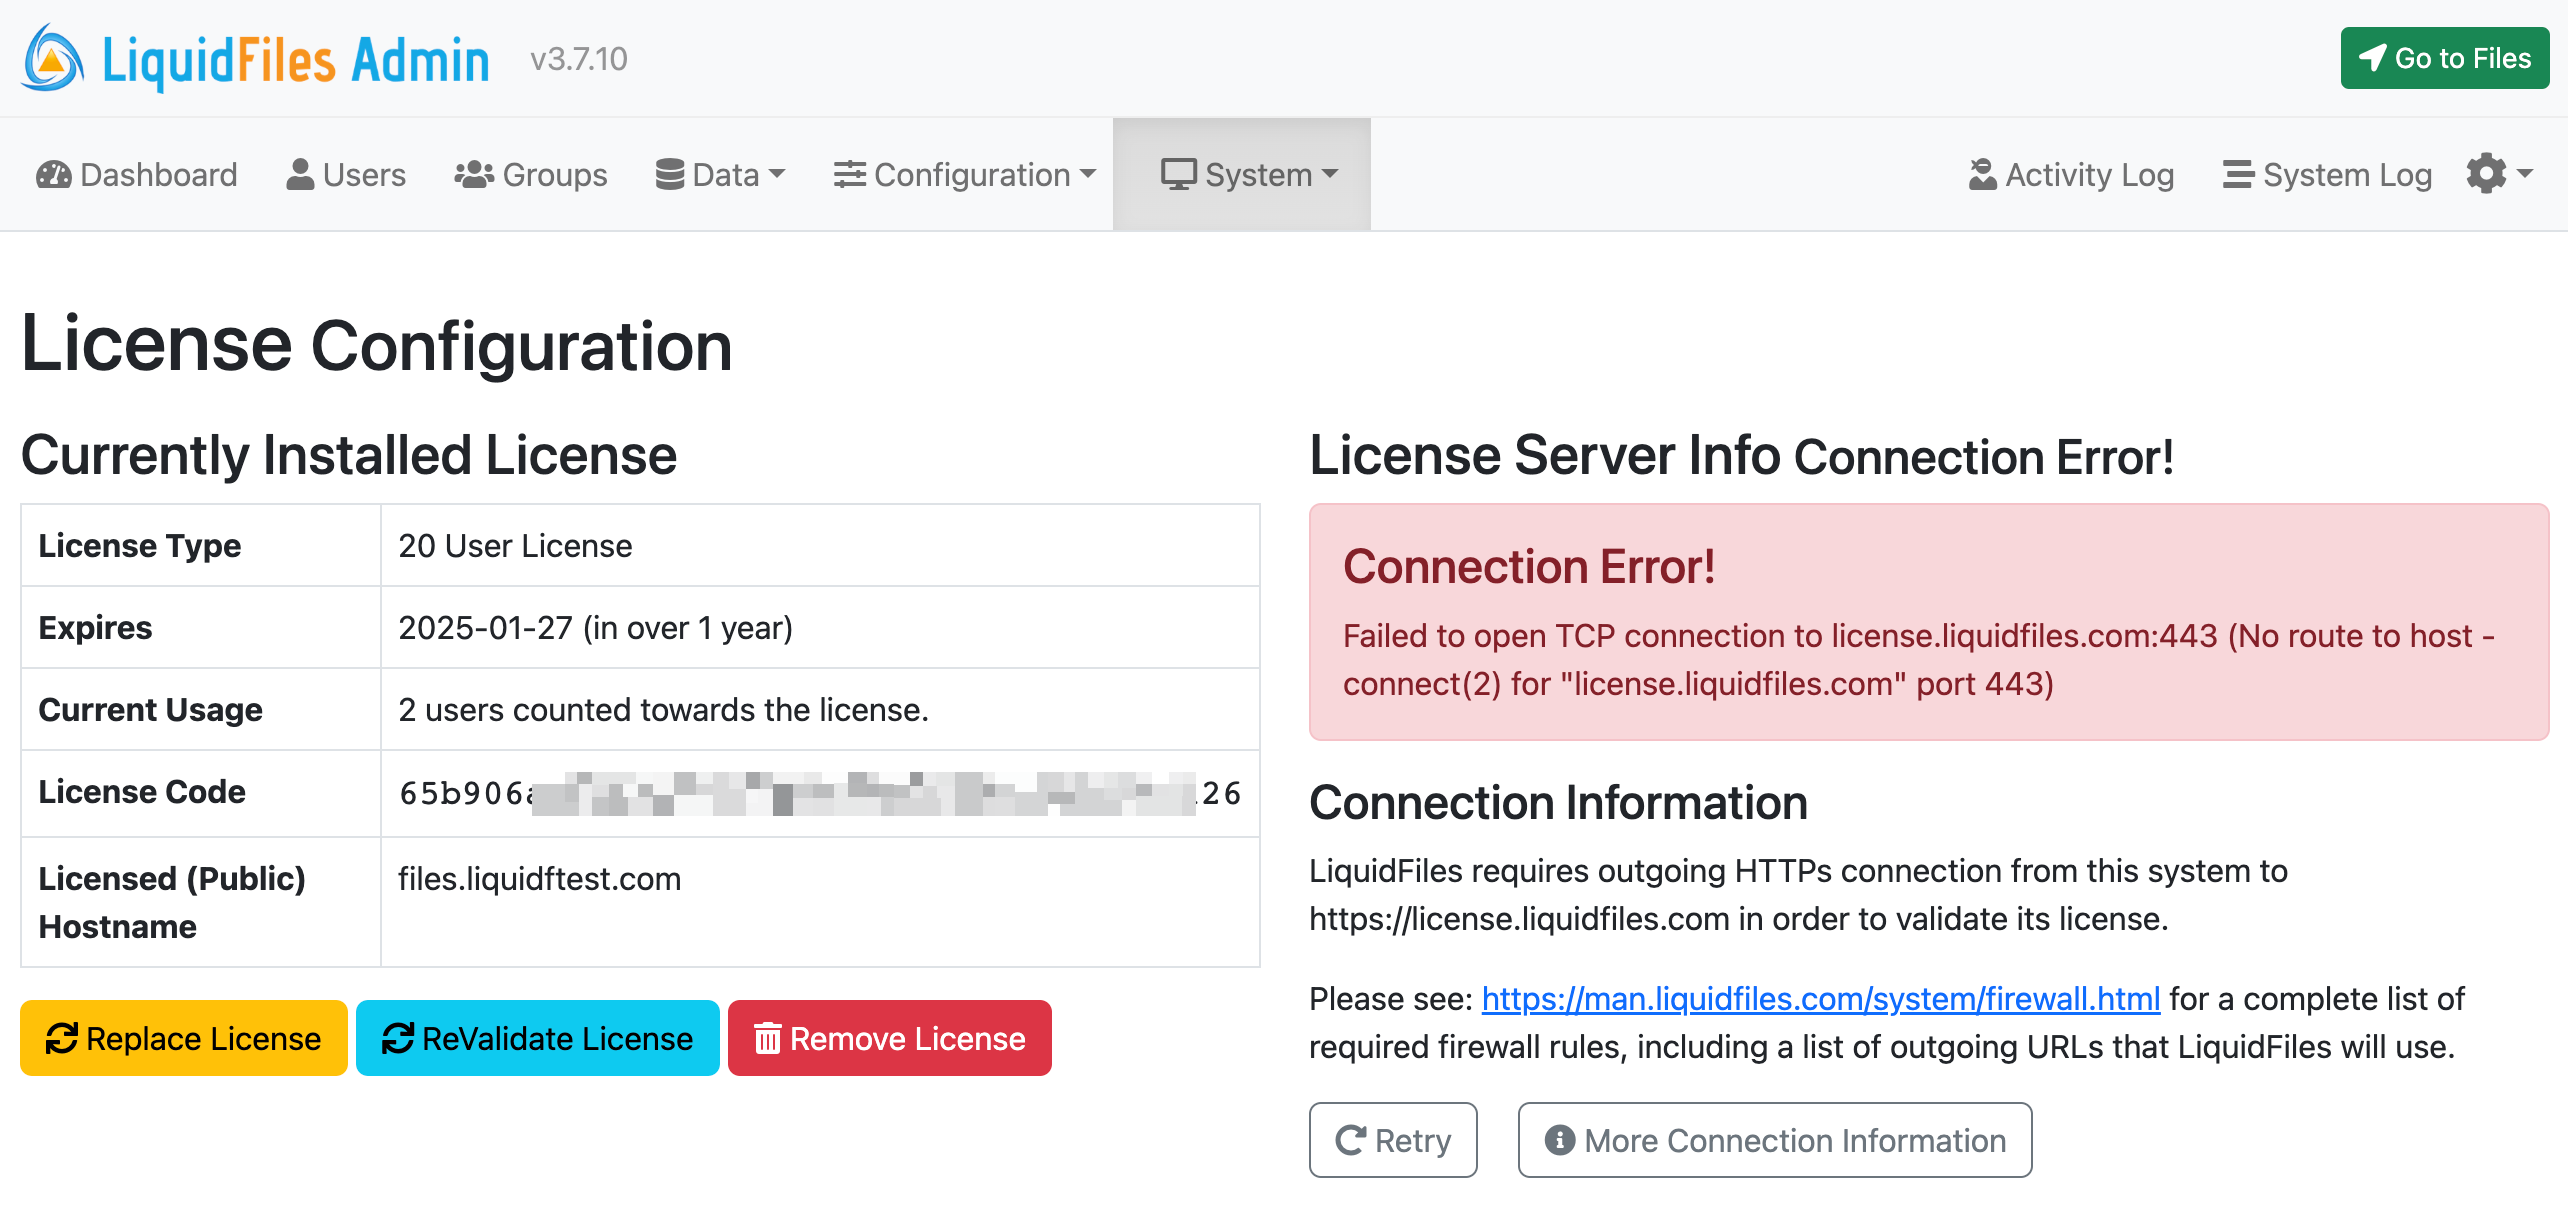
In the following example you'll see that changing the hostname will automatically update the license server with the new name. Also, from a LiquidFiles license perspective, it doesn't matter if you change hostname or domain.

If you see a Connection Error similar to the following screenshot, you will need to update your environment to permit connections to https://license.liquidfiles.com. Please see the Network and Firewall connections article for more information.
Redirect Considerations
A LiquidFiles URL has the format similar to https://liquidfiles.company.com/message/Vd7Uph26oQqplYbEZnoBPm. In this case https://liquidfiles.company.com/ is the Public Hostname and /message/Vd7Uph26oQqplYbEZnoBPm is the relative path. The Public Hostname doesn't matter when finding data on the LiquidFiles system so if you change the Public Hostname to something else, the path /message/Vd7Uph26oQqplYbEZnoBPm will still lead to the same message.
- Old Hostname: https://files.domain1.com/message/Vd7Uph26oQqplYbEZnoBPm
- New Hostname: https://files.domain2.com/message/Vd7Uph26oQqplYbEZnoBPm
Will both lead to the same message.
From a brief overview, it may seem that simply updating DNS to point both the new and old hostname to the same system, and have the system itself redirect (or use) both the new and old hostname would be the way to go. But this doesn't work. The reason this doesn't work is that you can only have one certificate installed on the LiquidFiles system, and HSTS will prevent your browser from connecting to the old hostname with an invalid certificate (the certificate for the new hostname).
Configuring Redirects
To configure redirects, you will either have to setup (or use) your own web server to perform the redirects, or use a URL redirection service. If you're most comfortable configuring IIS then a web search for IIS url redirect configuration should provide the information you will need.
The steps involved:
- Configure your redirect web server for your old hostname, https://liquidfiles.olddomain.com as an example.
- Ensure you install the current or a new SSL certificate for the old hostname liquidfiles.olddomain.com on your redirect web server.
- Configure redirect rules using permanent redirects (301) from https://liquidfiles.olddomain.com/* to https://liquidfiles.newdomain.com/* (* symbolizes any path).
- In your DNS server or service, add a new A record for your new hostname or domain, https://liquidfiles.newdomain.com as an example.
- Update the Public Hostname on your LiquidFiles system to your new hostname or domain.
- Install a certificate for your new Public Hostname, liquidfiles.newdomain.com.
- Change the A record for liquidfiles.olddomain.com to the redirect web server.