SSO SAML2.0 on W2012 R2 server and LiquidFiles
Liquidfiles SSO can be configured to work with Active Directory and AD FS server. LiquidFiles will work as a Service Provider (SP) and AD FS server will represent Identity Provider (IdP). In this how-to AD FS will be served by W2012 R2 server standard edition.
Prerequisites:
- W2012 R2 standard
- Active directory domain service
- DNS
- Certificate (or self signed certificate, which is used in this demo)
- AD FS - Active Directory Federation Service implemented in the W2012 server
- Optionally IIS* (I used IIS manager > your server > Server certificates tool to generate self signed certificate for this how-to. When you have a signed certificate by some CA you don’t need IIS and its tools)
- Check your time and timeservers on your LF appliance and Windows server
NOTE to AD FS versions
Windows W2008 server supports AD FS 2.0. W2012 server supports AD FS 2.1. W2012R2 supports AD FS 3.0. The implemented SAML version remains same on v2.0 for this mentioned windows servers.
From LiquidFiles perspective the configuration of SSO works same for all AD FS ver>=2.0 and principle of configurations SAML2.0/SSO are quite similar on this Windows server releases.
*) In W2012R2 you do not need IIS with AD FS 3.0 everything is now stored in the file http.sys which is based on the configuration/technology from TMG
1. W2012 R2 server preparation for SSO
At this point I expect you have set up Active directory domain, DNS and optionally IIS* services are running. A certificate (or self signed certificate) should be installed as well.
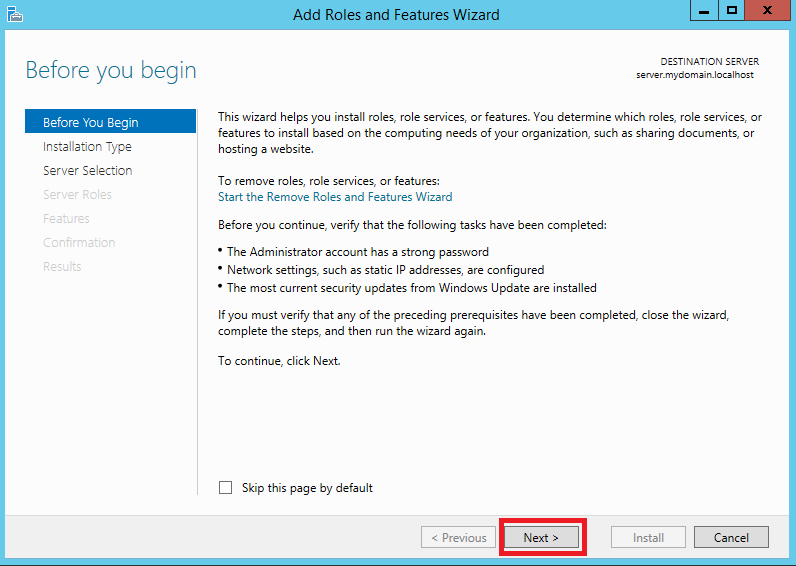
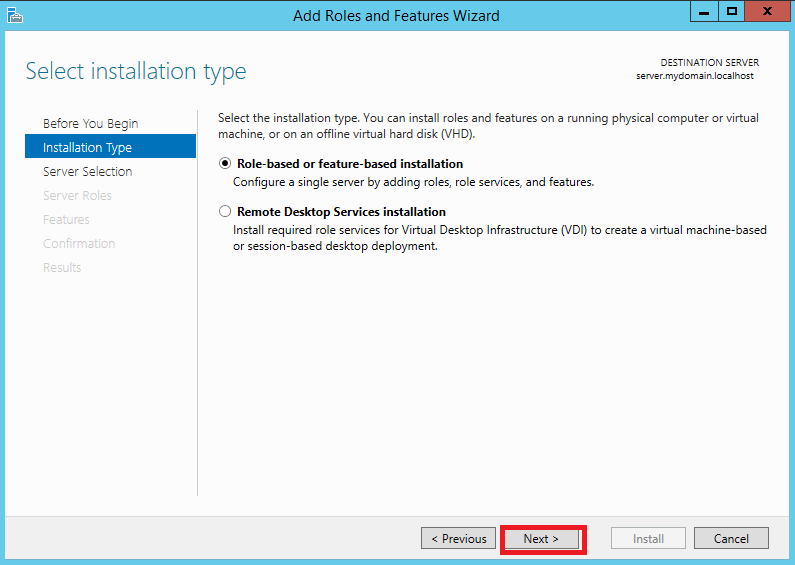
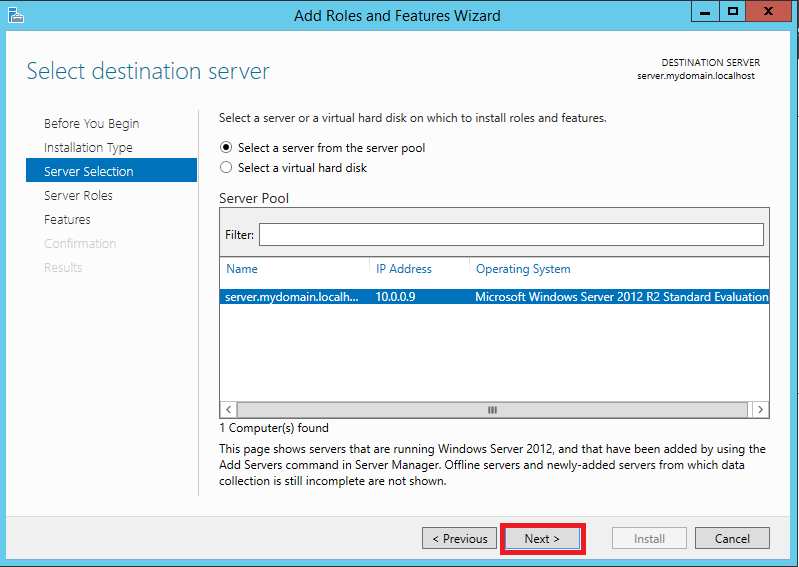
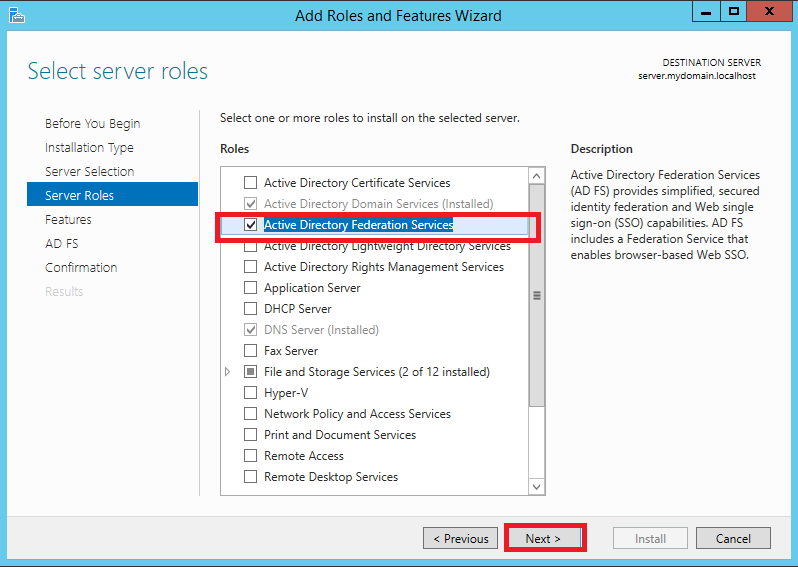
1.1 Installation of AD FS instance
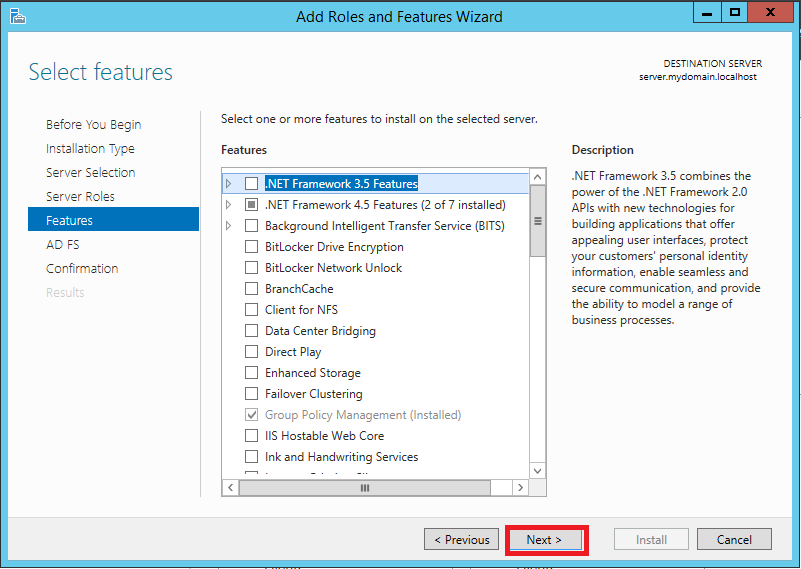
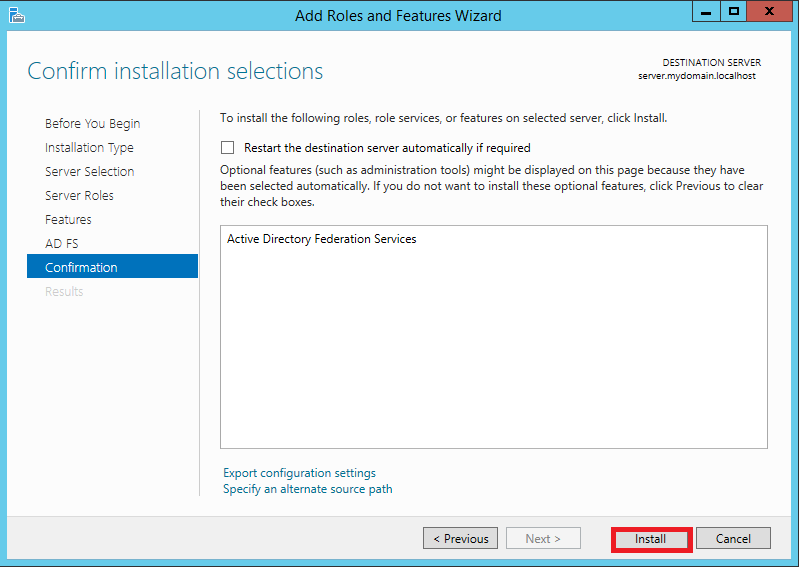
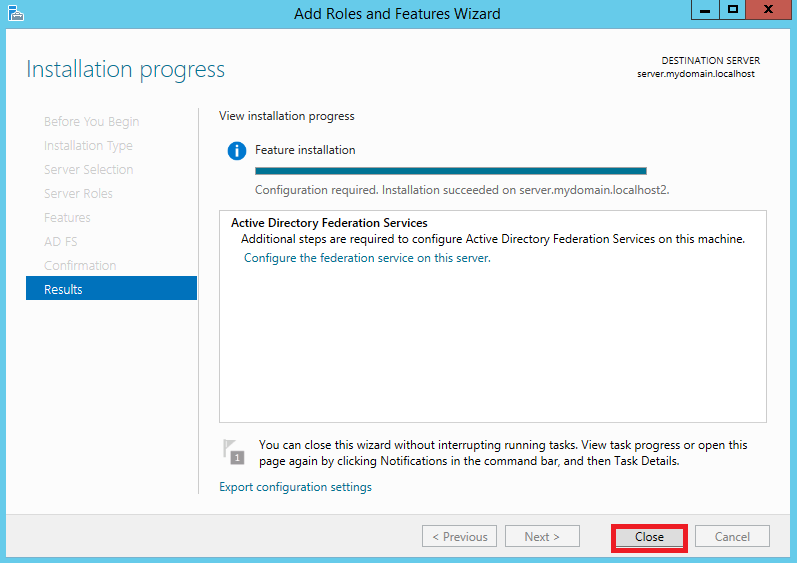
At first install AD FS instance on your server. Click Server Manager > Dashboard > Add roles and features Follow pictures from Pic. 1 to Pic. 9


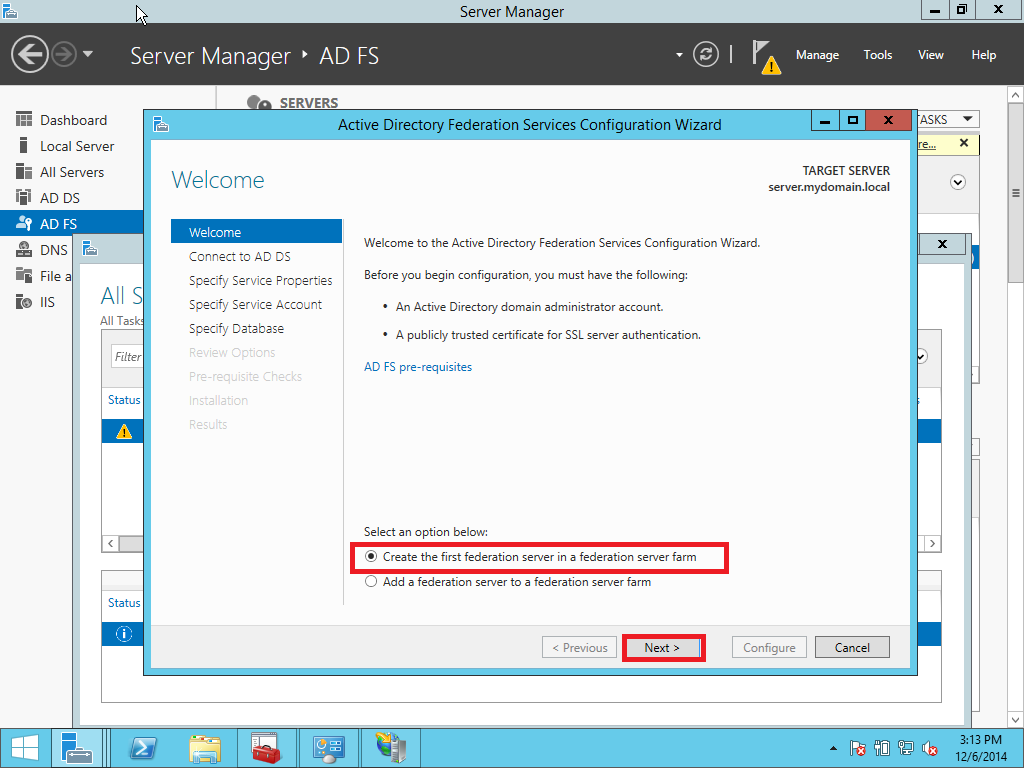
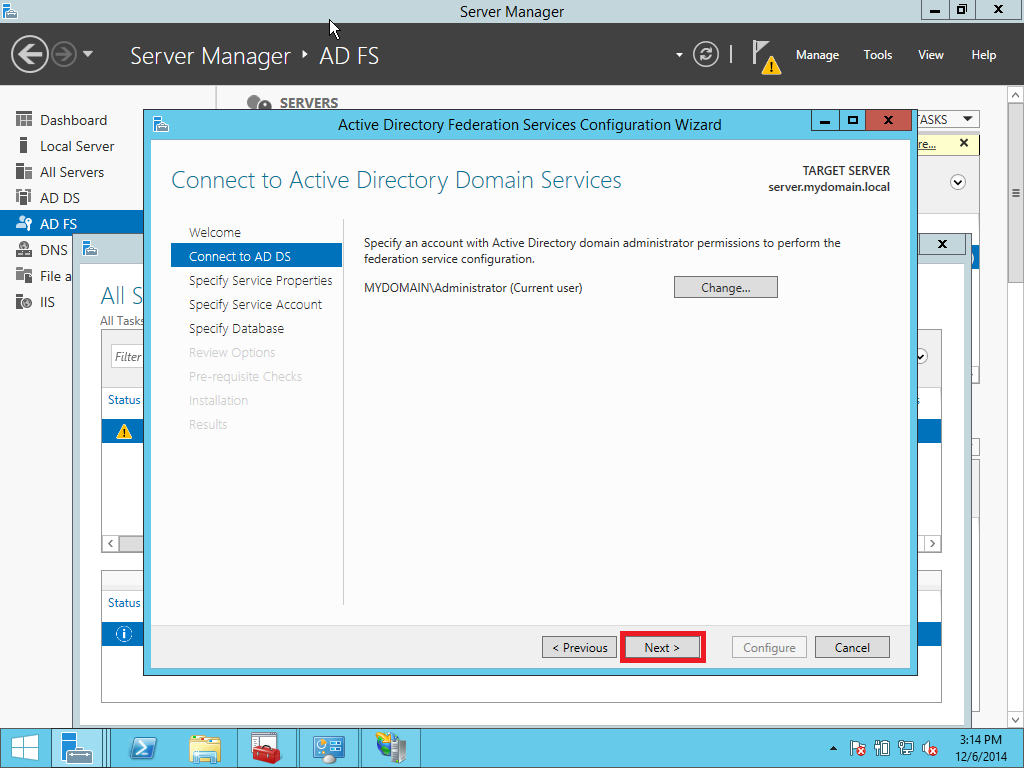
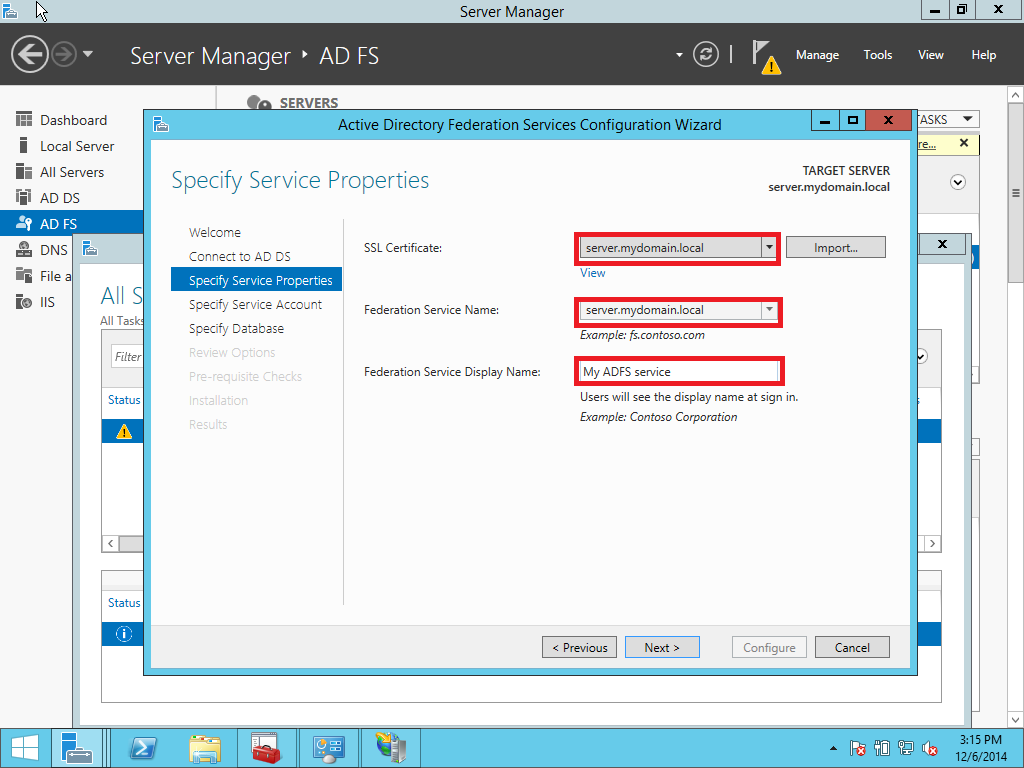
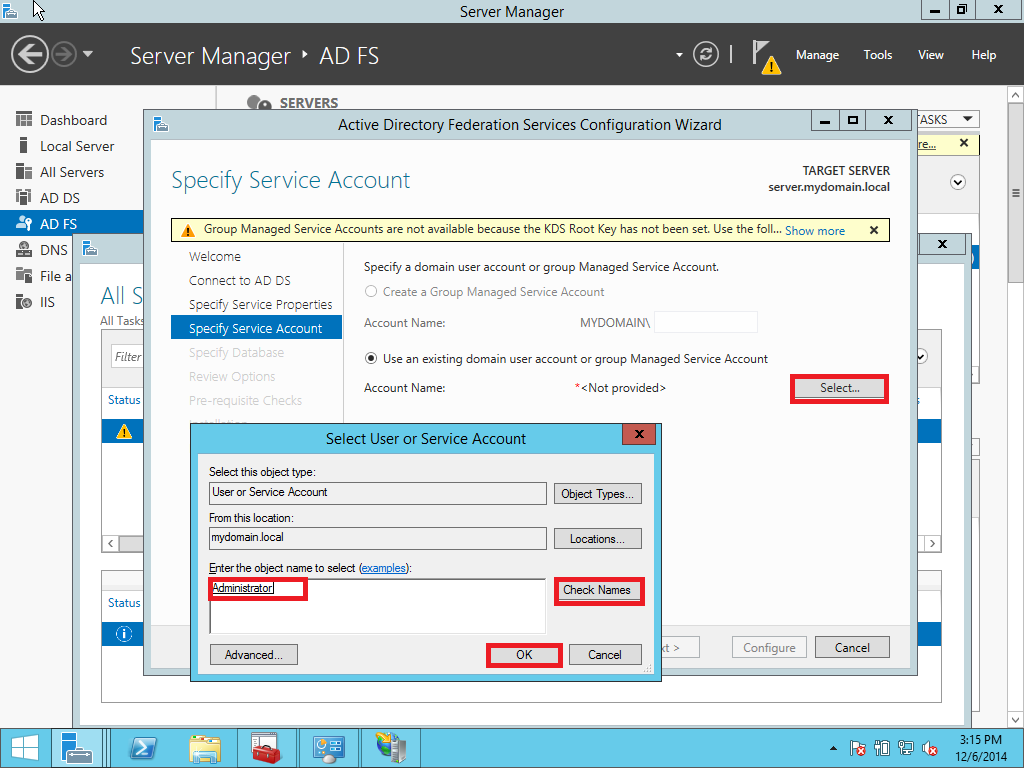
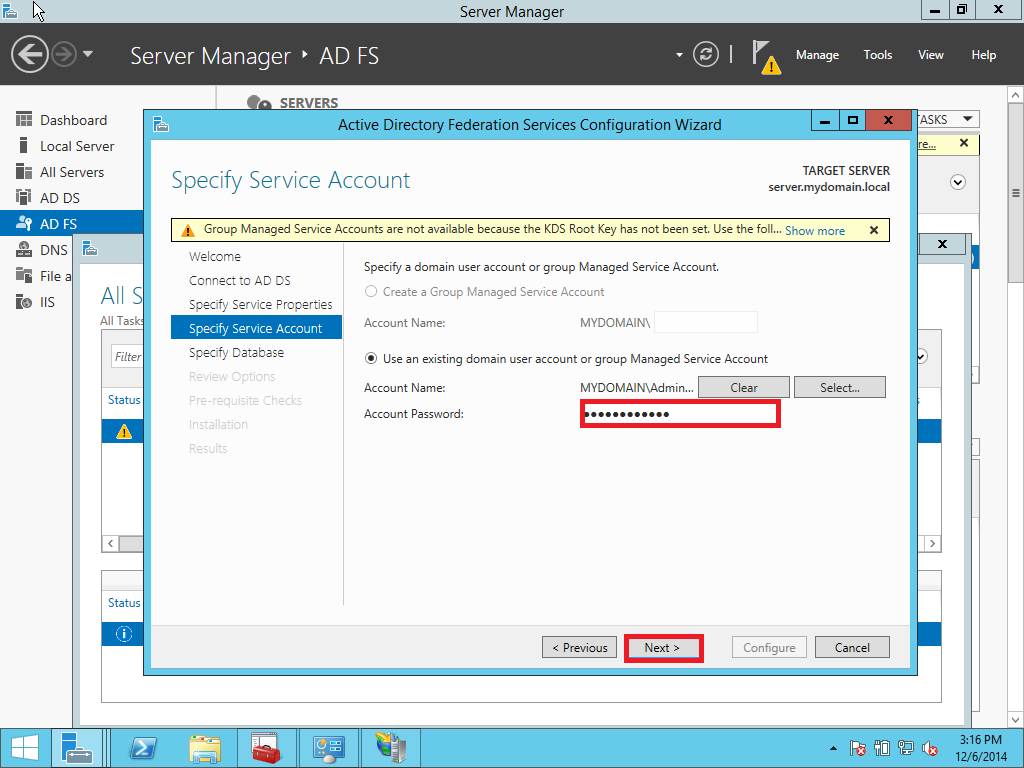
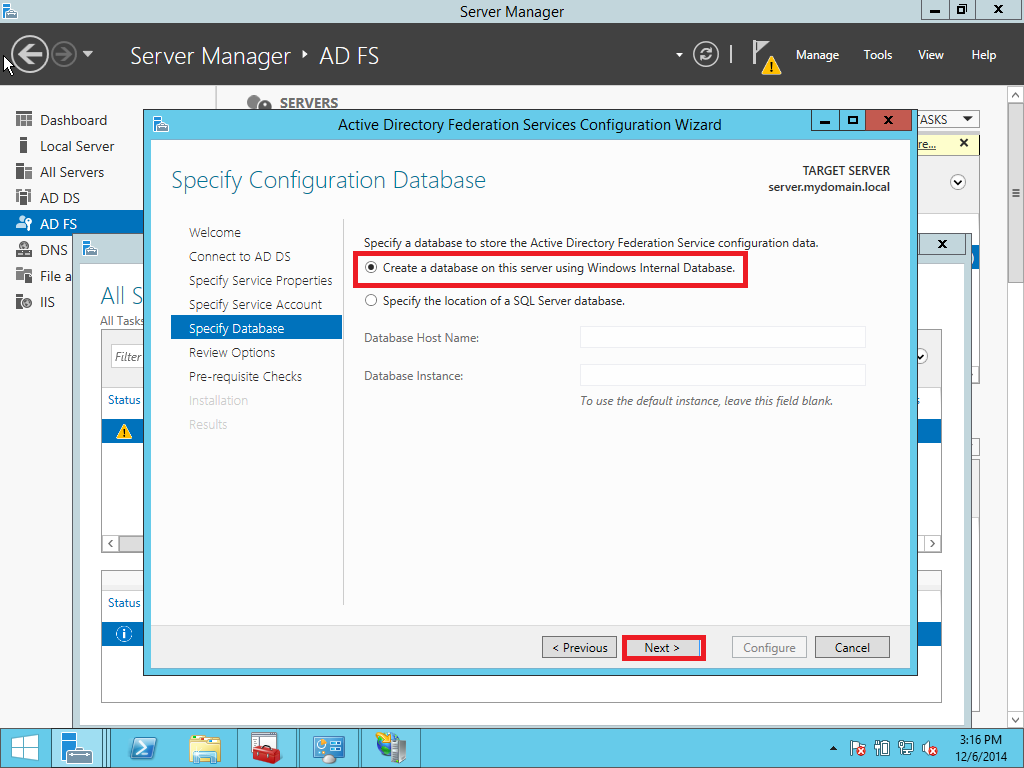
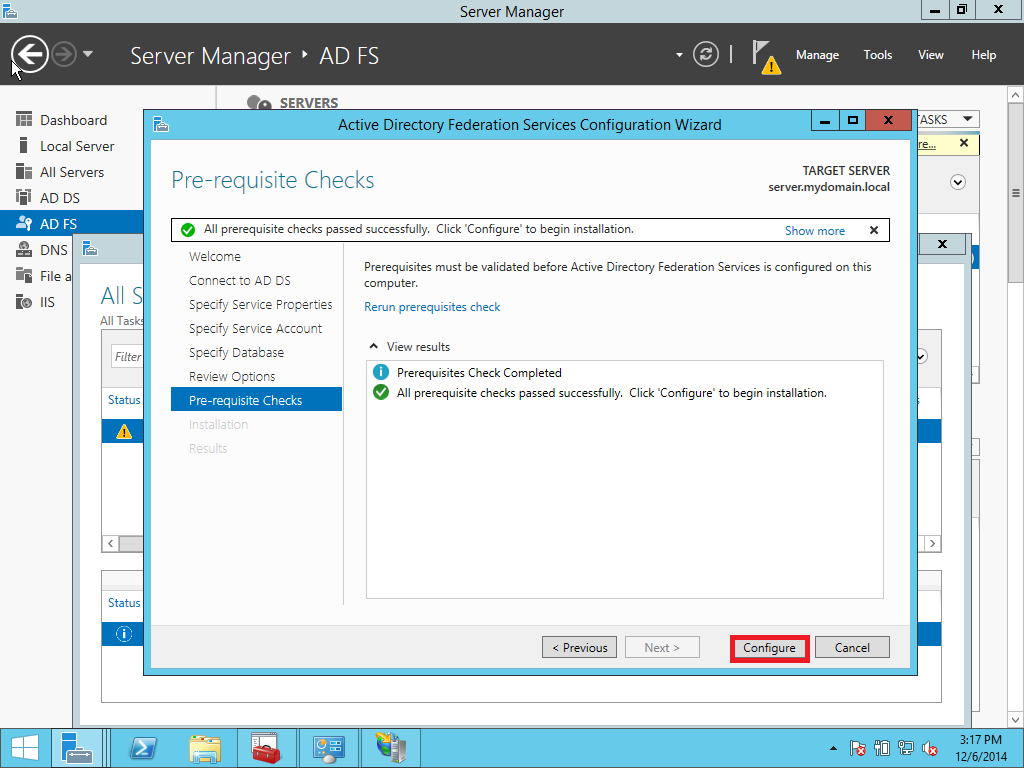
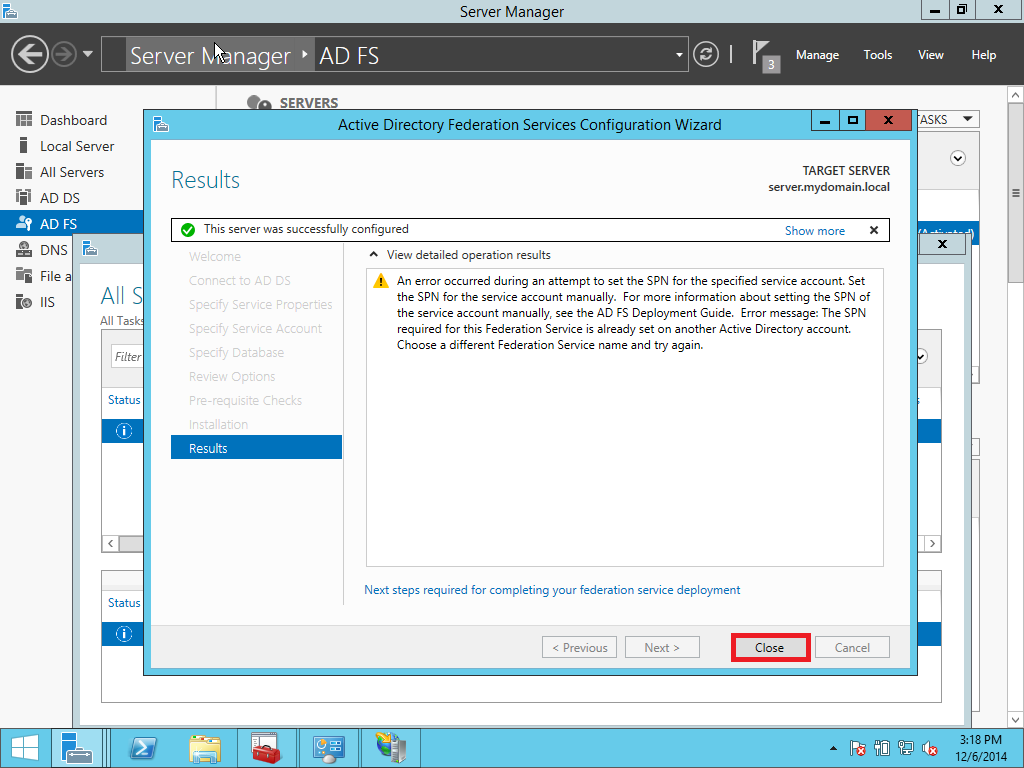
1.2 Configuration of AD FS
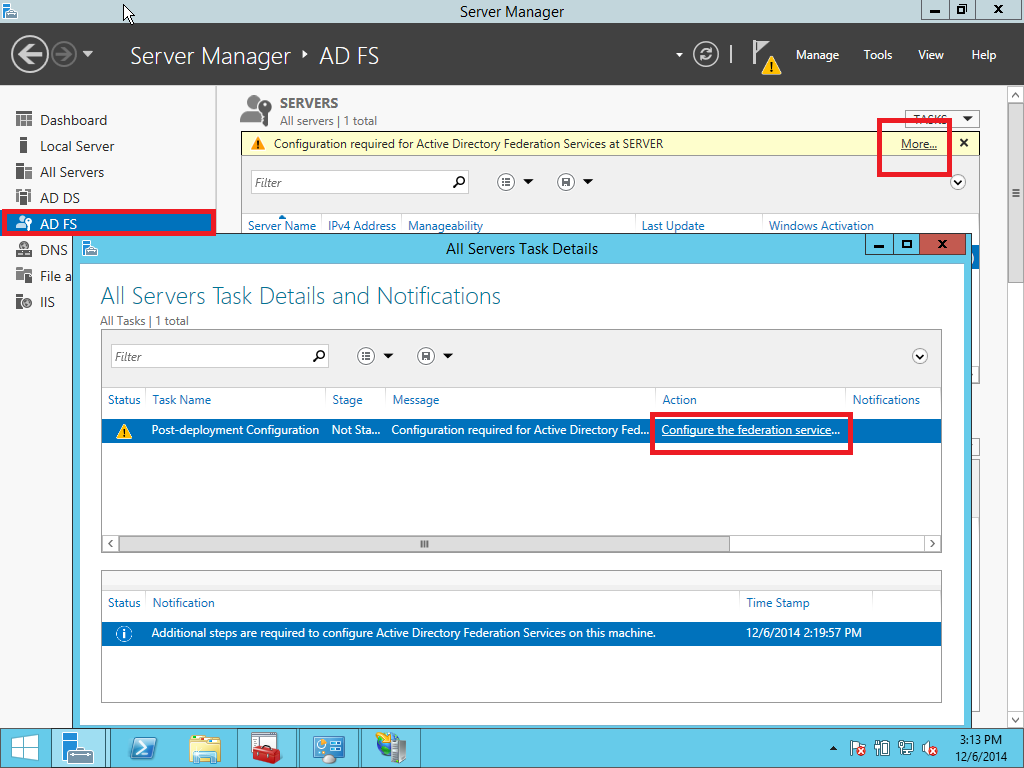
In this part we provide a configuration of AD FS/SSO service as an IdP for SP which is a Liquidfiles appliance. Open Server Management and click AD FS > More > Configure the federation service as showed on Pic. 10.

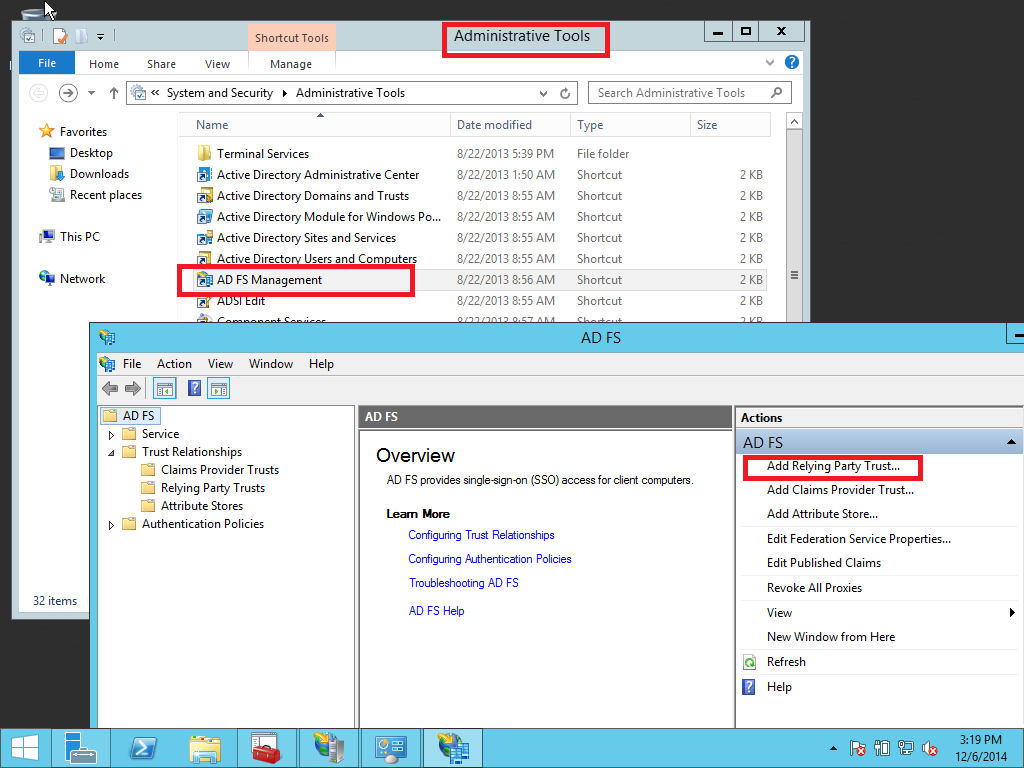
1.3. Adding a Relay Party Trust
At this point you should be ready to set up the AD FS connection with your Liquidfiles appliance. The connection between ADFS and Liquidfiles is defined using a Relying Party Trust (RPT).
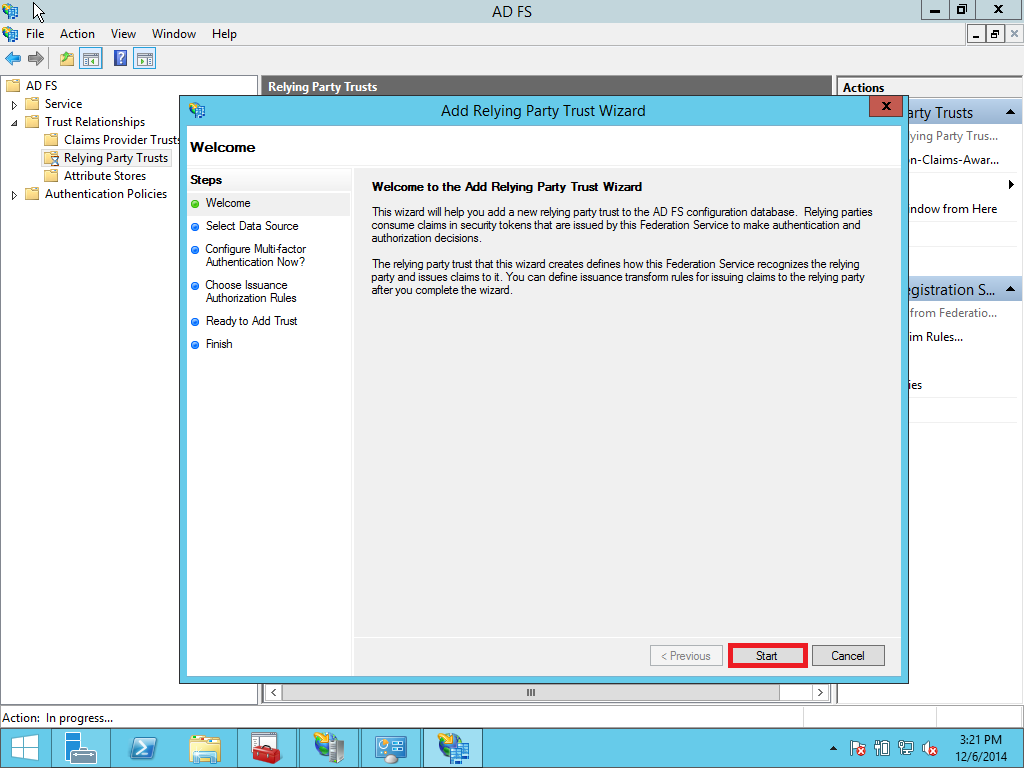
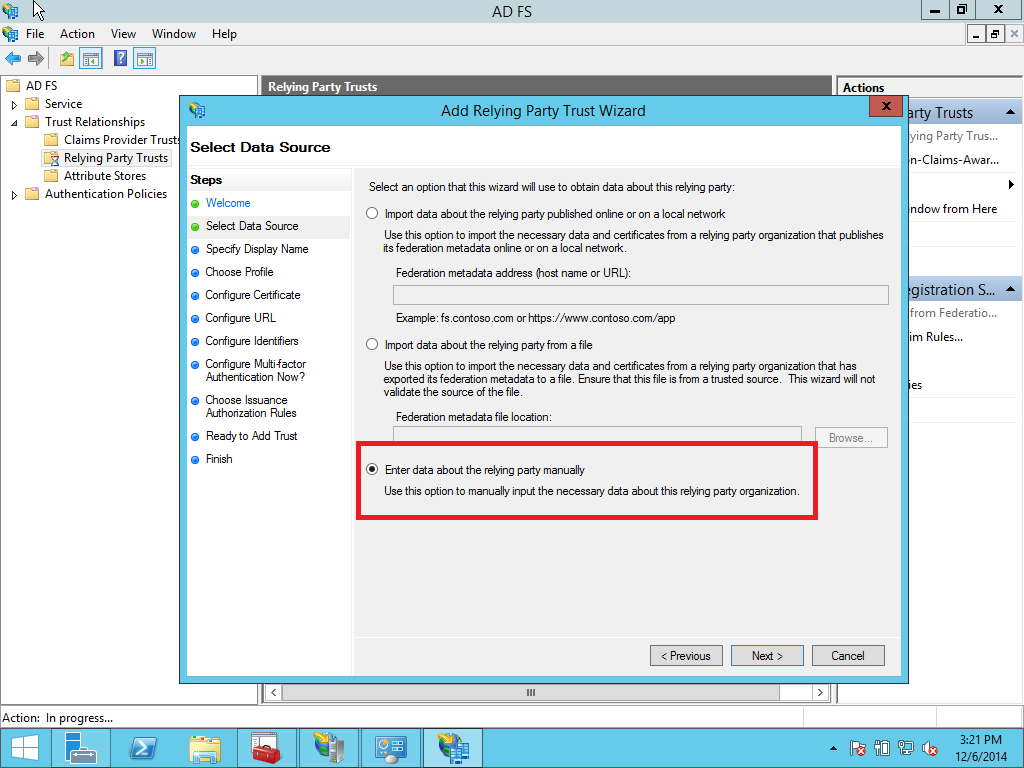
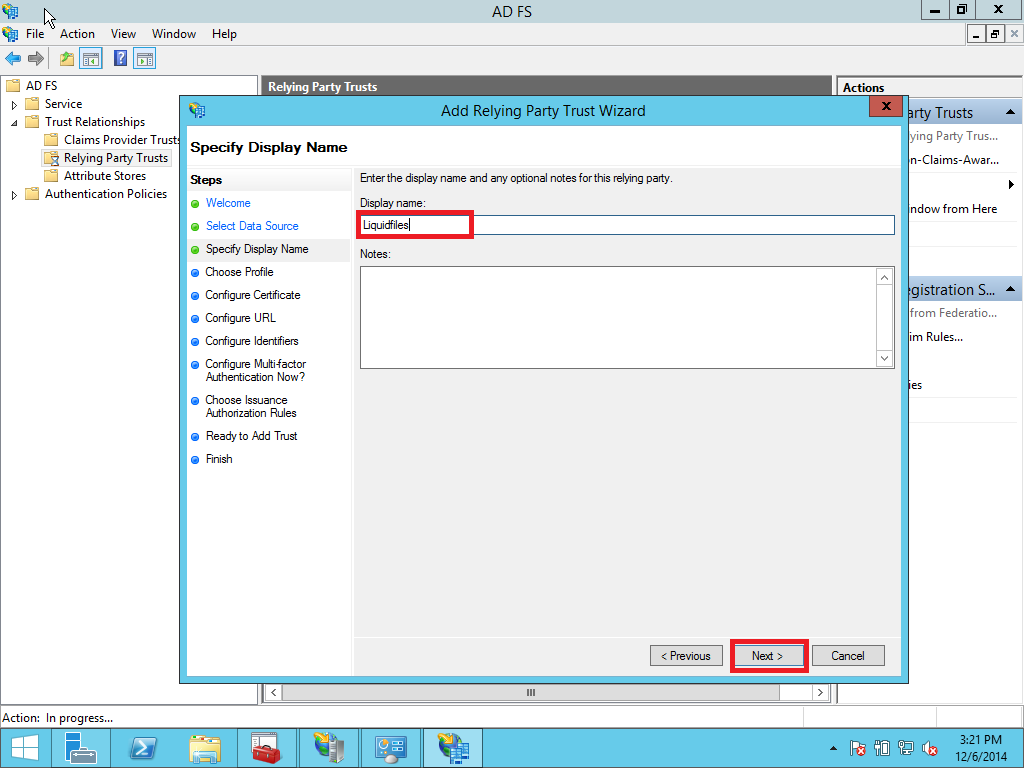
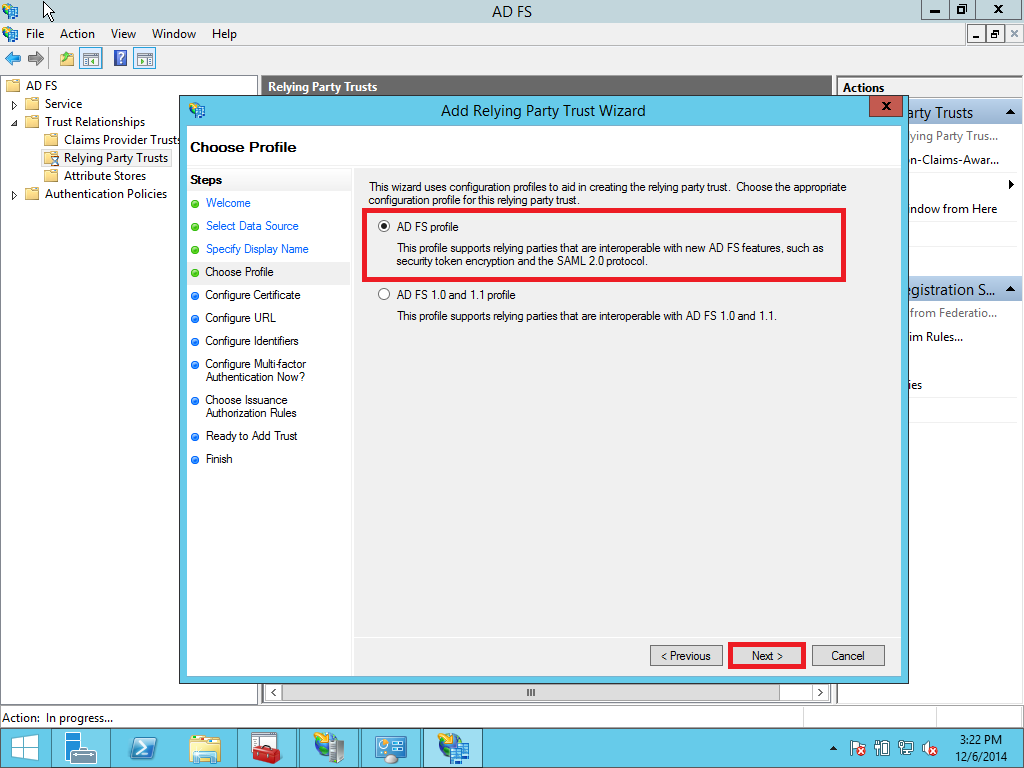
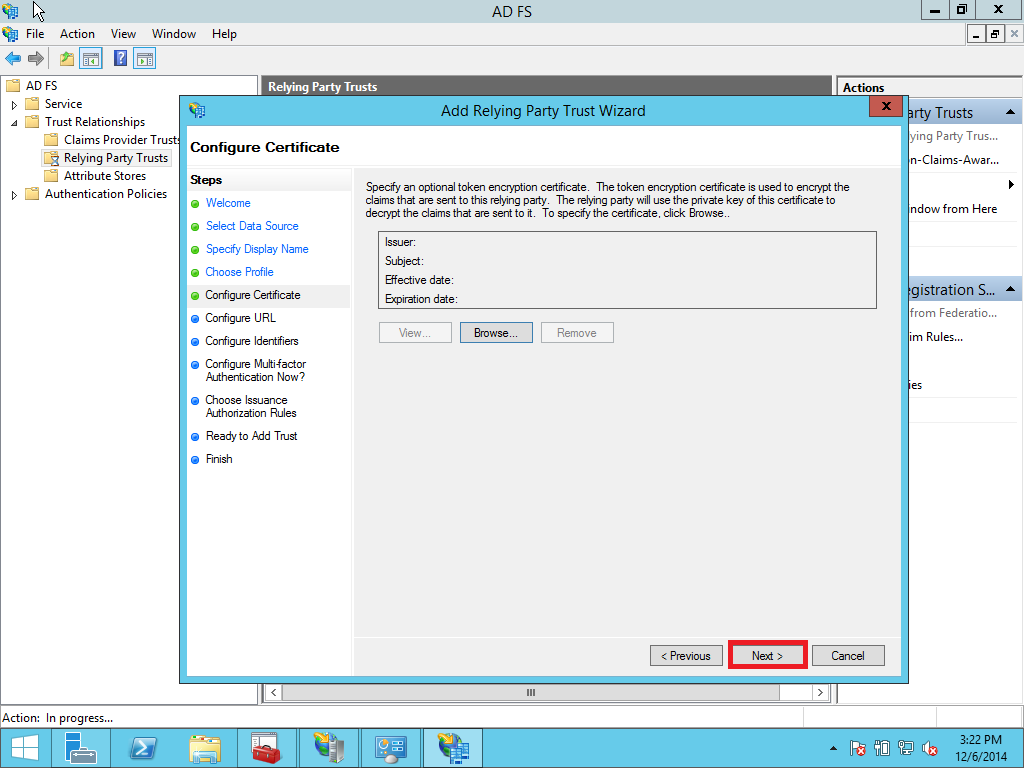
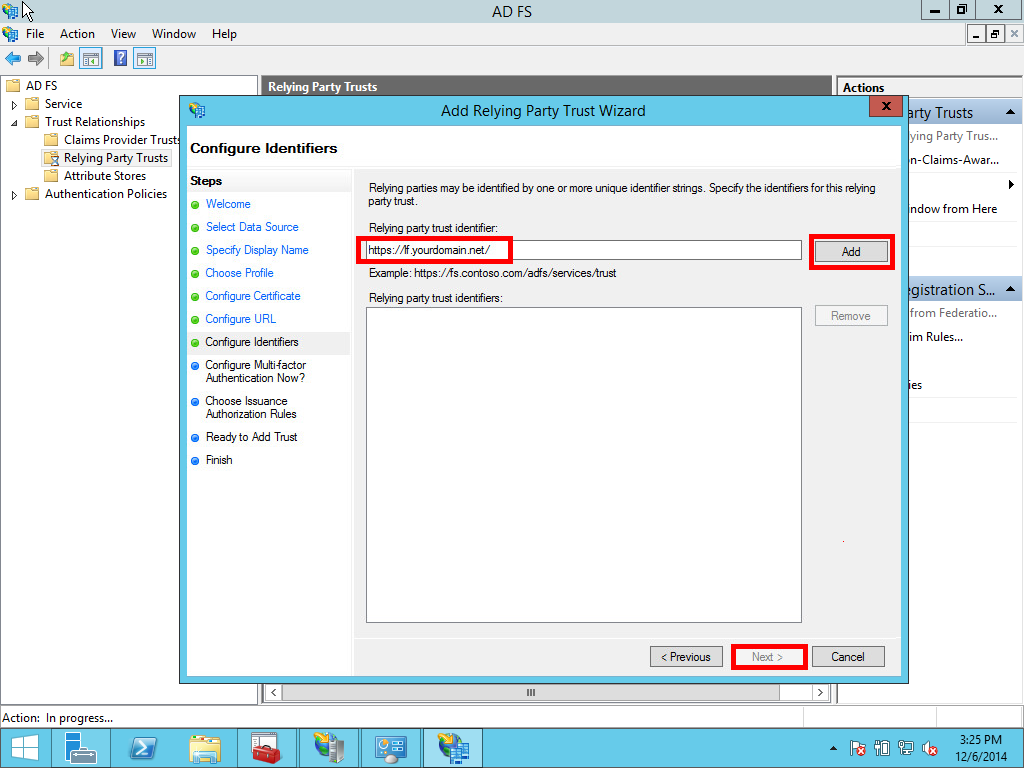
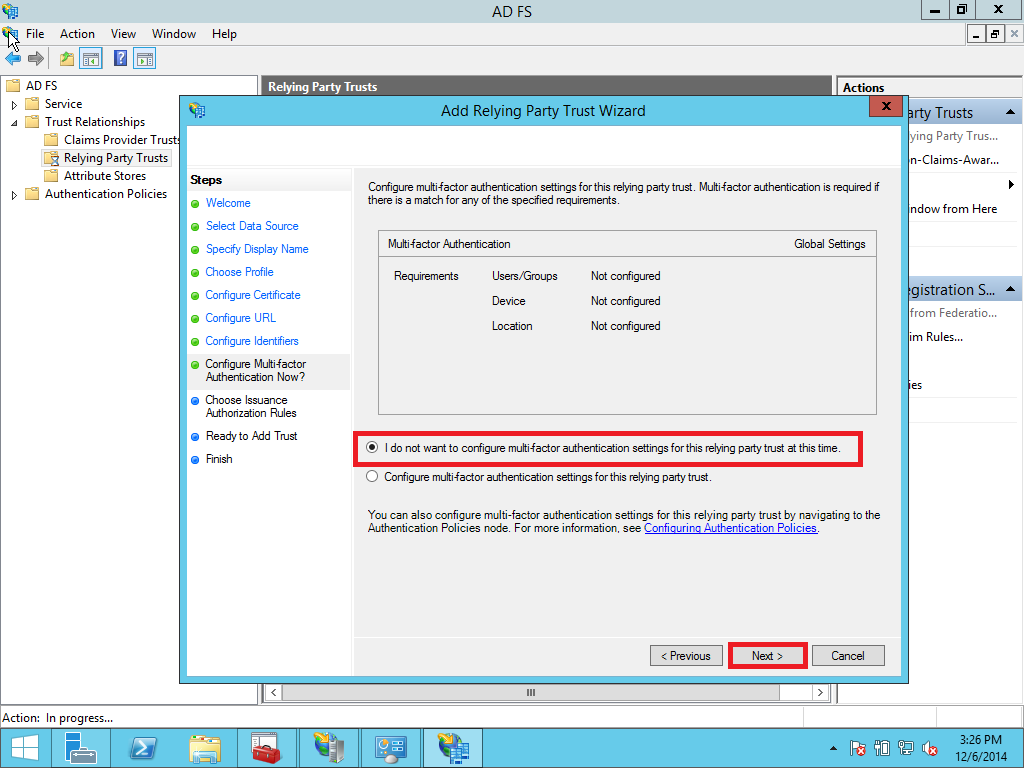
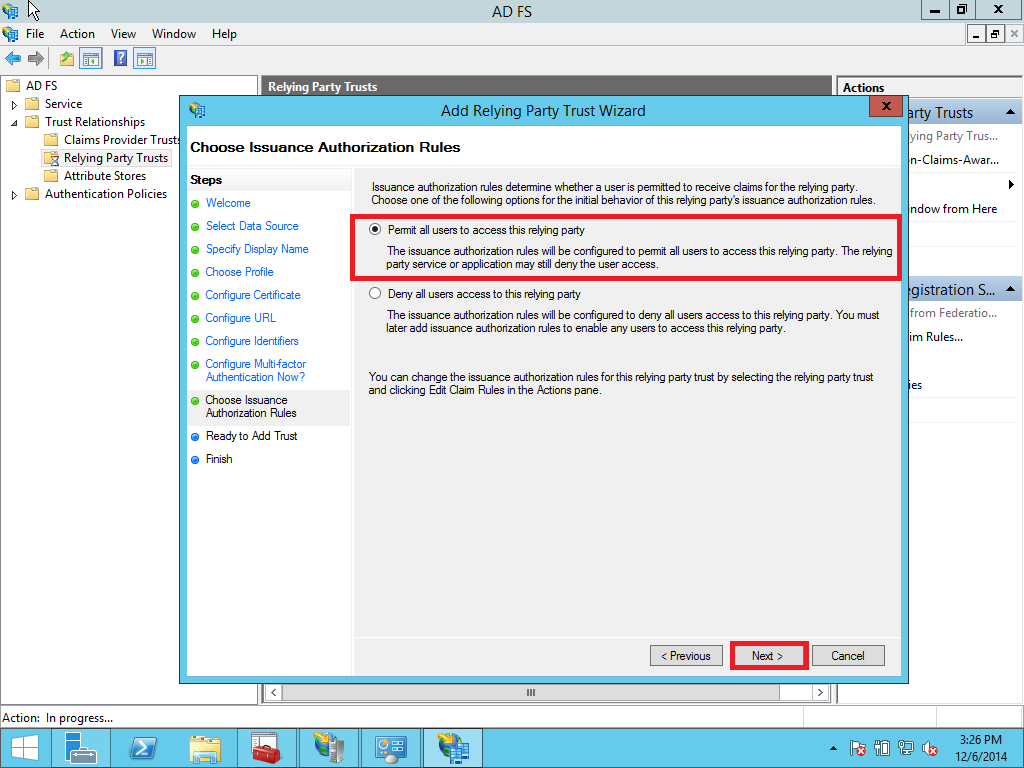
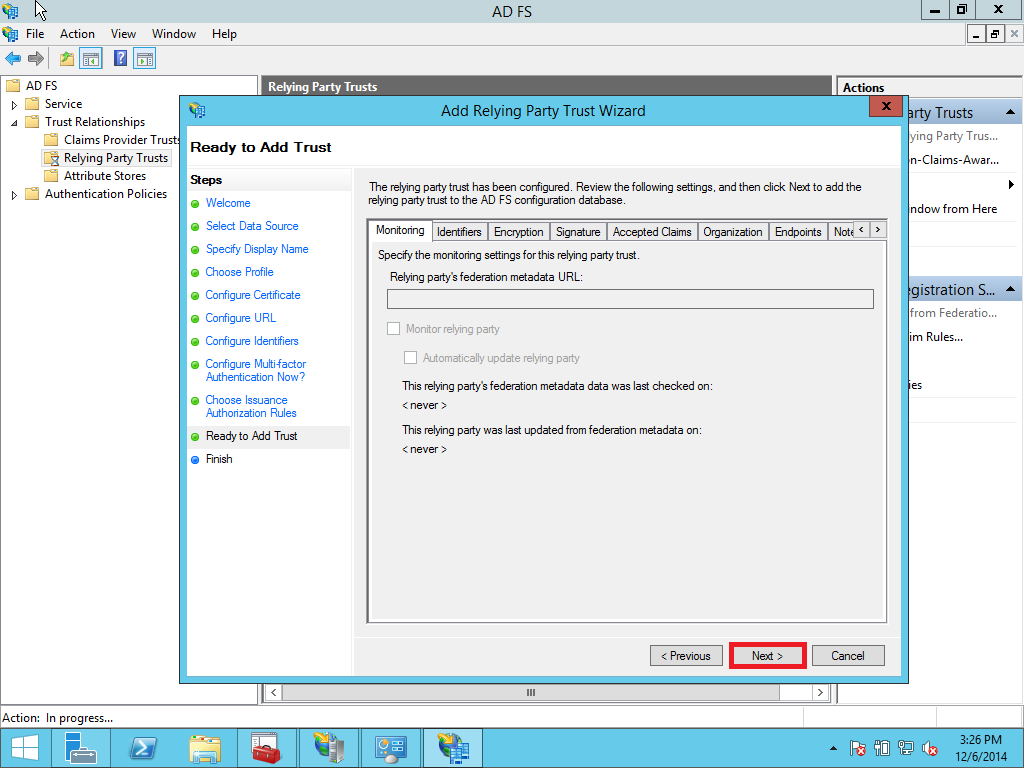
Select the Relying Party Trusts folder from AD FS Management and add a new Standard Relying Party Trust from the Actions sidebar. This starts the configuration wizard for a new trust. See Pic. 20

1.4 Creating claim rules
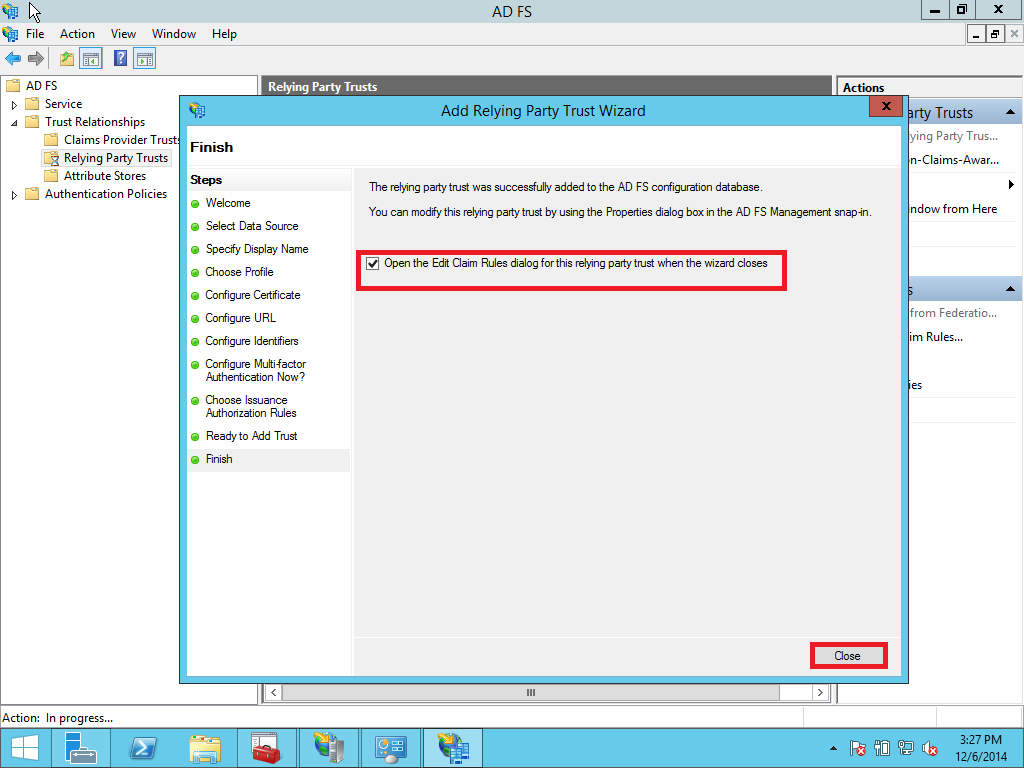
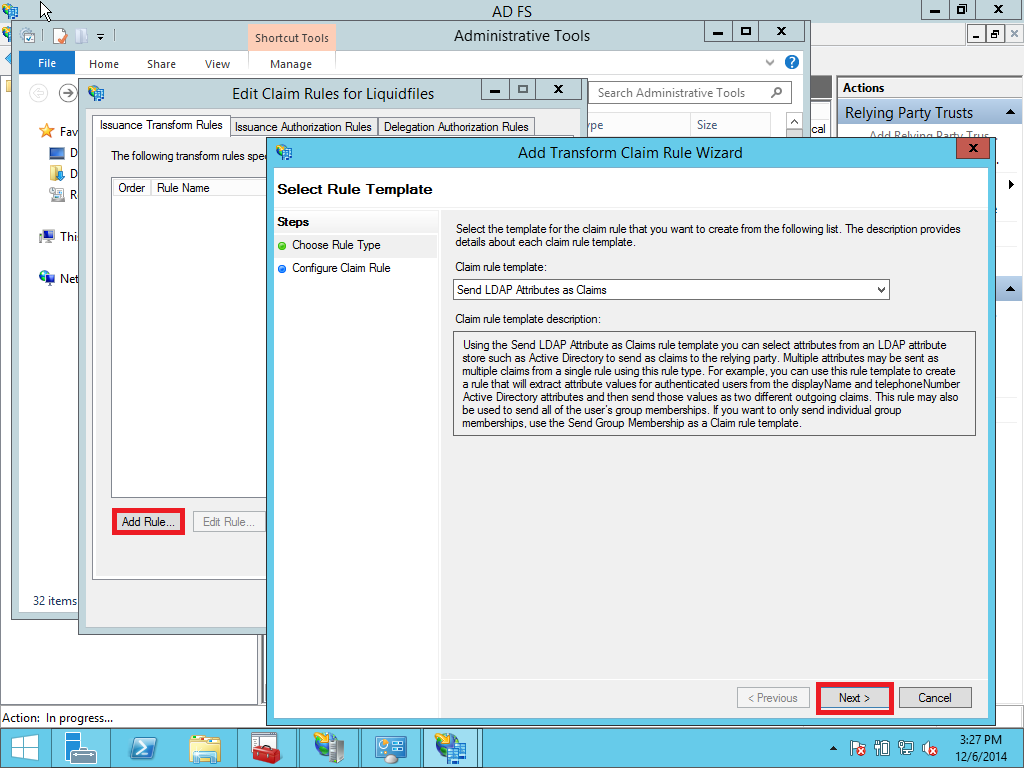
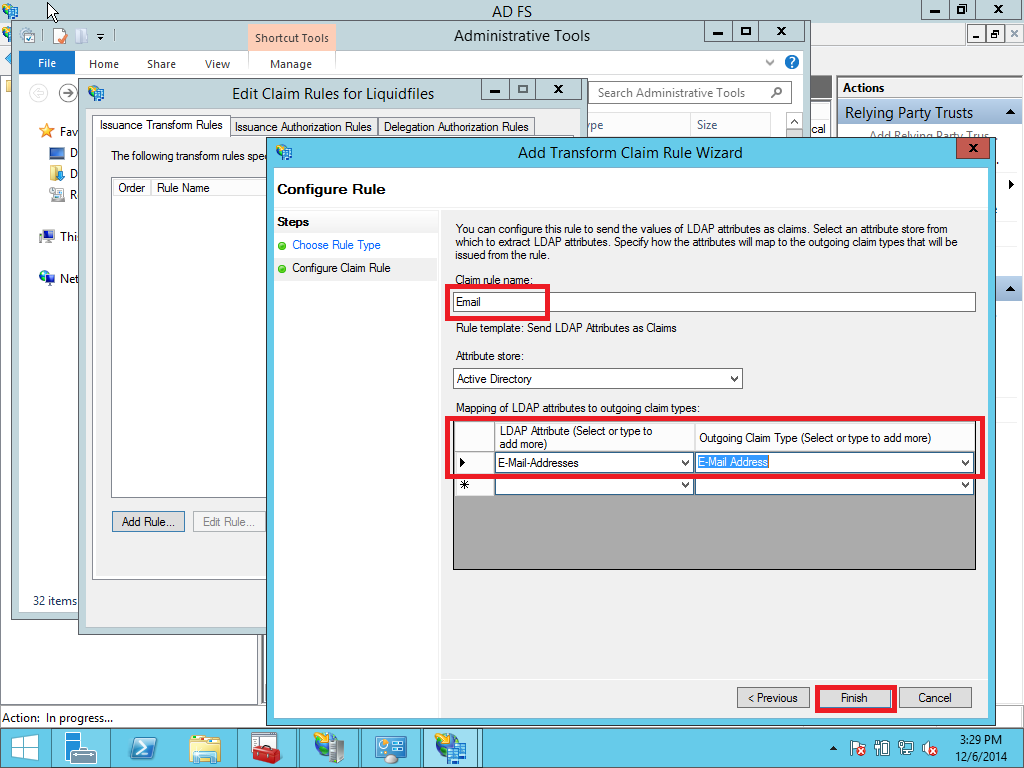
After adding the relying party trust, the wizard will ask you to configure the claim rules. You can also reconfigure later by doing right click on the relying party section and selecting the menu Edit Claim Rules. Click Add Rules and select Send LDAP Attribute as Claims and select Active Directory as Attribute store. Configure E-Mail-Addresses to map to Outgoing claim type E-Mail Address. (follow Pictures Pic. 32 – 33)
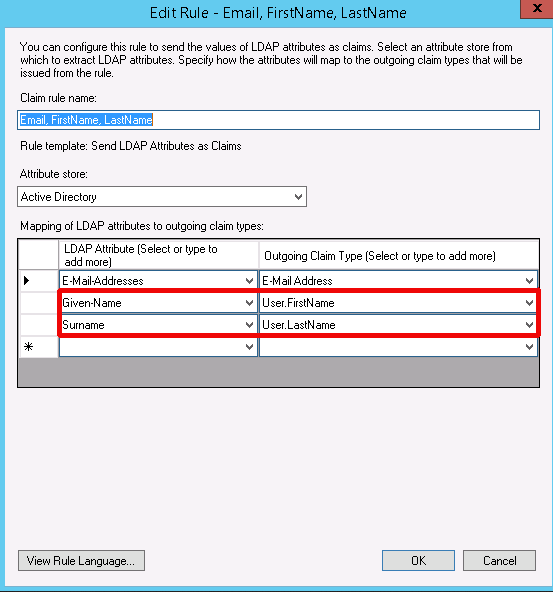
Optionally you can pass Given-Name and Surname from AD to LiquidFiles appliance. When users are logged in first time their accounts are created with this credentials as well. LiquidFiles is expecting Given-Name and Surname parameters in the mappings as User.FirstName and User.LastName.
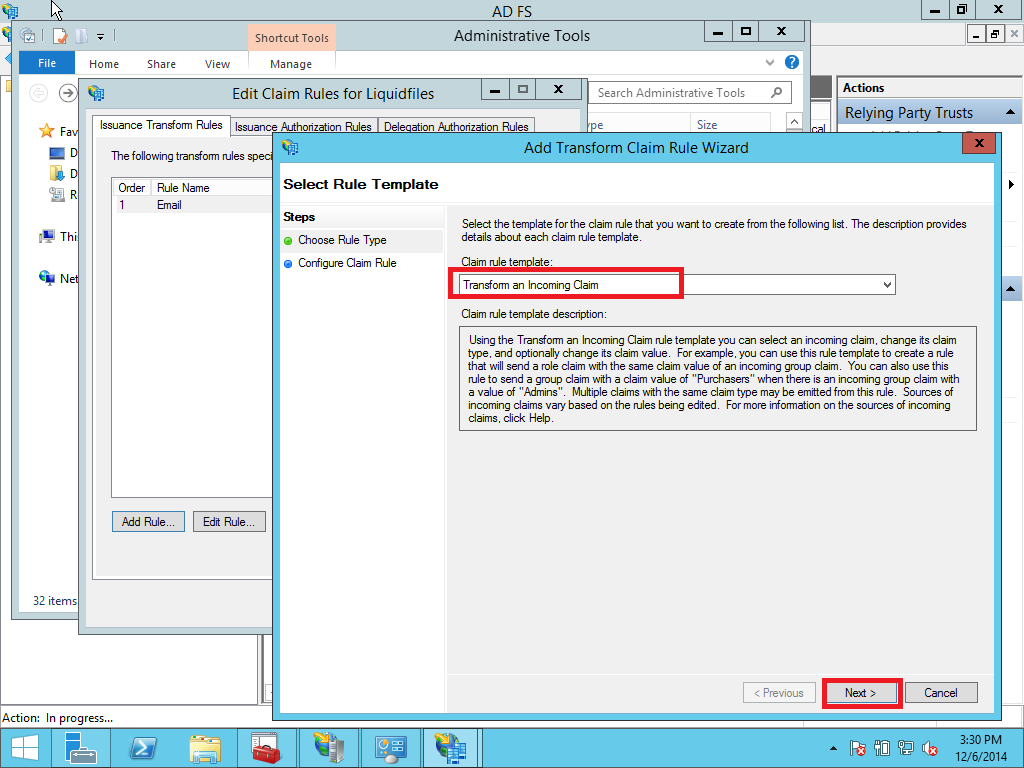
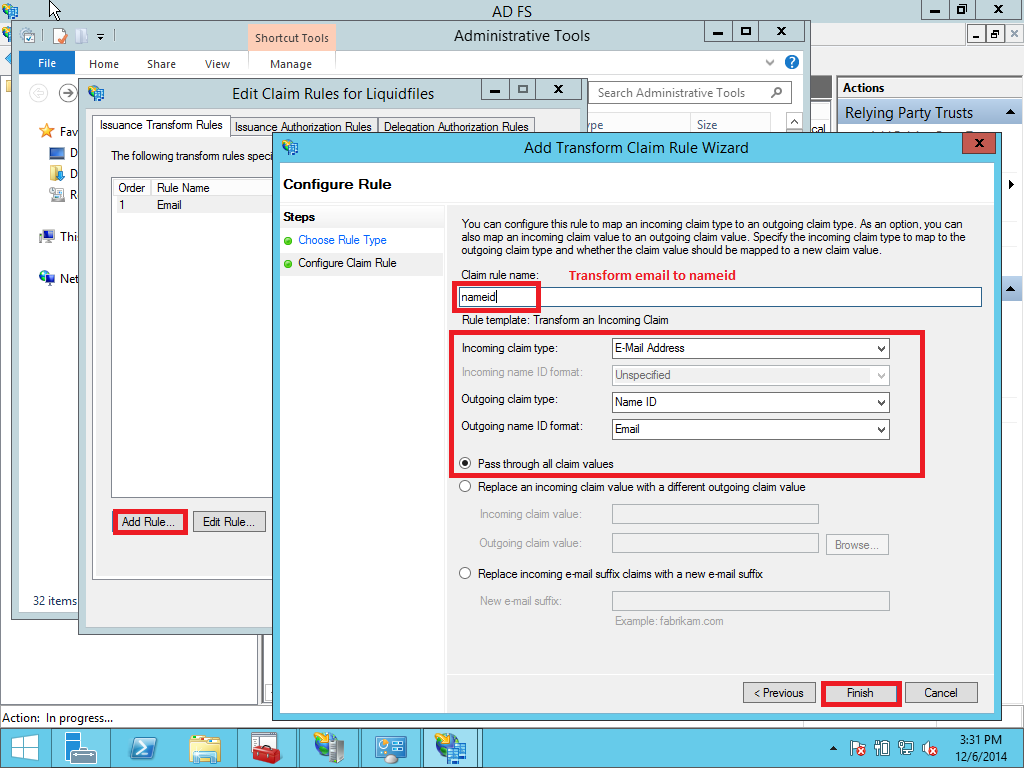
Next select Transform an Incoming Claim as the claim rule template to use. Give it a name such as NameID. Incoming claim type should be E-mail Address (it must match the Outgoing Claim Type in rule #1. The Outgoing claim type is Name ID (this is requested in ServiceNow policy urn:oasis:names:tc:SAML:1.1:nameid-format:emailAddress) and the Outgoing name ID format is Email. Pass through all claim values and click Finish. (See Pic. 34 - 36)

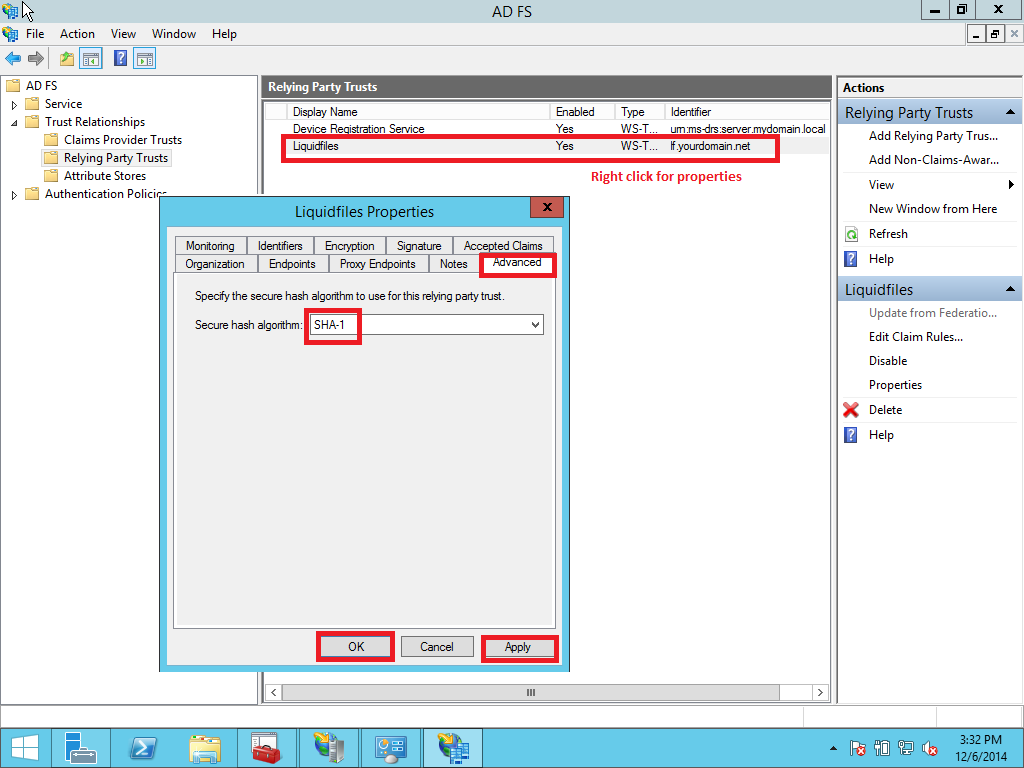
1.5 Adjusting the trust settings
You still need to adjust a few settings on your relying party trust. To access these settings, select Properties from the Actions sidebar while you have the RPT selected. In the Advanced tab, switch from SHA256 to SHA1.
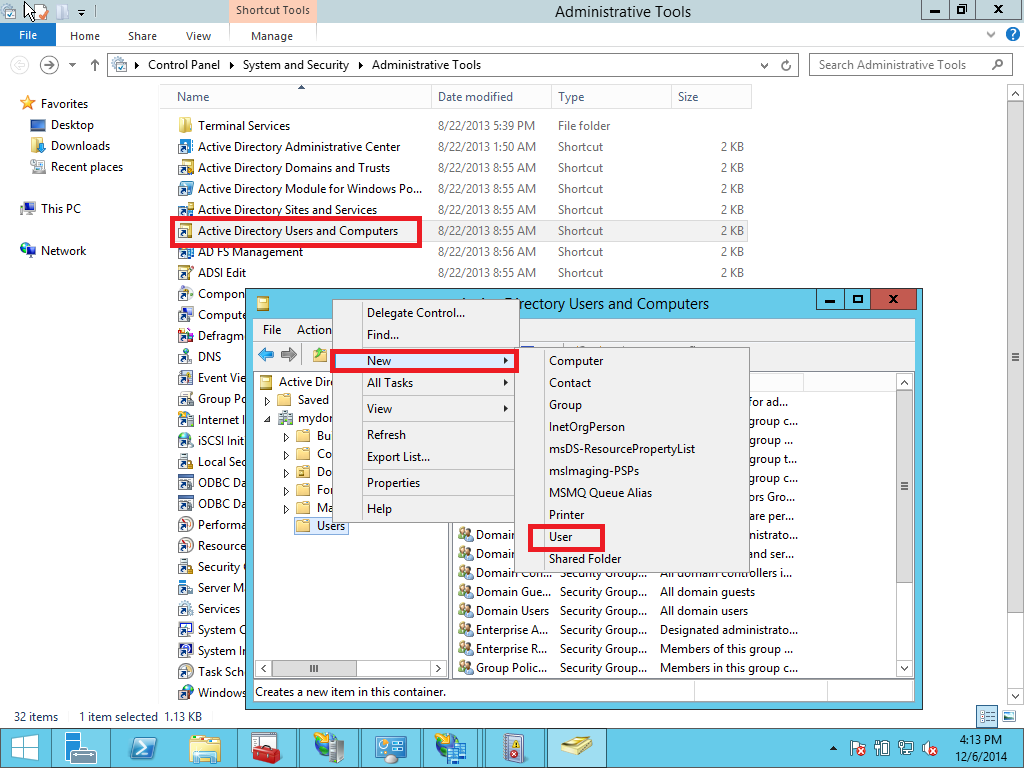
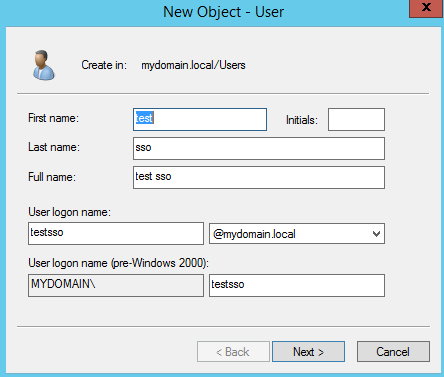
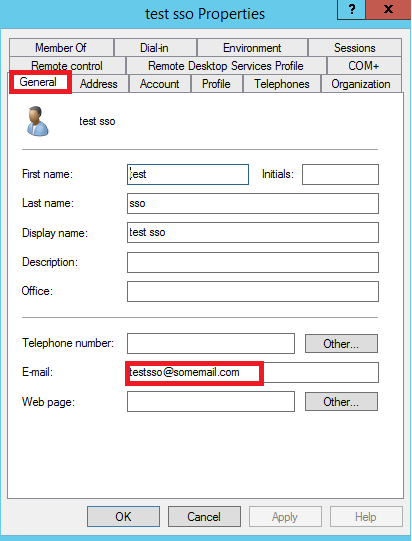
1.6 Active Directory test user
Create a user in Active Directory. In this example its testsso. Open Administrative tools > Active Directory User and Computers > Users > New > User (Pic. 38 – 40).

1.6 Optional settings
1.6.1 Authentication policies
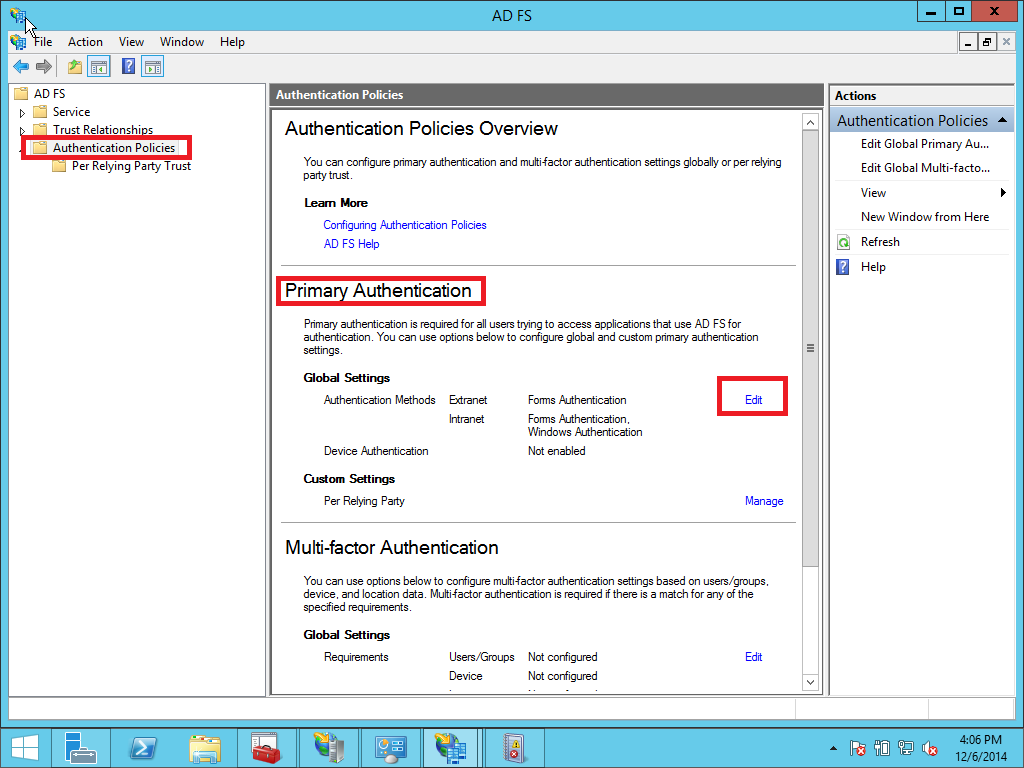
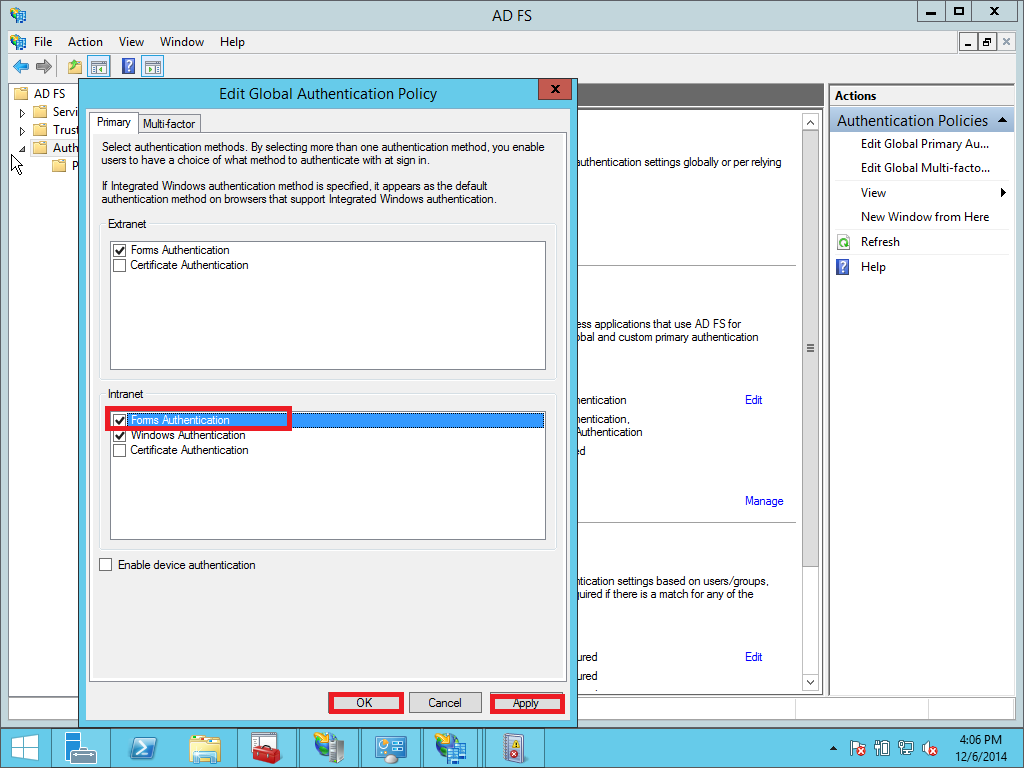
In case you need to use AD FS/SSO for testing or another reason in intranet you must enable Forms Authentication. By default, form authentication is disabled in the intranet zone. You must enable forms authentication by following these steps:
Open the ADFS management wizard. Click Authentication Policies > Primary Authentication > Global Settings > Authentication Methods > Edit.
2. LiquidFiles appliance SSO settings
This part is about configuring SSO service on Liquidfiles appliance. Essentially we will need to find out SSO login URL and fingerprint.
2.1 SSO Login URL
At first verify where your IdP’s Single Sign On login URL is. Download and open a metadata file from https://server.mydomain.local/FederationMetadata/2007-06/FederationMetadata.xml and check for SingleSignOn Location. In this example the URL is https://server.mydomain.local/adfs/ls/ (important: when copy the link take care you grab it with the slash in the end)

2.2 Finger Print
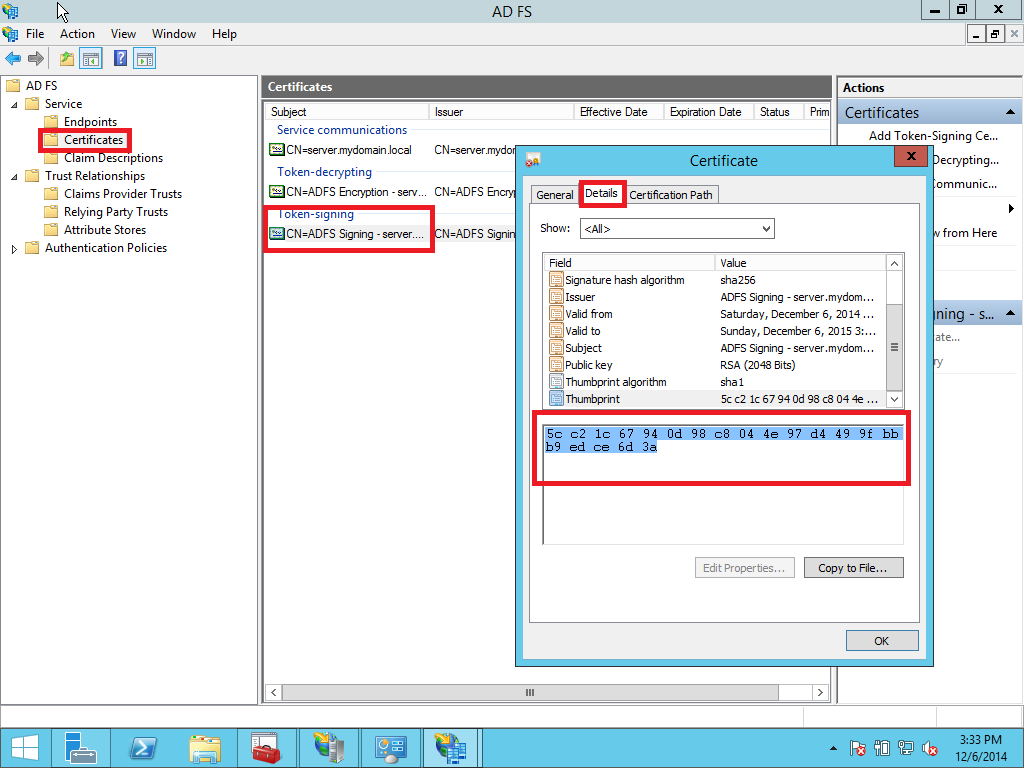
Next we need to find out Fingerprint (thumbprint) of the signing certificate we are using on AD FS server. Open AD FS > Certificates. Right click on Token-signing certificate, open Details tab and look for Thumbprint. Copy/paste it to a notepad and replace spaces with colons. In this example rewritten fingerprint looks like this:
5c:c2:1c:67:94:0d:98:c8:04:4e:97:d4:49:9f:bb:b9:ed:ce:6d:3a
2.3 Setting up Liquidfiles
Now we open Liquidfiles appliance Configuration > Single Sign On form SSO and paste the Finerprint and SSO login url the collected information. See picture Pic. 46
- Choice Single Sign On Method: SAML2
- IdP Login URL: https://server.mydomain.local/adfs/ls/
- IdP Cert Fingerprint f.e.: 5c:c2:1c:67:94:0d:98:c8:04:4e:97:d4:49:9f:bb:b9:ed:ce:6d:3a
- Optionally you can set IdP Logout URL. An URL which you will be redirected when logged out from LF
3. Testing SSO login
Connect to LF appliance and click SSO button. You will be redirected to IdP login site for log in where fill in the ActiveDirectory user. In this example its testsso user. When successfully verified you are logged to LF. Job done.