Microsoft Hyper-V Installation
Begin by creating a new virtual system and give it a meaningful name.

Give it some RAM. 2048 MB is a good starting point. Giving it much more won't increase performance.

Specify generation and for this VM choice Generation 1

Attach the standard Network adapter to your Virtual switch

Create a virtual Disk with as much data as you'll think that you need.

Select the downloaded ISO image.

We have now finished the wizard. Make sure that you don't start the virtual machine just yet.

ISO Installation
Please click on the Console, you will see this boot screen

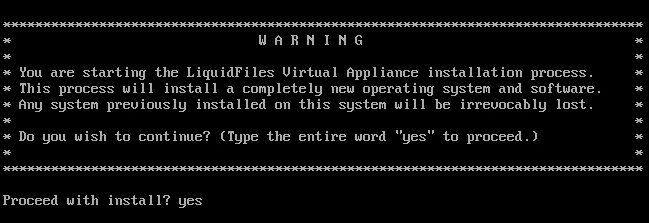
The next step is to acknowledge the warning that the disk will be erased.
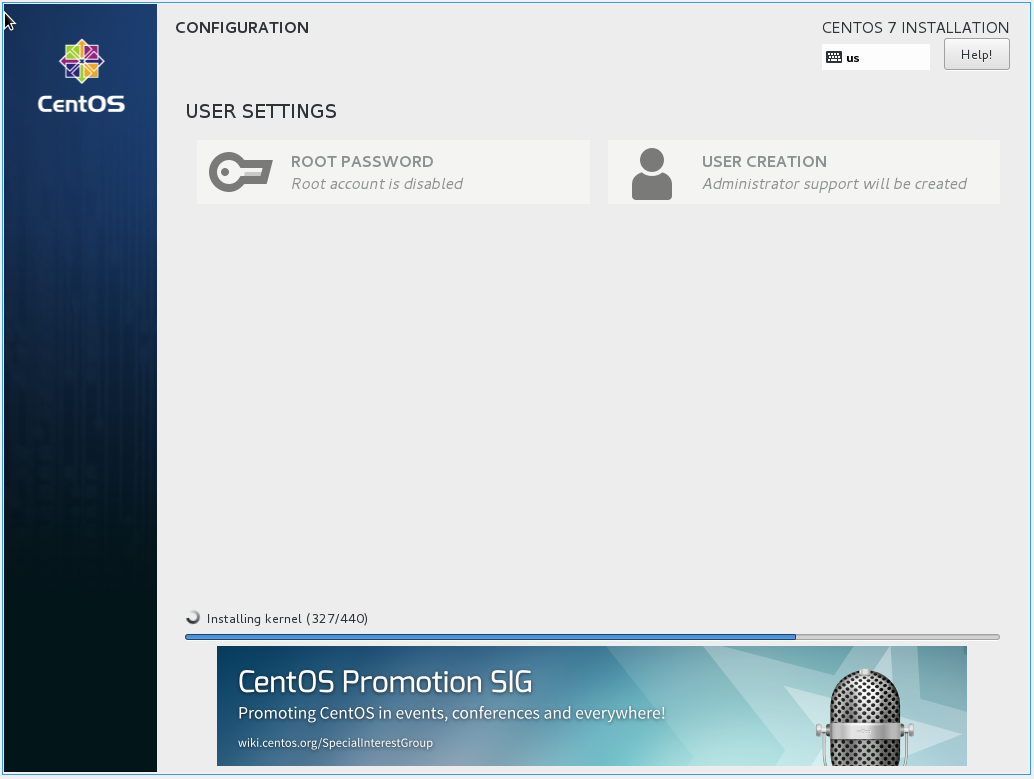
The installation will then commence and take a couple of minutes, depending on system speed. It will automatically reboot when finished.
When the system has been installed, you will see something like this on the console.

At this point, the system is installed. Microsoft Hyper-V Integrated Services that includes optimized drivers for Microsoft Hyper-V are already part of the OS (Ubuntu).
Now you can point your browser to the ip address listed on the screen to continue with the getting started configuration.
Please continue on the Getting Started page.