Quickstart
Overview
A key feature with LiquidFiles is that you can make it look like your own system. The recommended first step is to use the branding Quickstart function which will add branding to various parts of the LiquidFiles system.
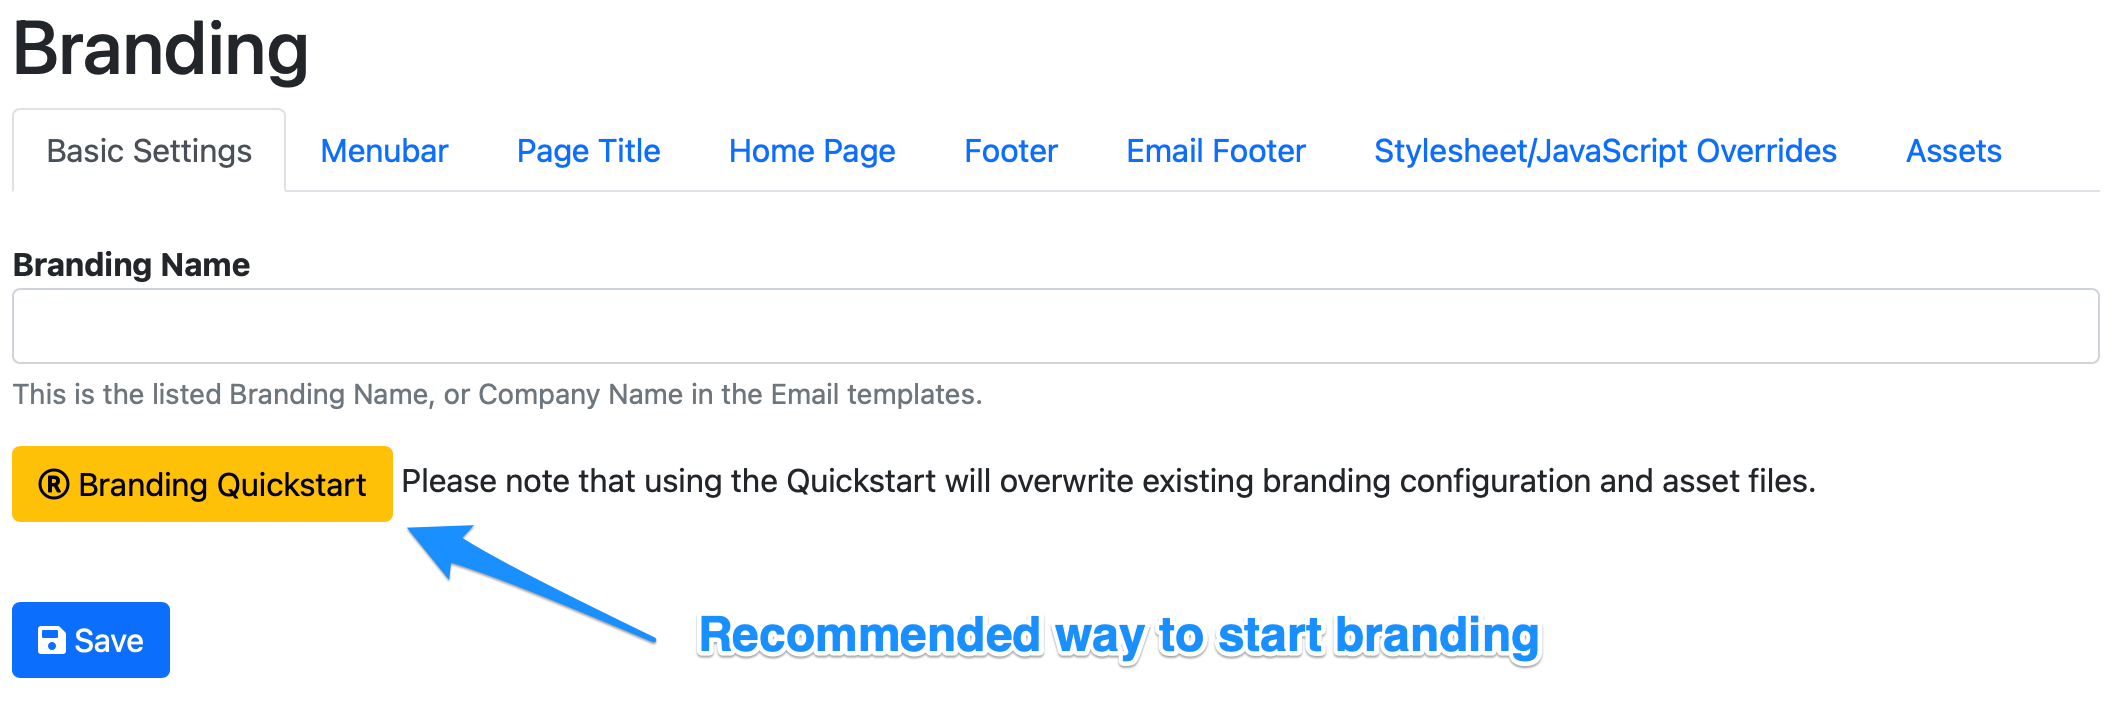
The Branding configuration can be found in Admin → Configuration → Branding. To start the Branding Quickstart, please click on the button in the screenshot below.
When you start the Branding Quickstart, you'll see a page like this:
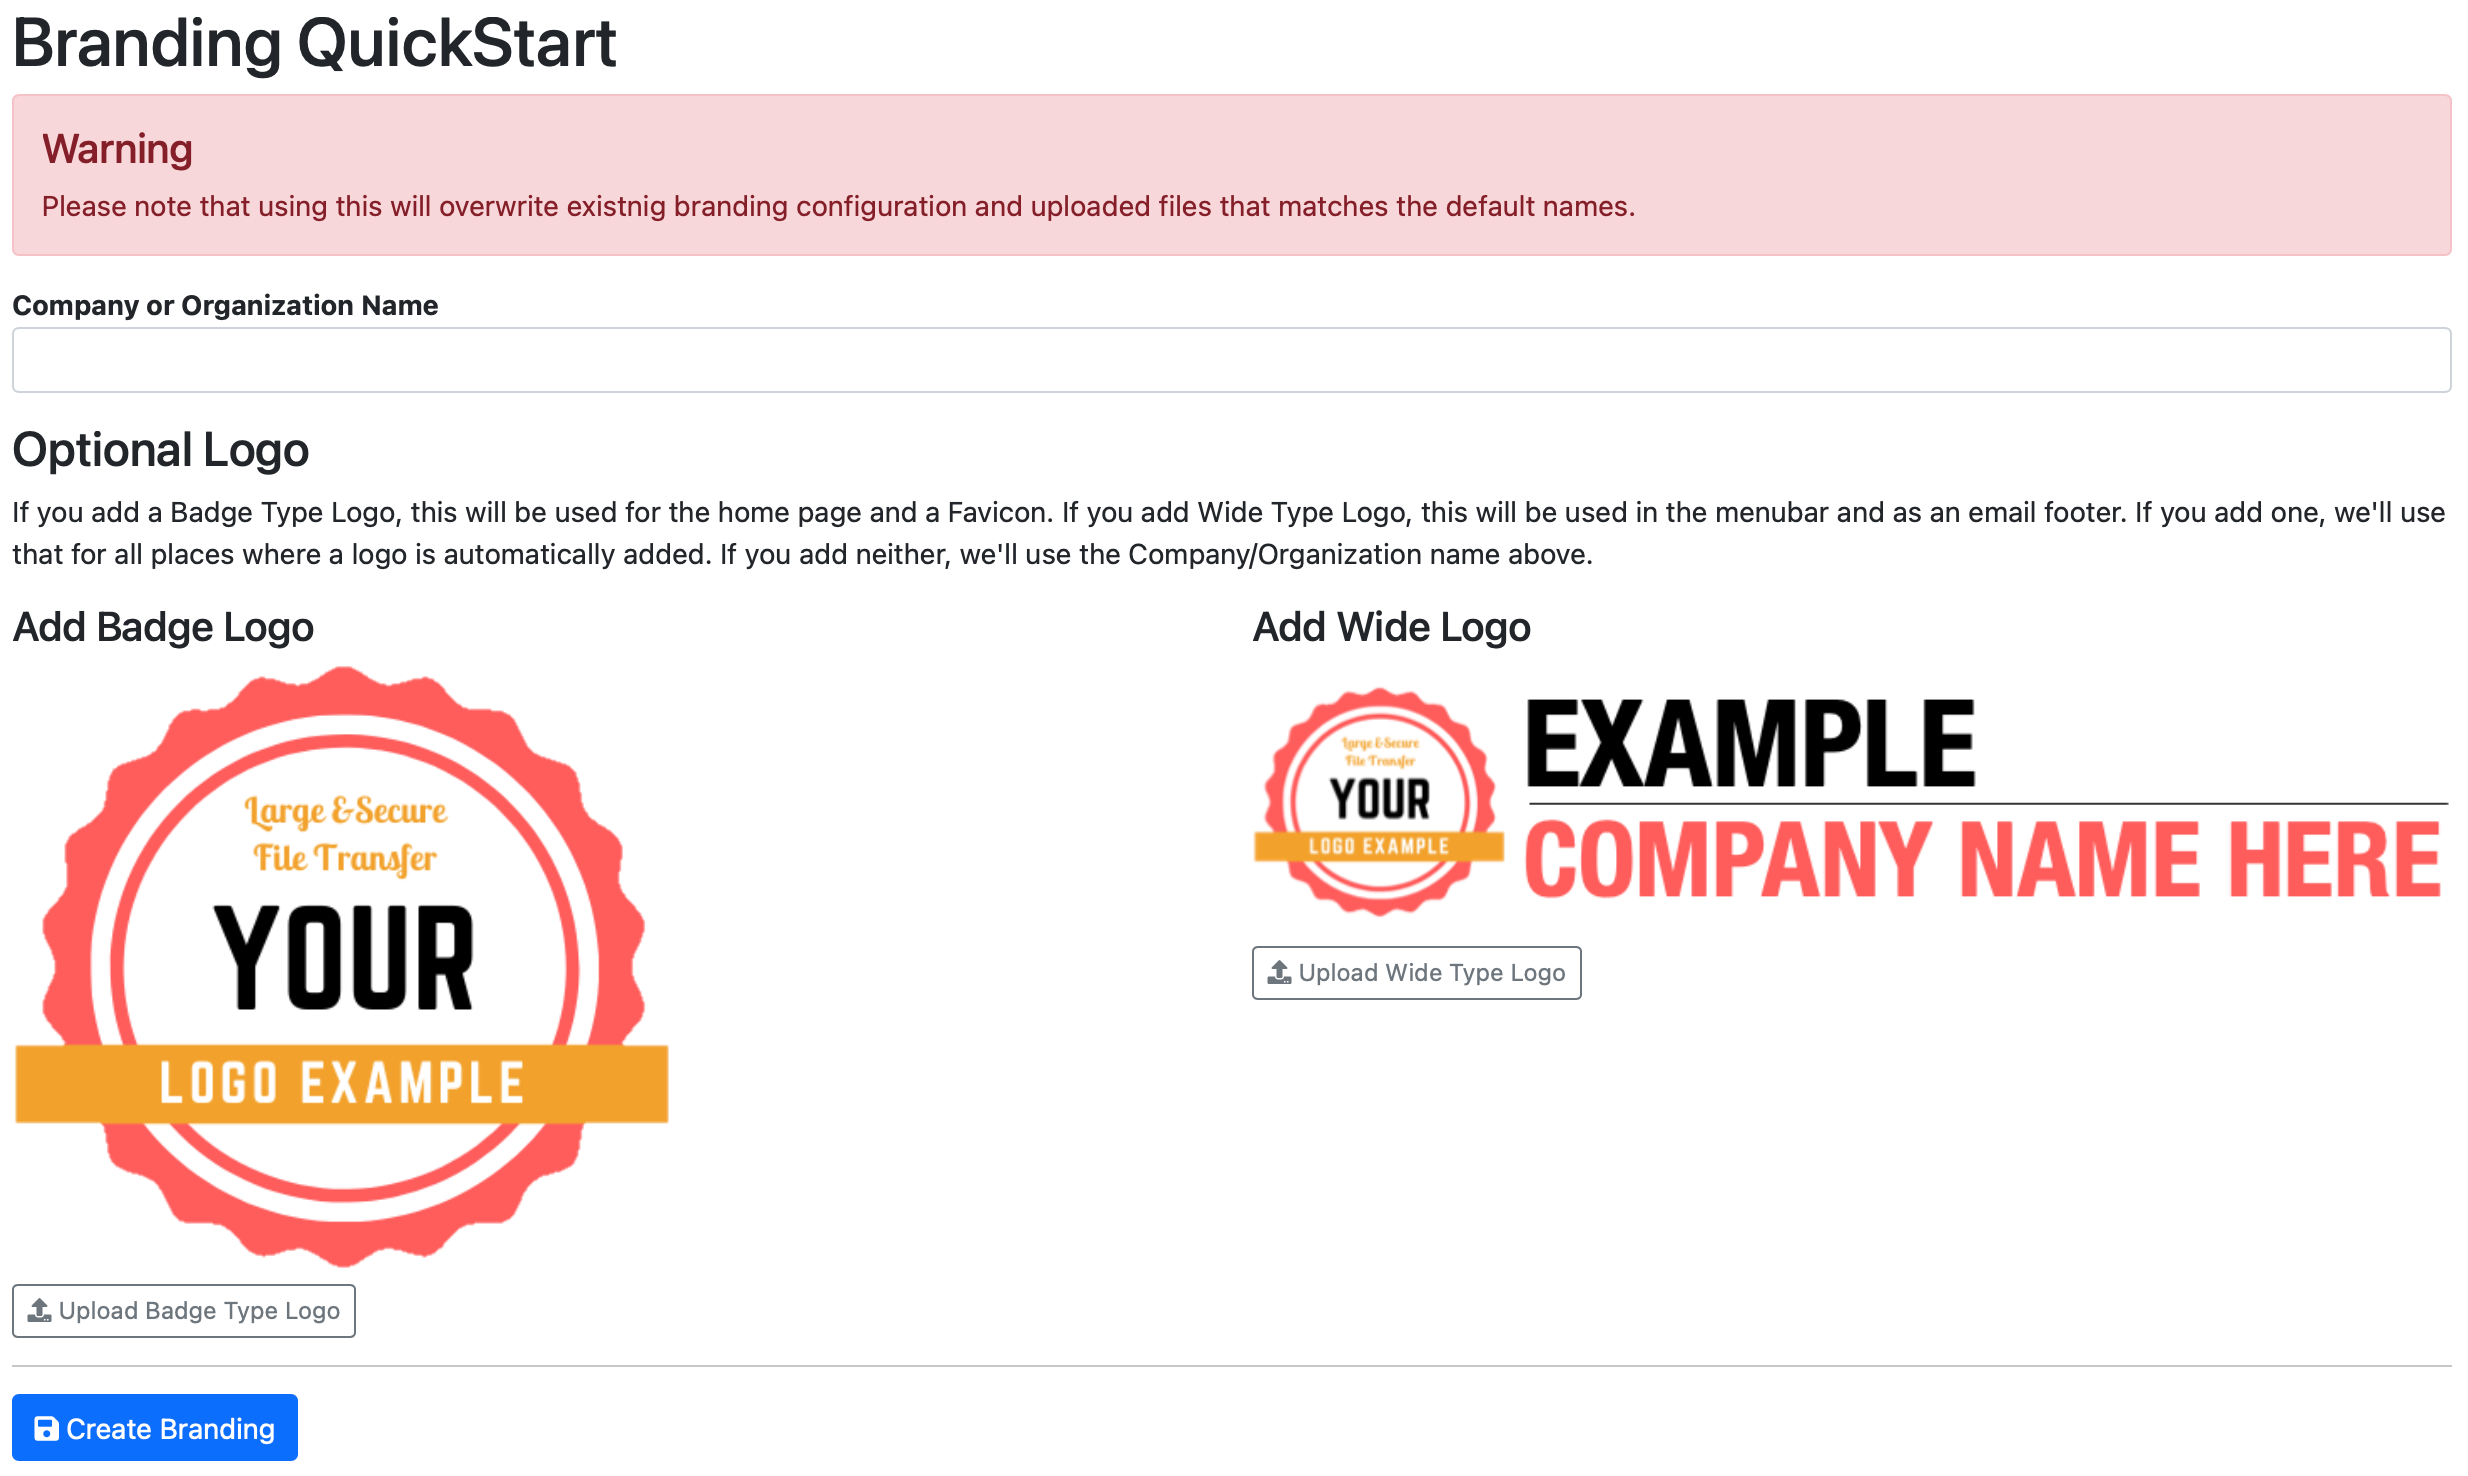
The Branding Quickstart aims to create the best branding it can with the information you provide. Ideally you would upload both a wide style logo and a badge type logo, together with the company name. The badge type logo will be used to create a favicon, home page logo and other places where a square or round logo would work best. The wide logo will be added in the footer of emails and other places where a wide style logo would work best.
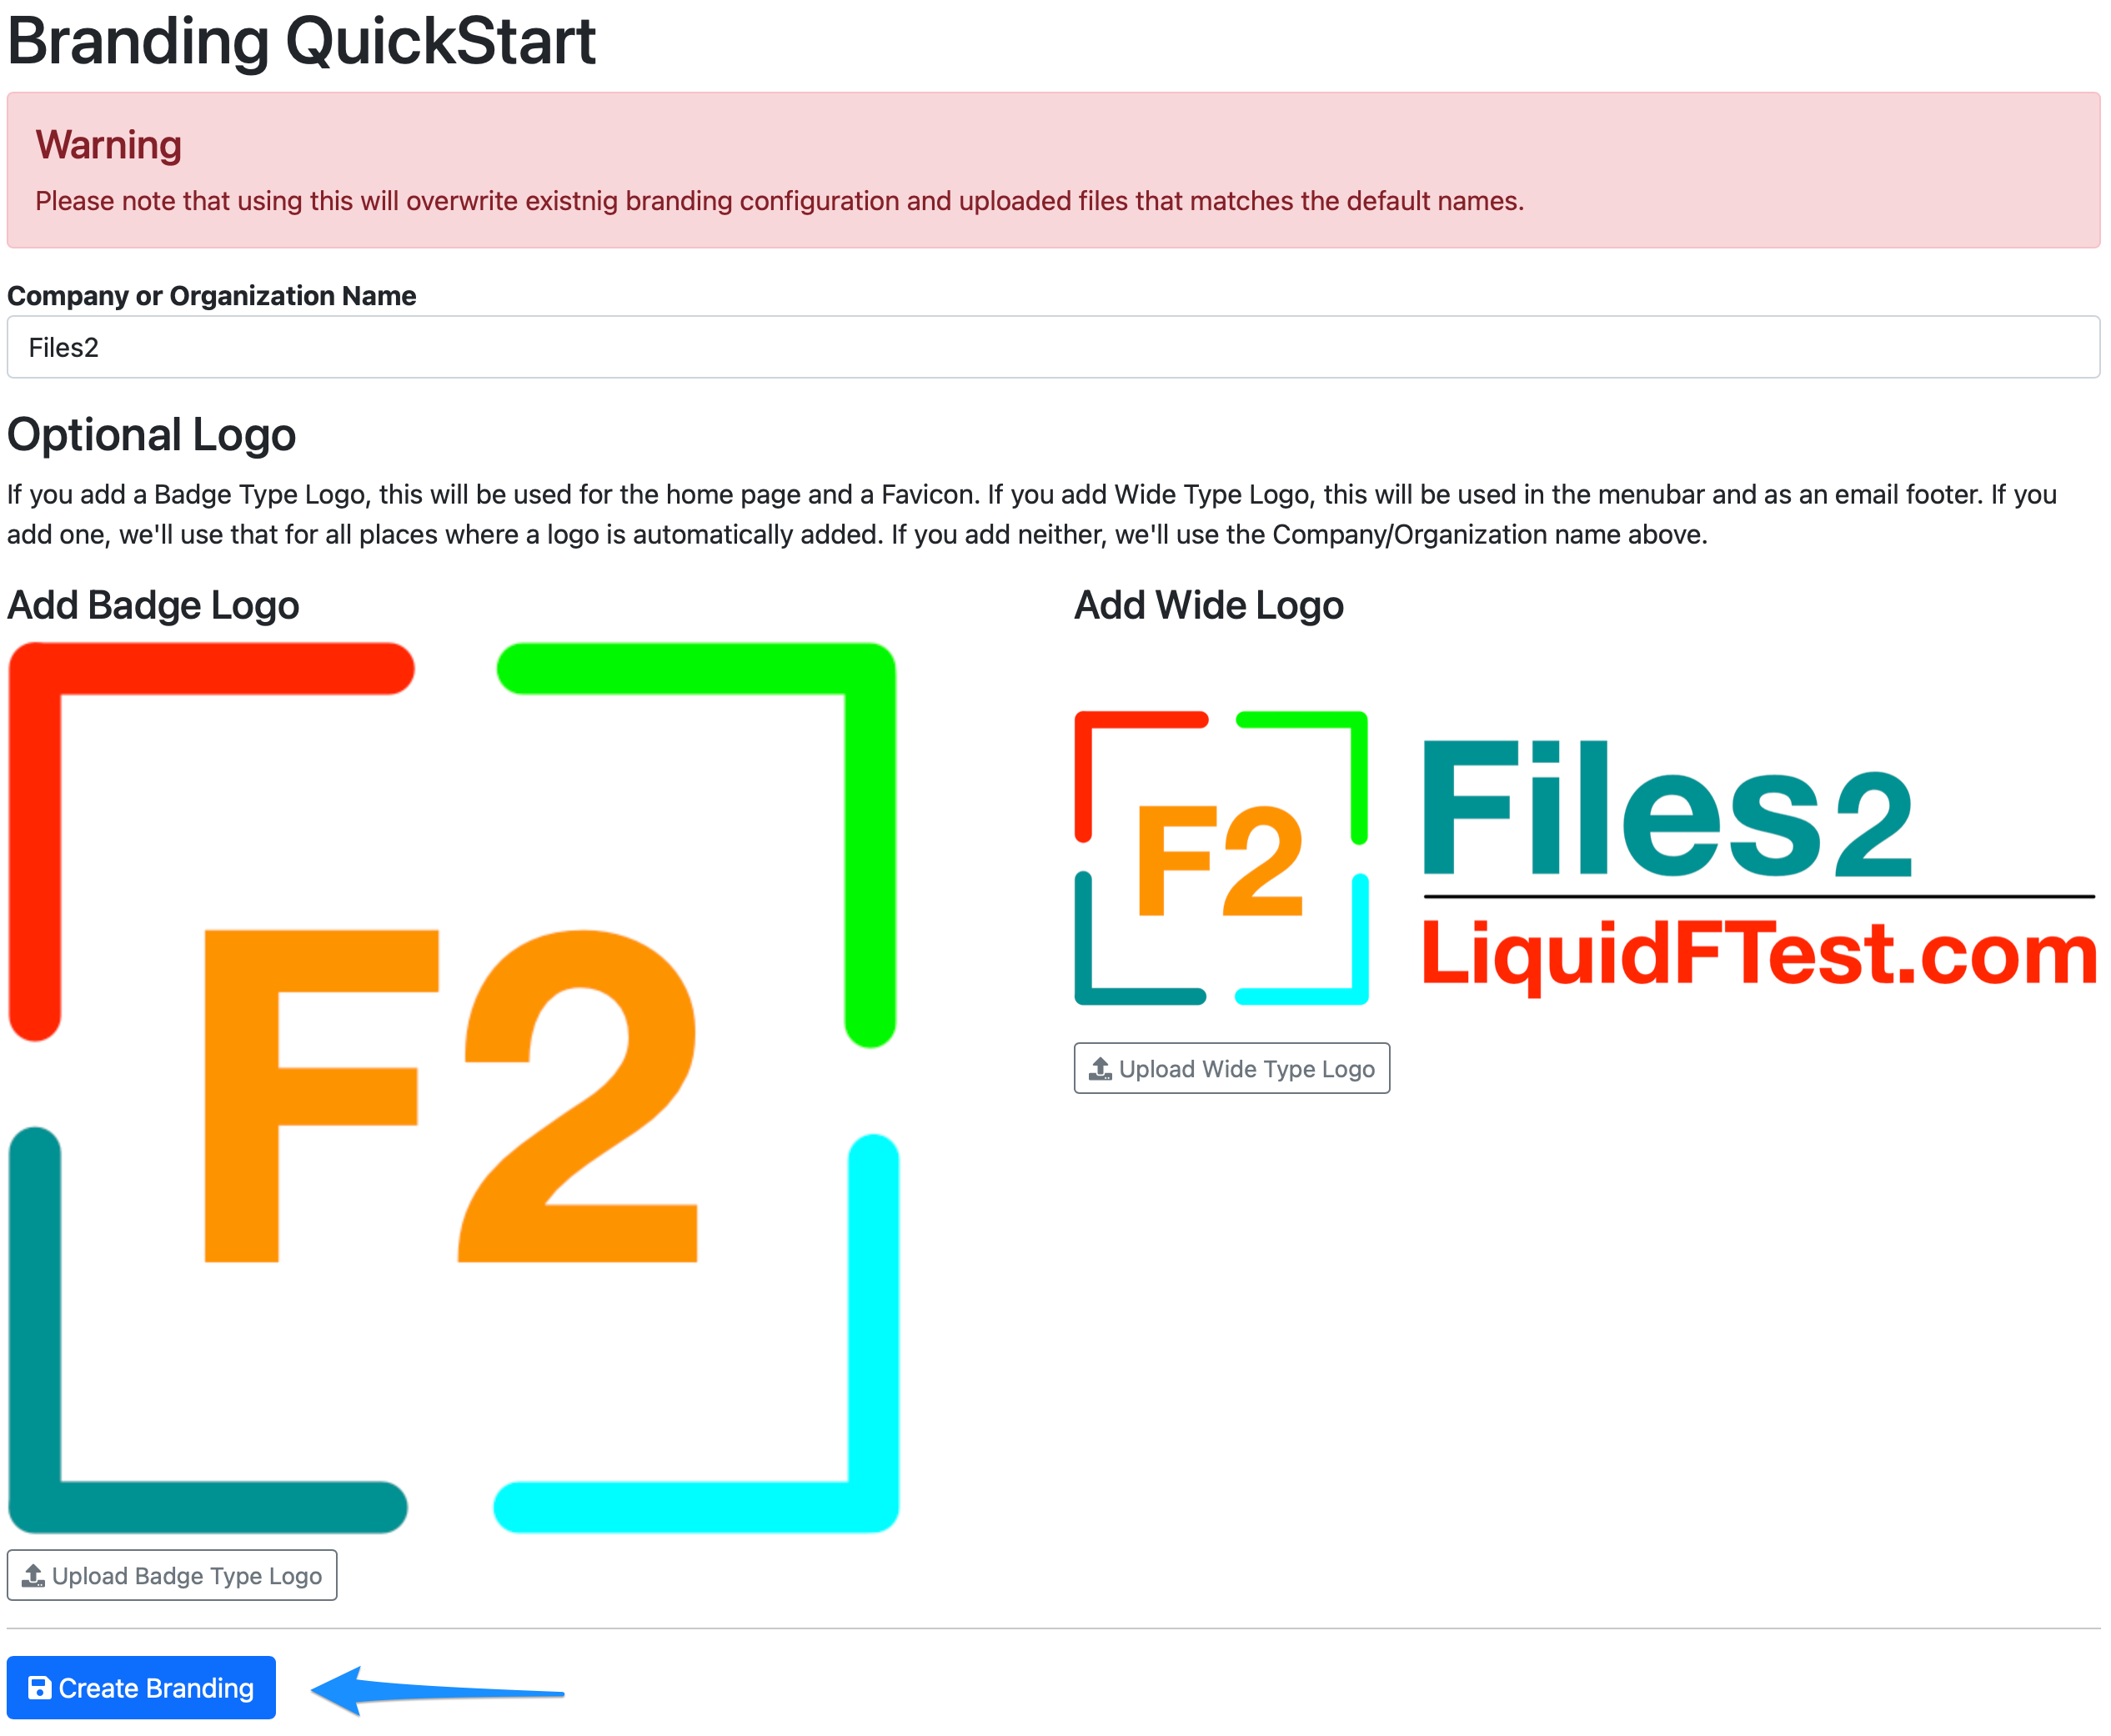
In the following example, we have added a company name Files2 and added both a badge style Logo and a Wide style logo. After this we click Create Branding.
At this point we are taken back to the Branding page, landing on the Basic Settings tab.
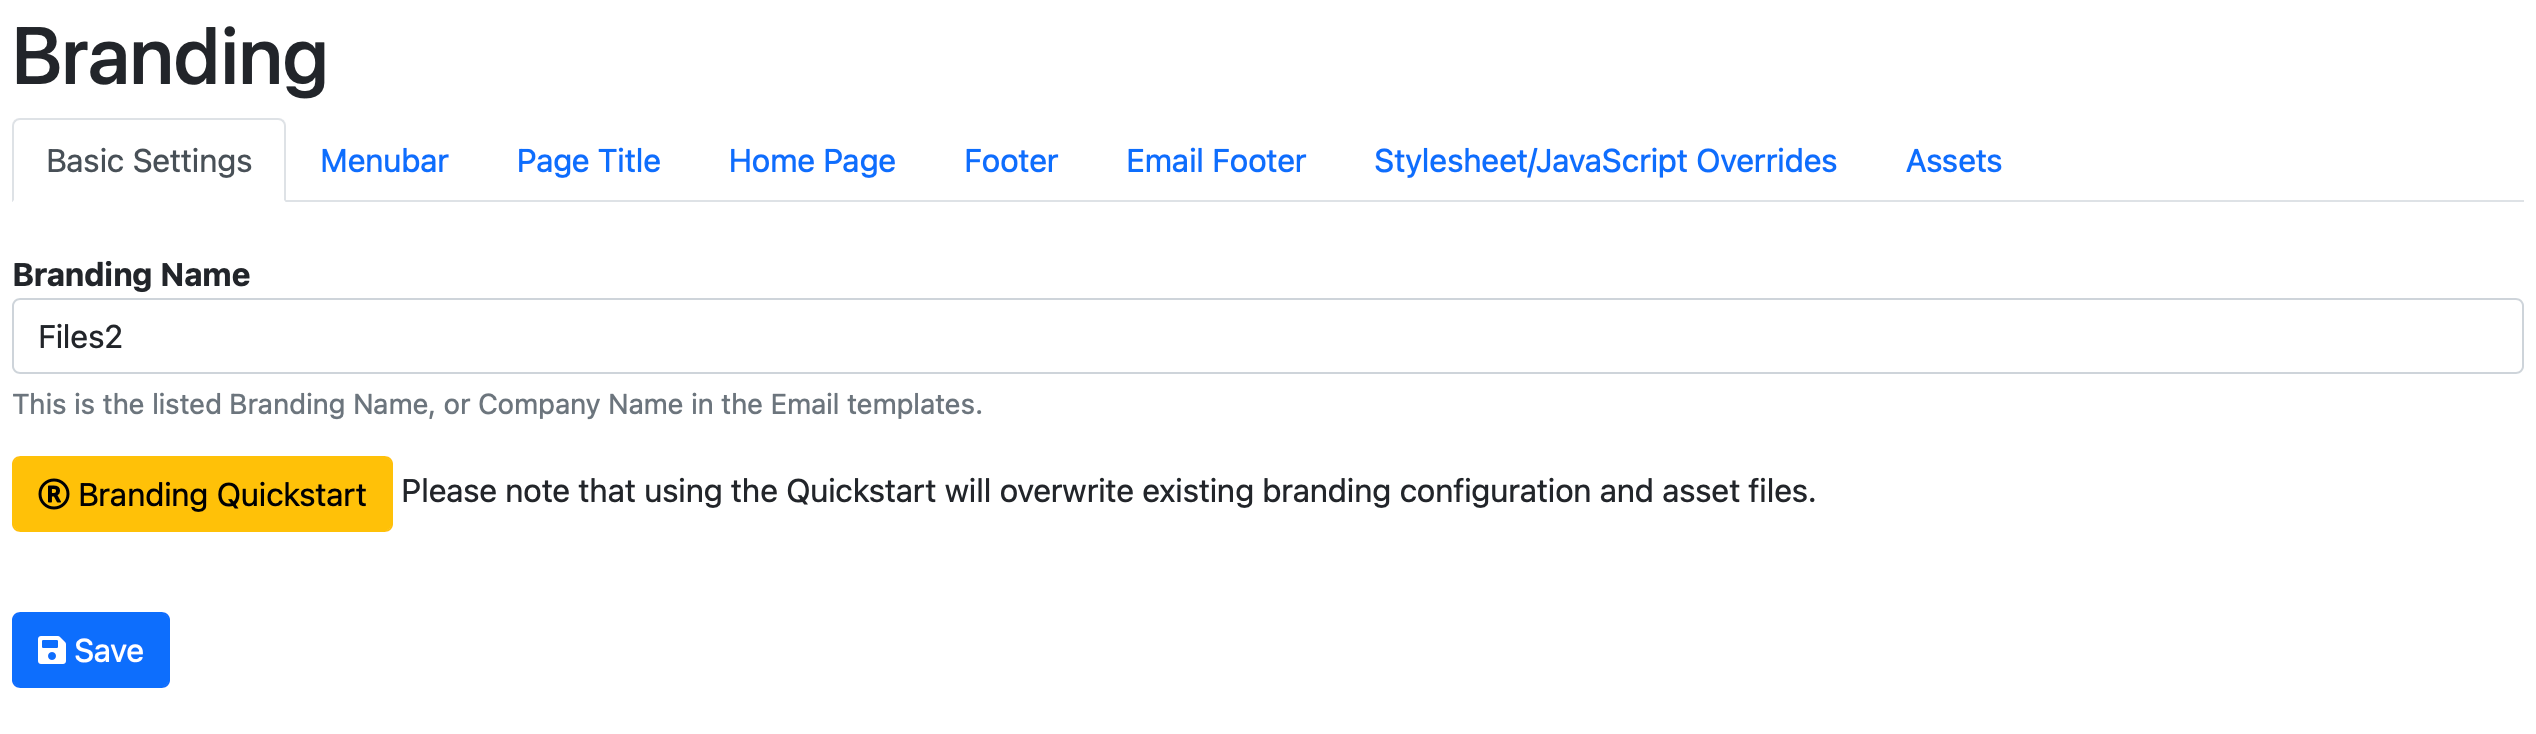
From here, we can look through the different tabs to make sure the branding that the Quickstart has created looks good. First the Menubar.
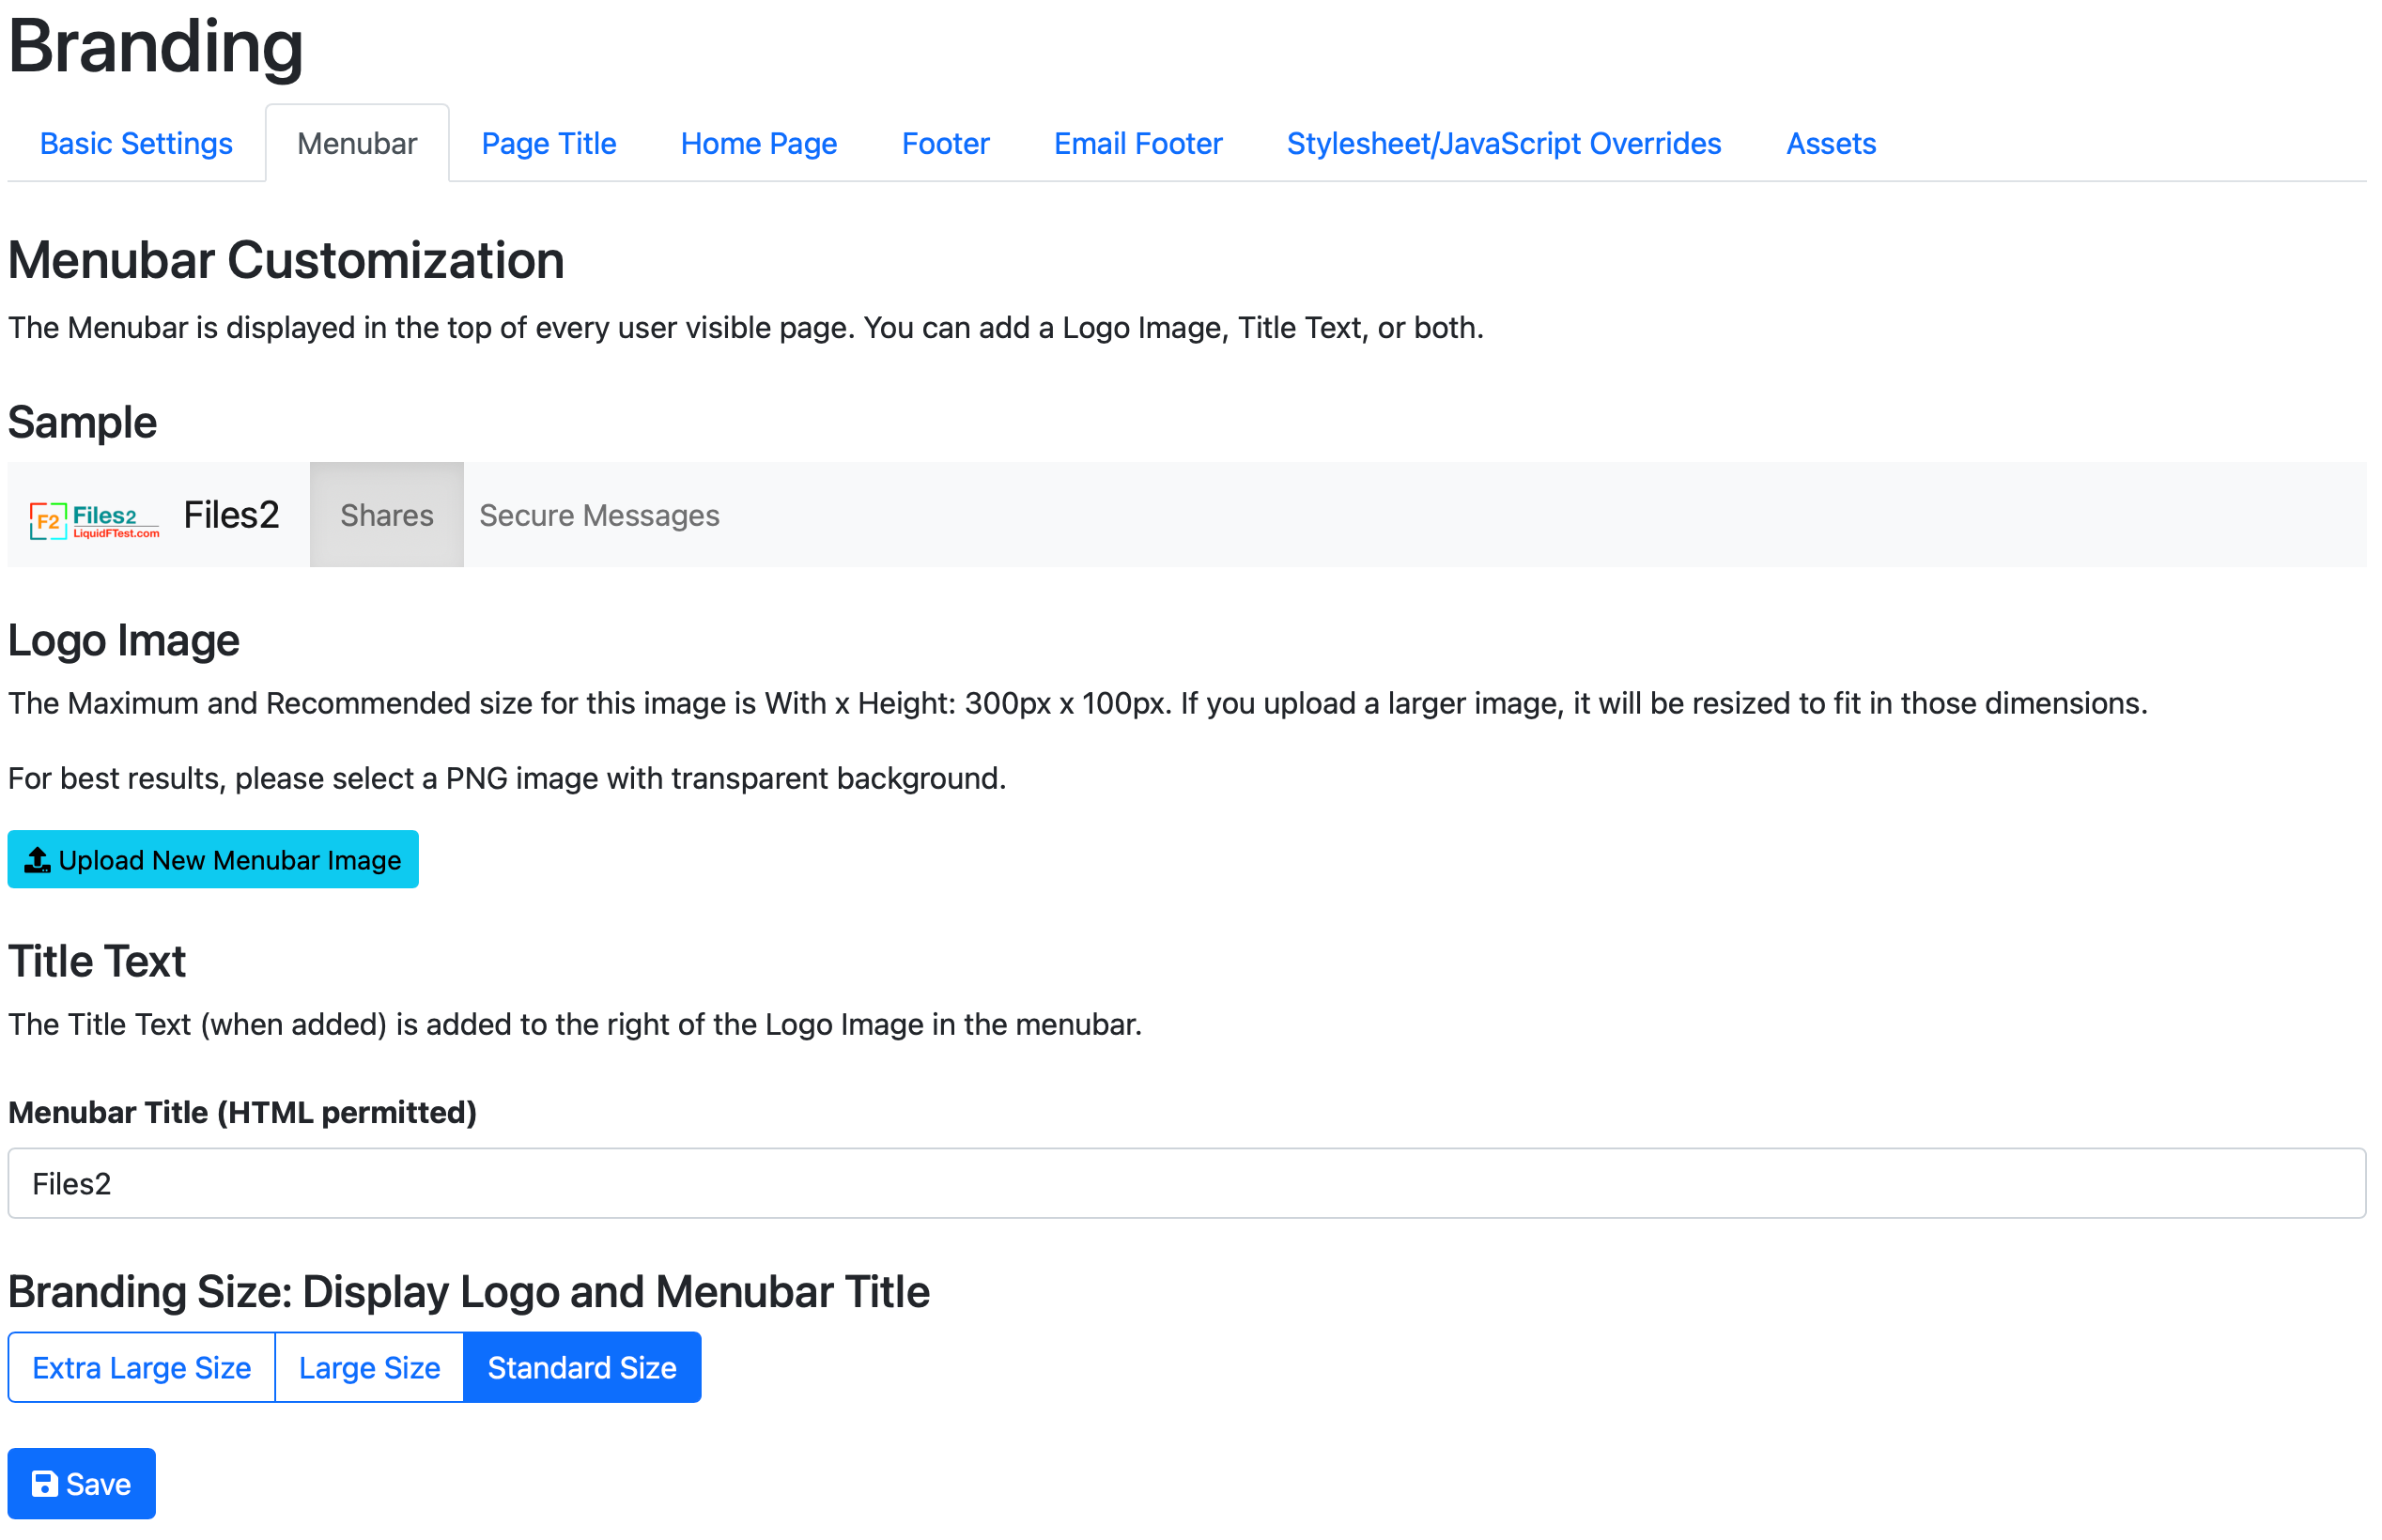
We can see the wide style logo being added to the menubar and the company name as well. Since in this case the wide logo also have the company name in it, it's sort of doubling up. To make it look nicer we could upload the badge type logo and keep the company name, or we can remove the company name and make the wide logo bigger. In this case, lets remove the company name and make the logo bigger, and click save to save the change.
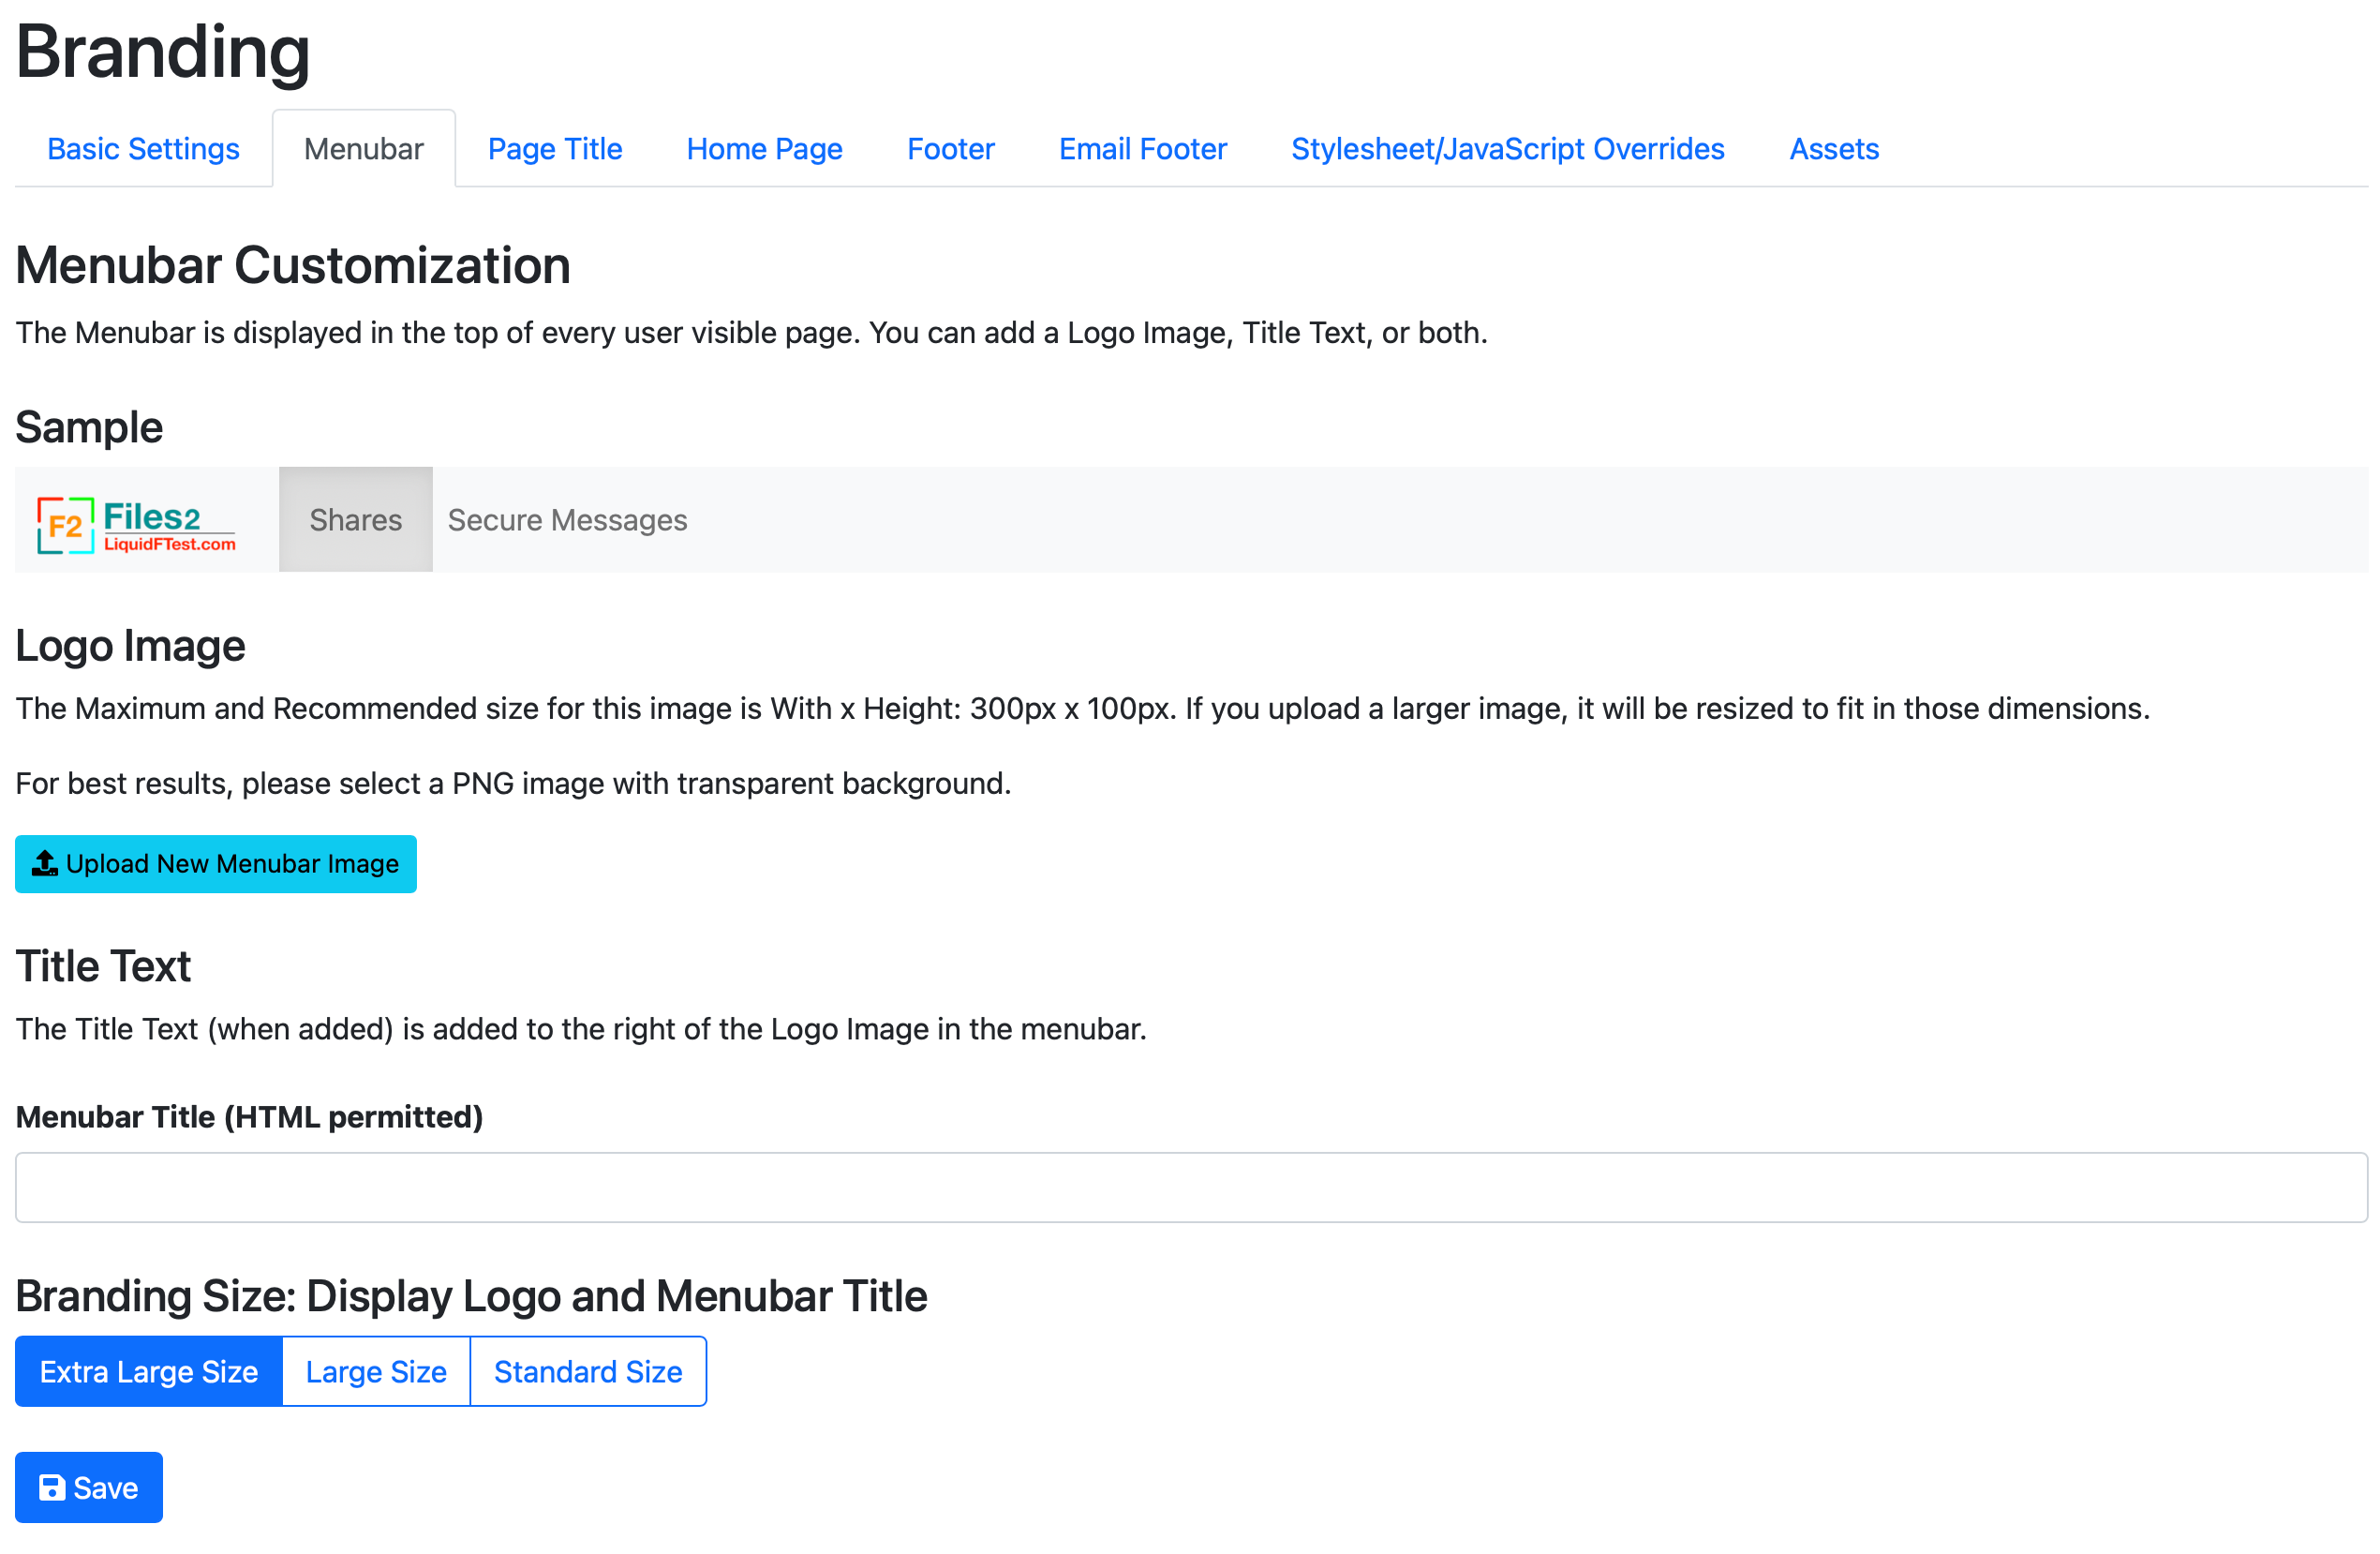
That looks better. On to the Page Title.
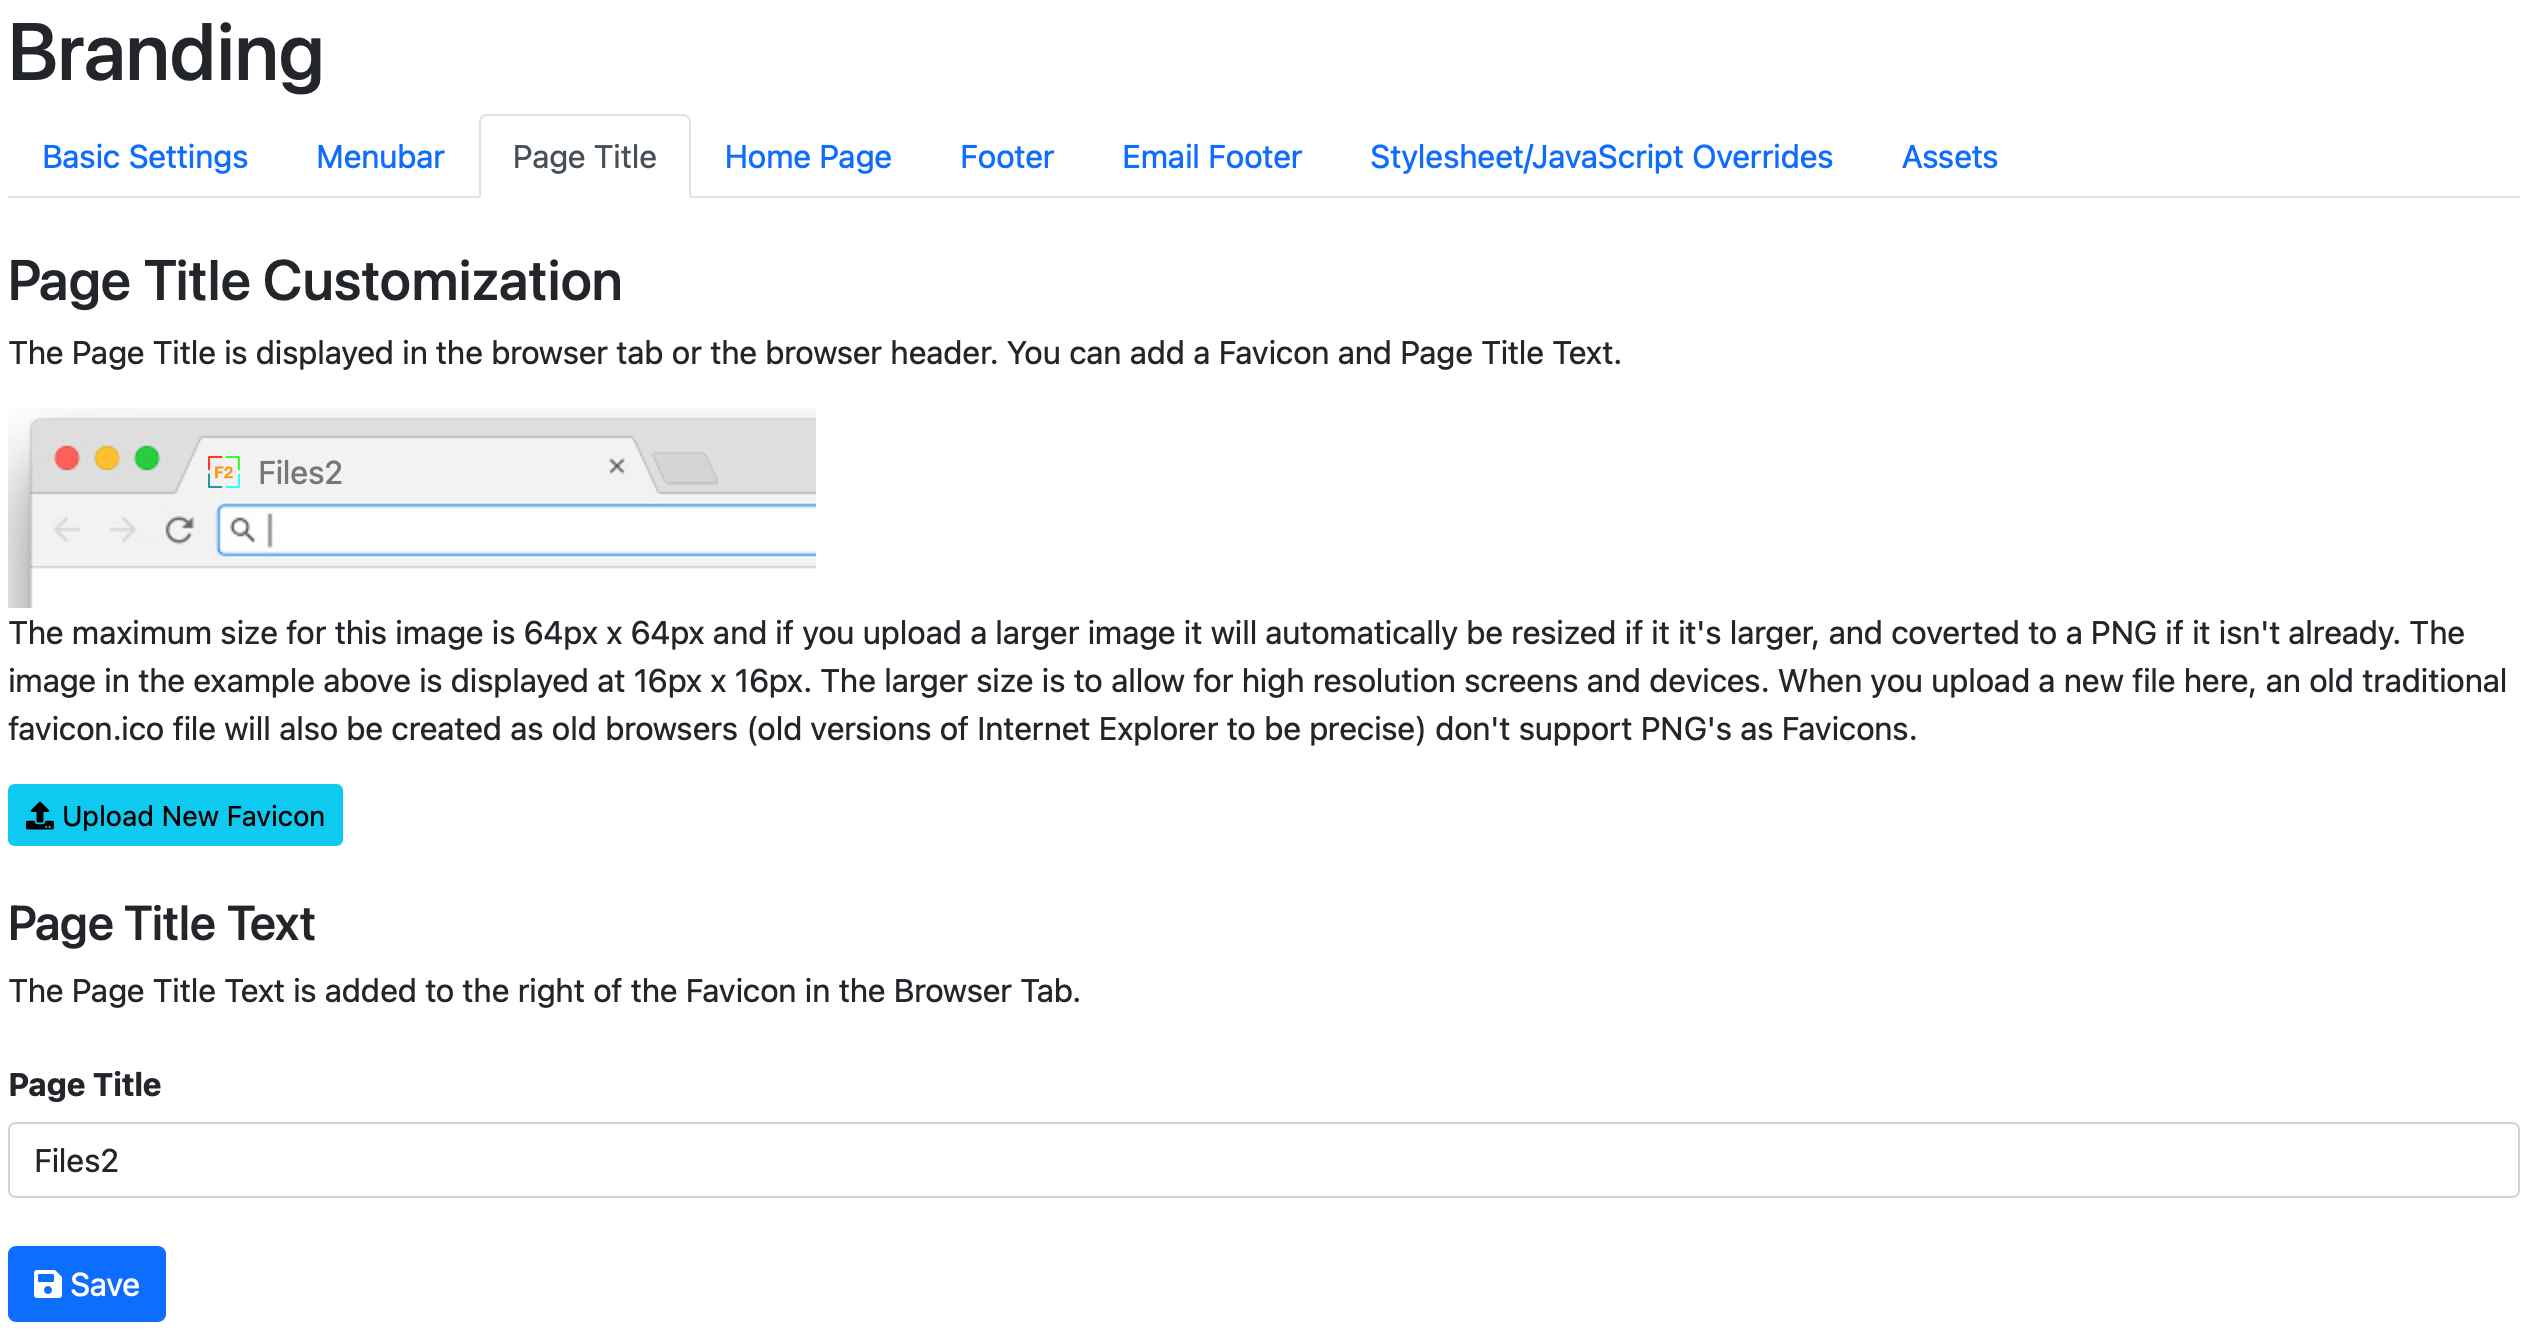
That looks good. No changes needed, on to the Home Page.
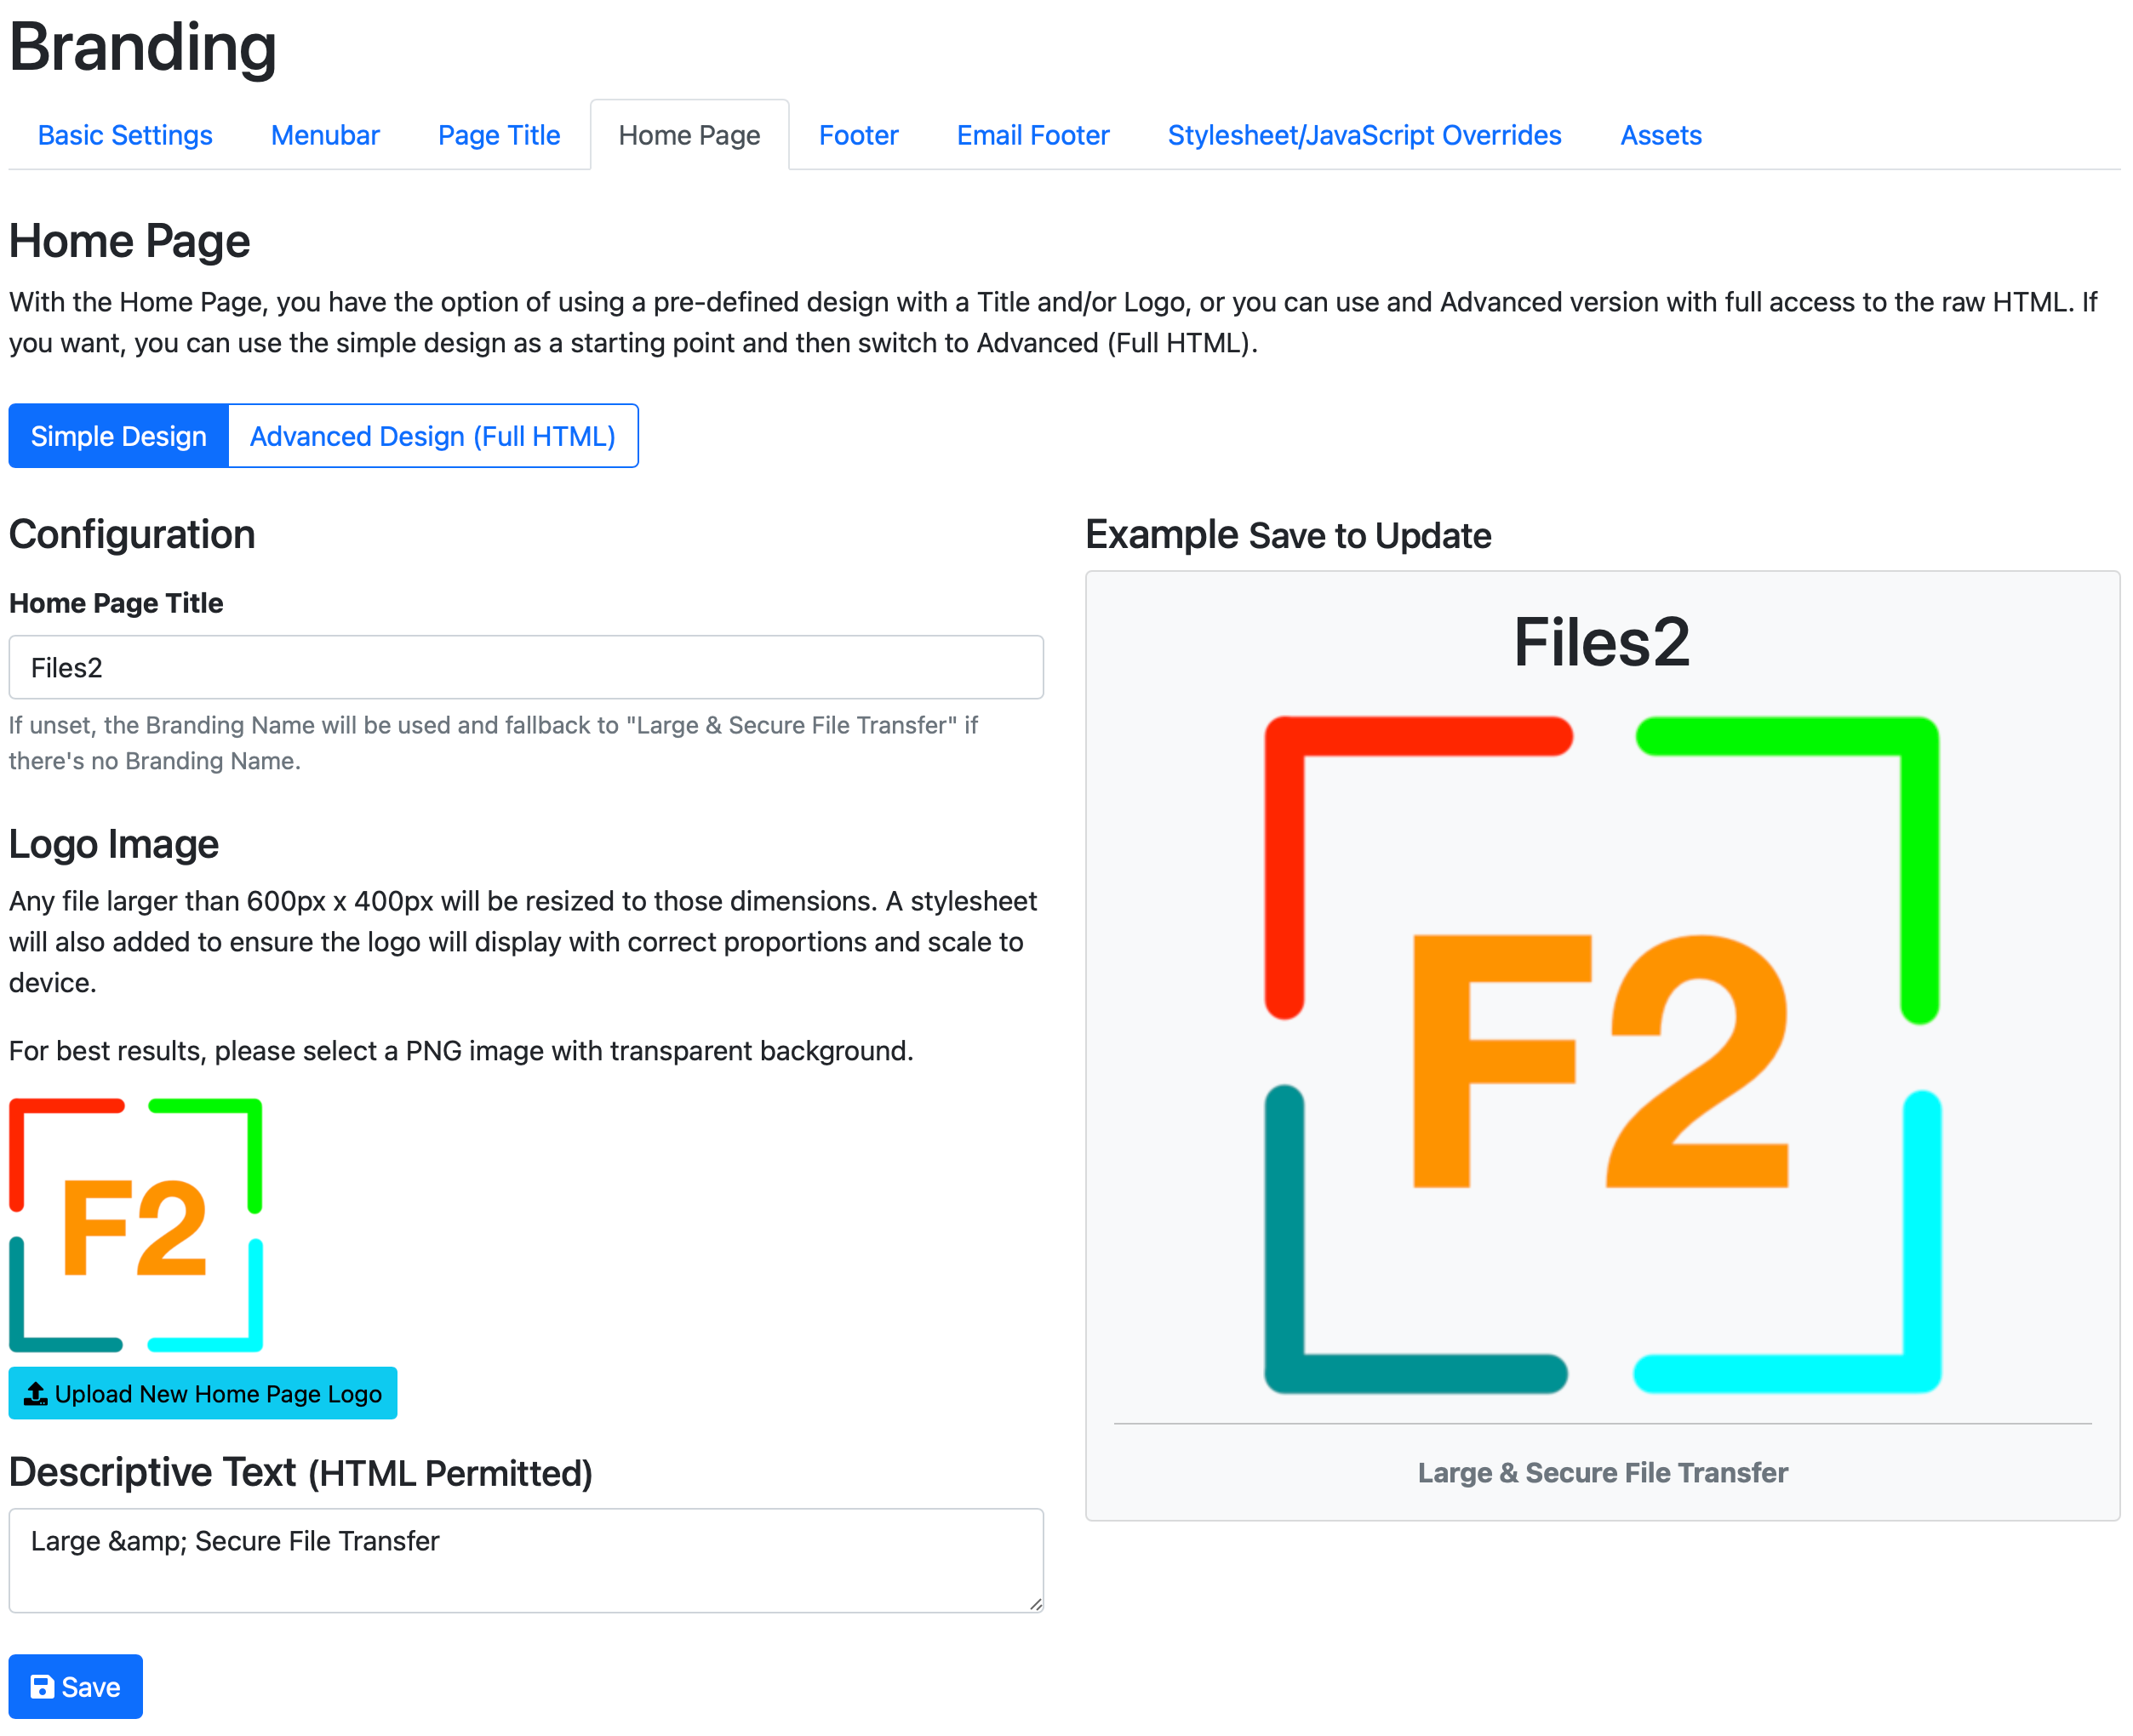
No changes needed here either, on to the Footer.
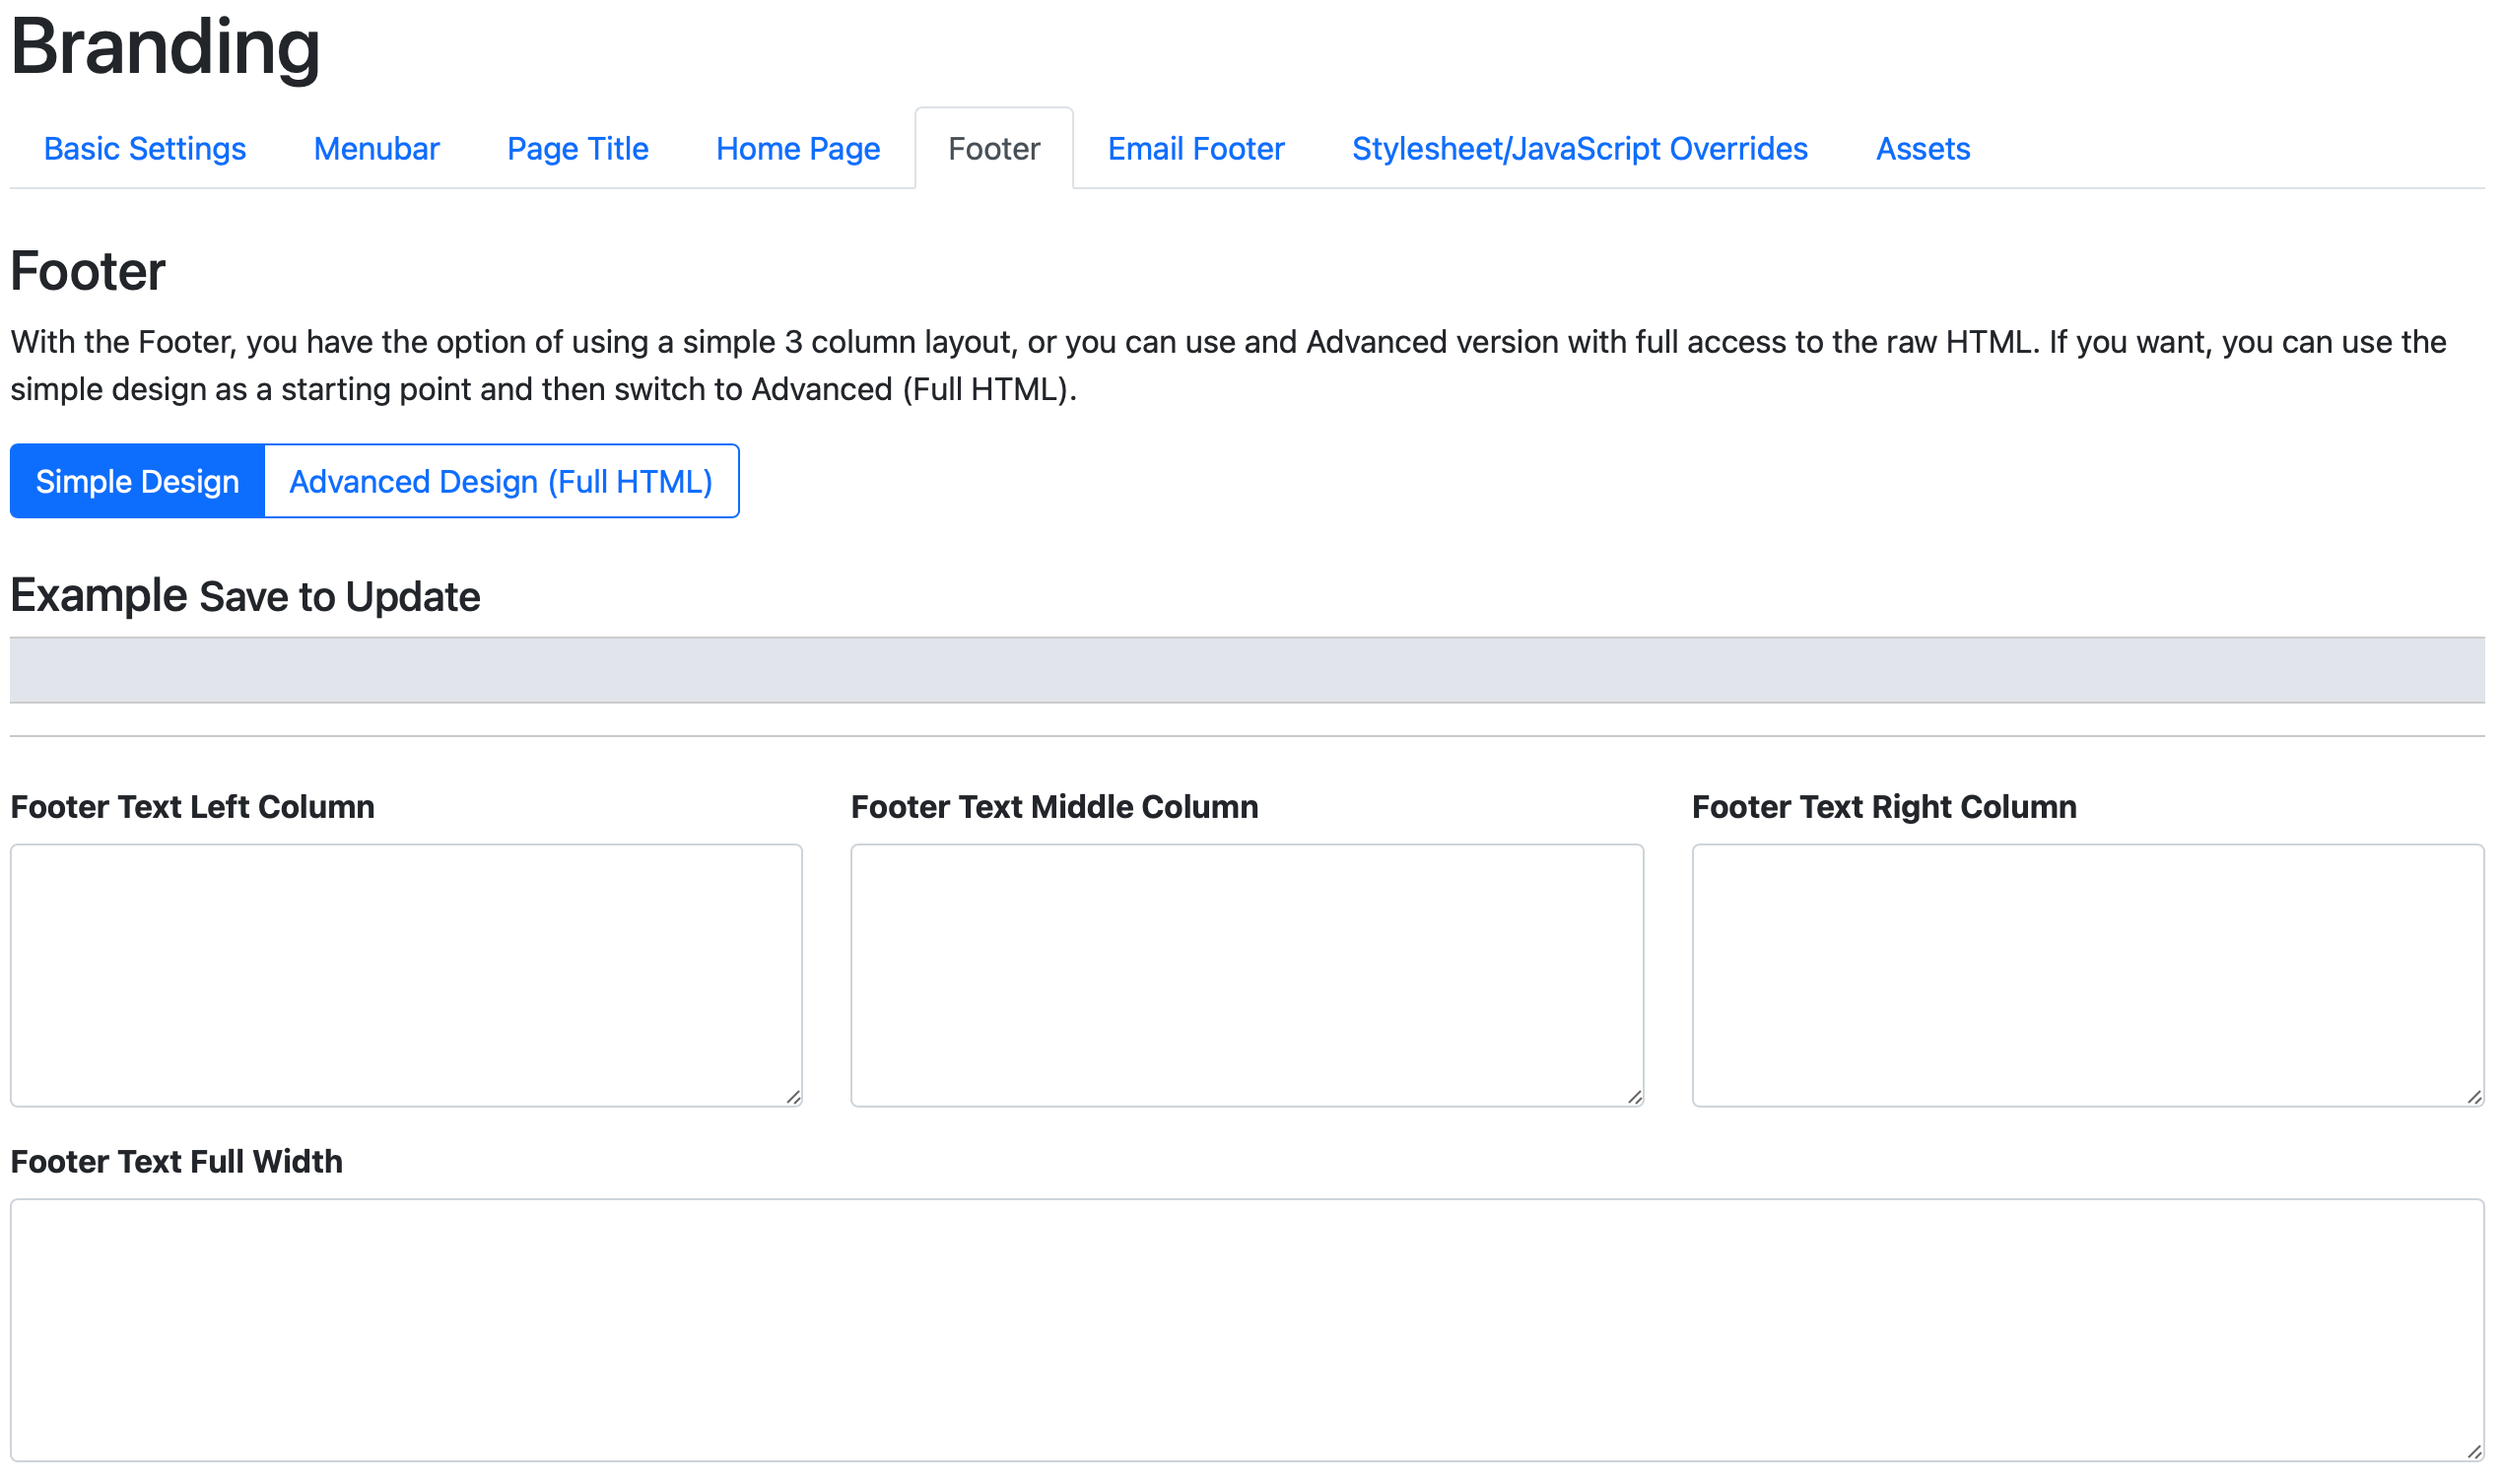
As you can see, nothing gets added to the Footer as part of the Quickstart, lets add a support email link.
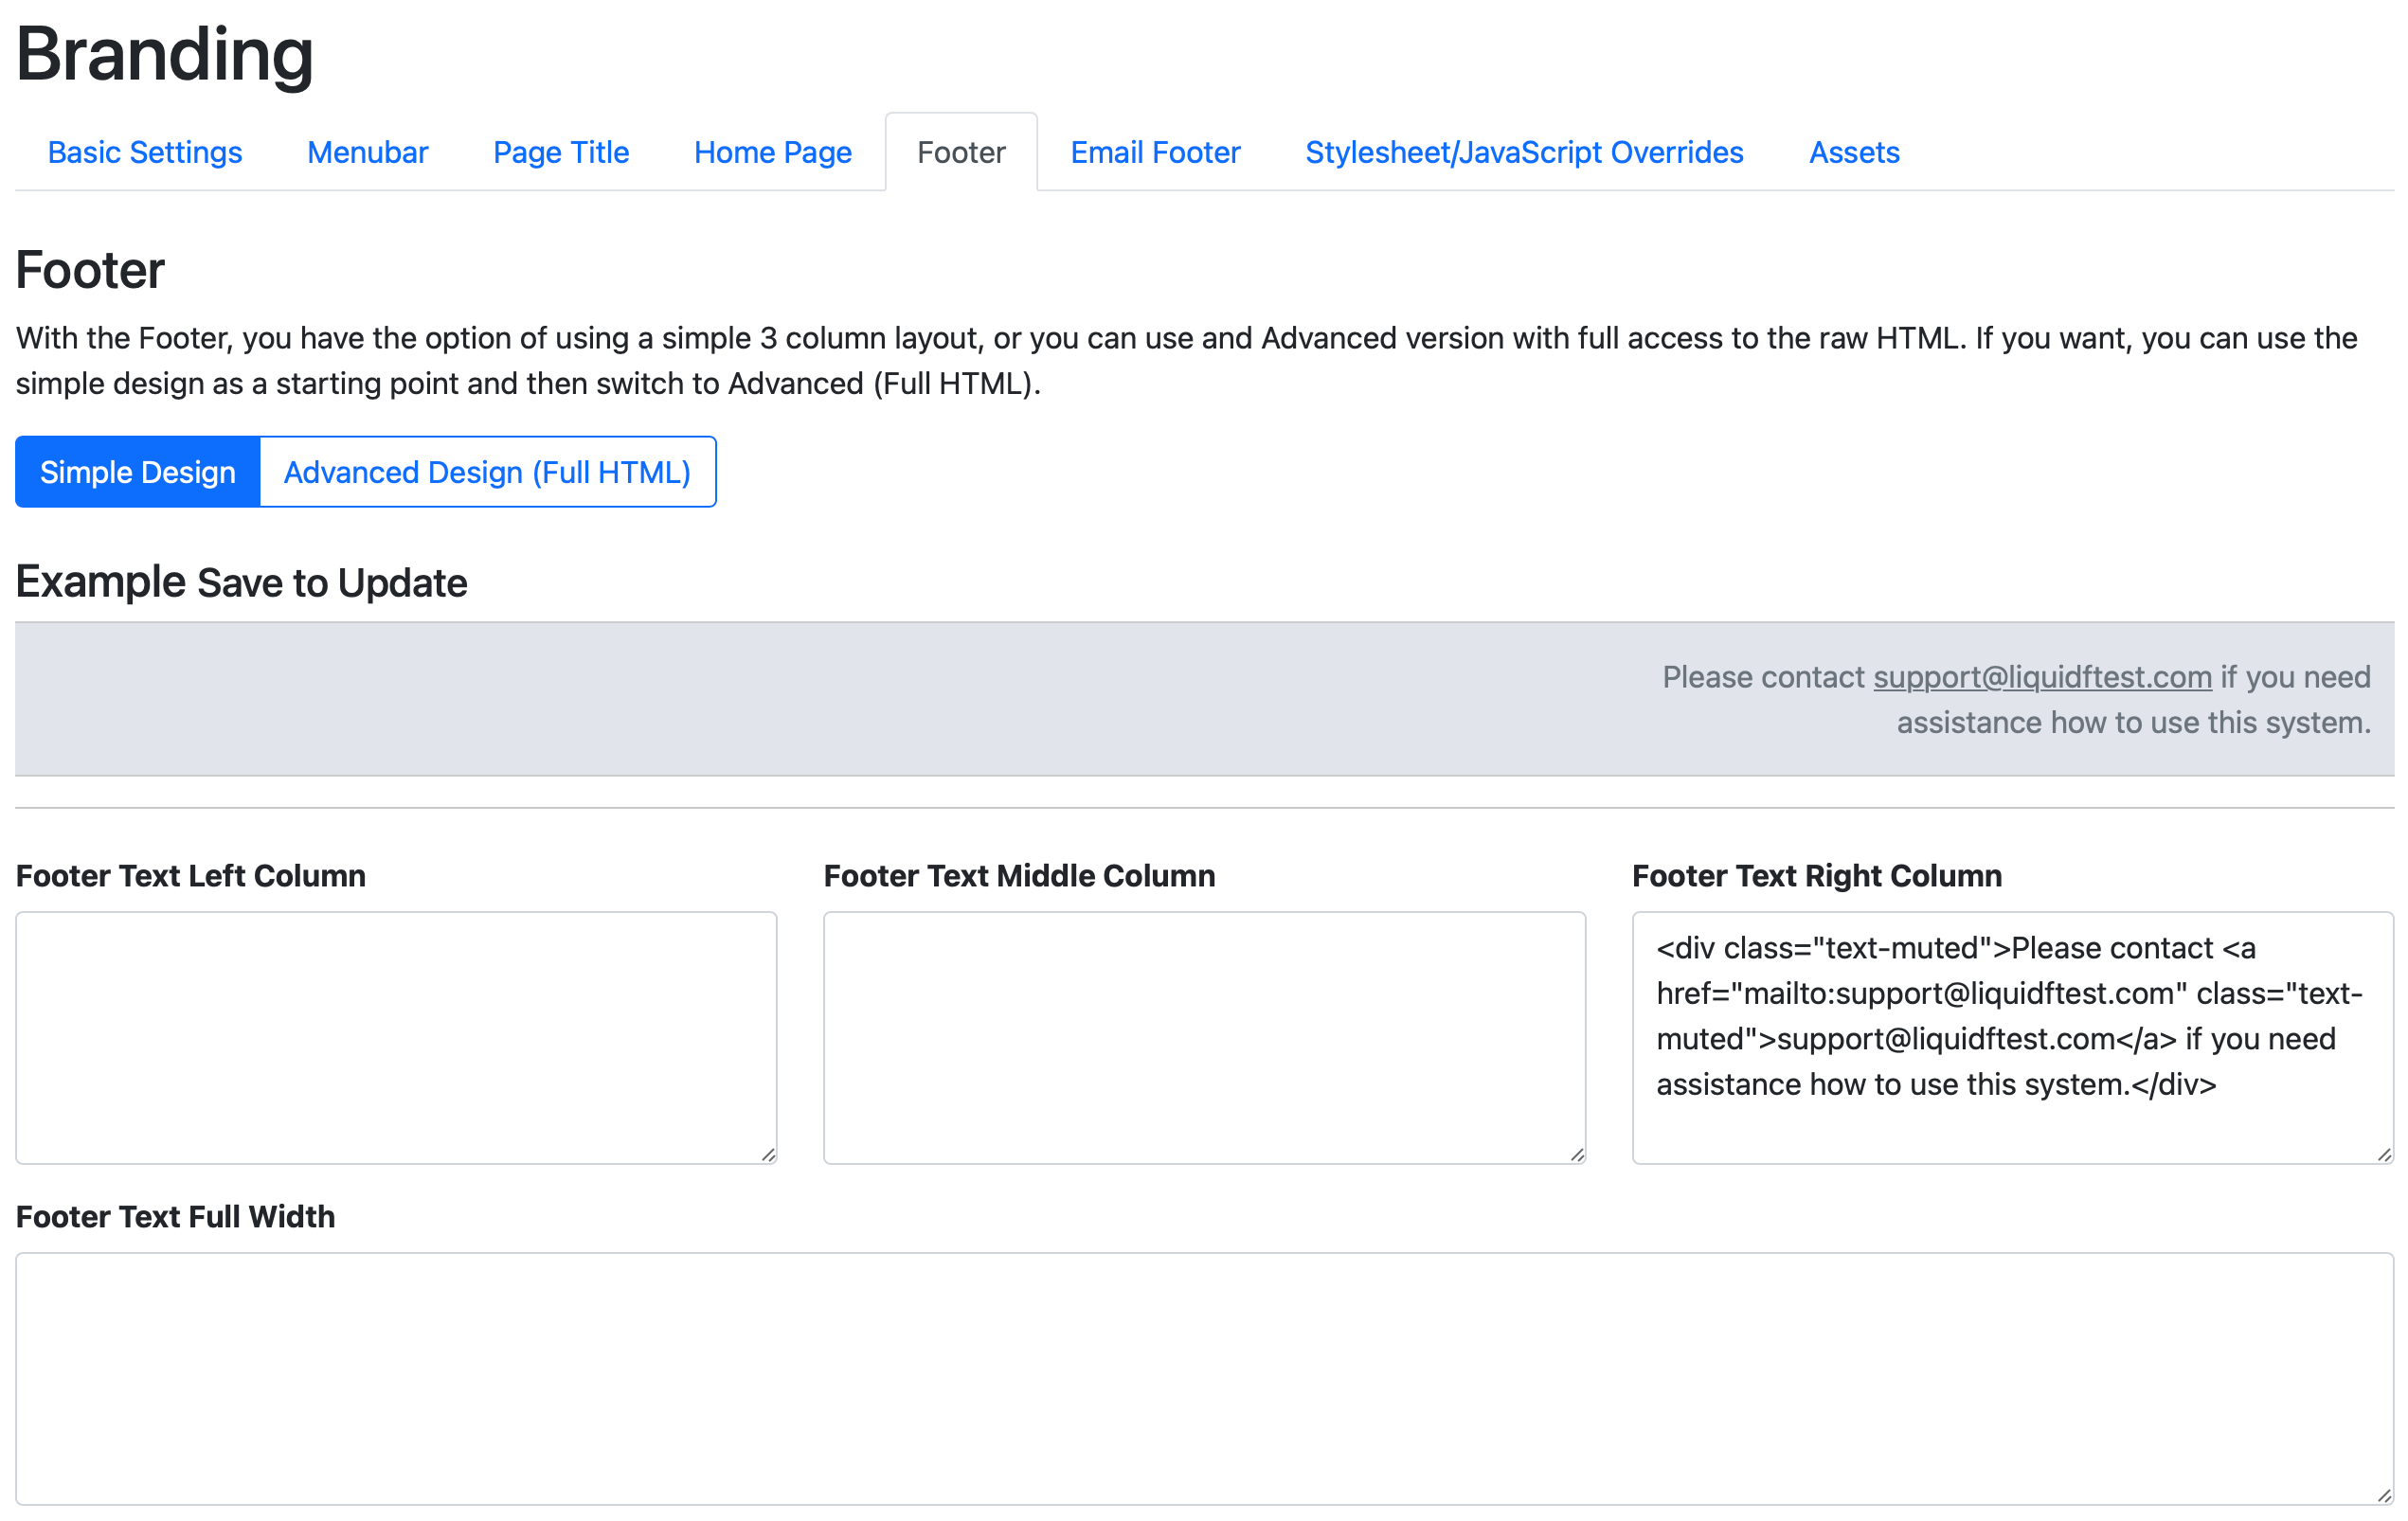
text-muted here is one of the many, many helper classes you can use from the Bootstrap library. Lets continue to the Email Footer:
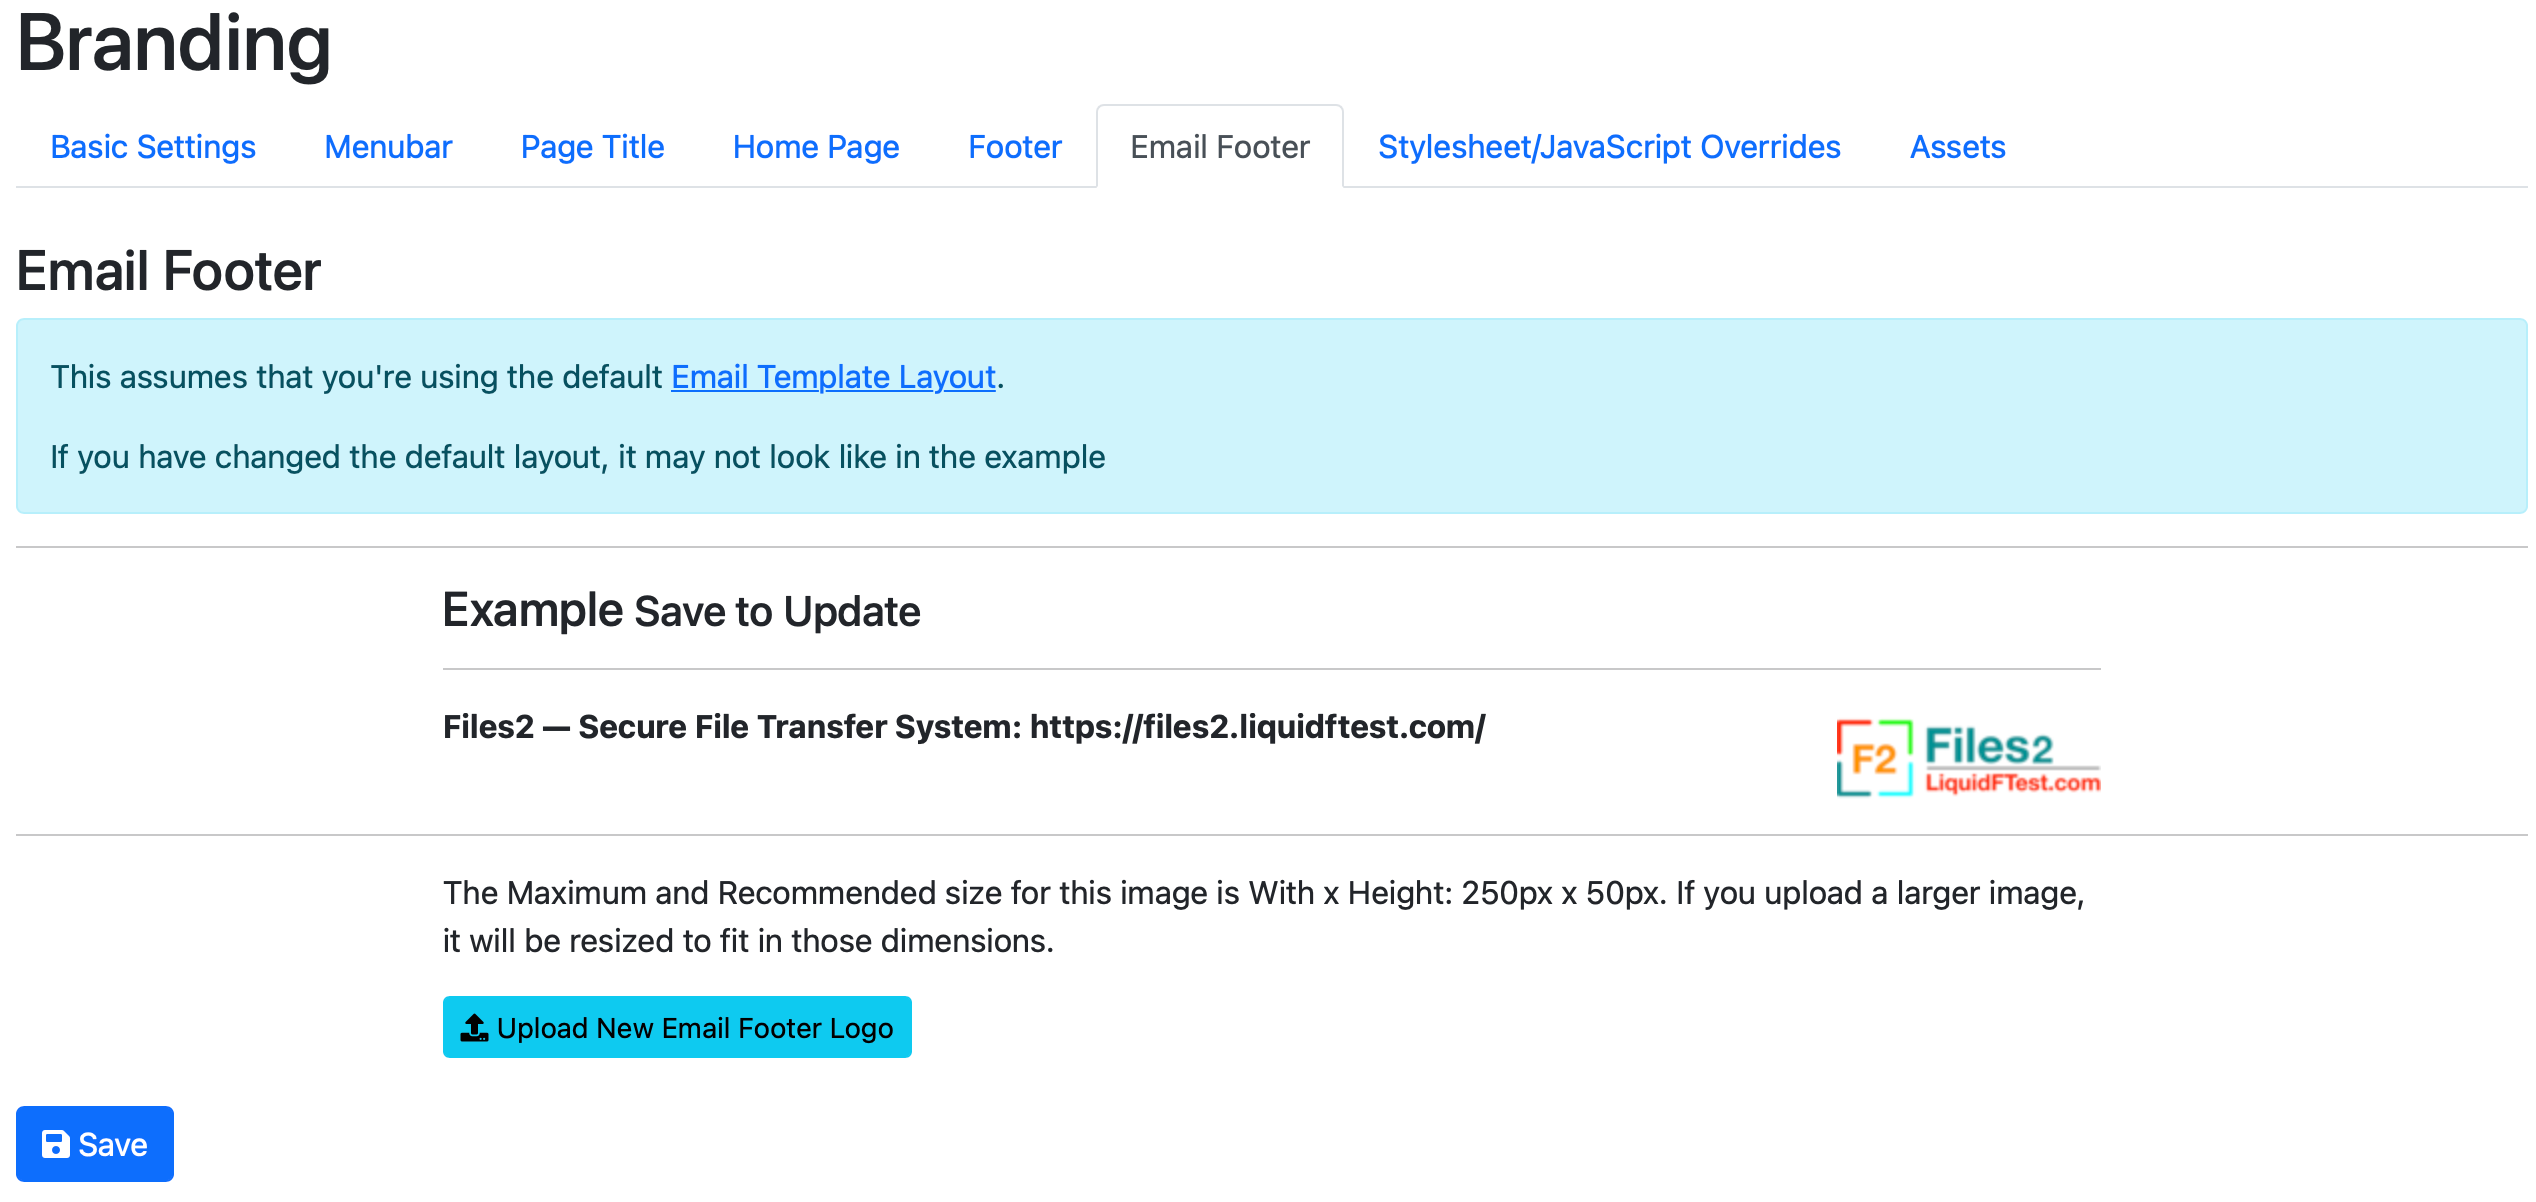
Using the Branding interface, the only thing we can change in the Email footer is the Logo, and that looks fine so we'll leave it.
Stylesheet/JavaScript Overrides is definitely not something you should be using as part of the Quickstart. If you look in the Assets tab, it has a list of all the images that's been generated from the two original logos we've uploaded.
Again, nothing to change here and with this we've completed the Branding Quickstart. If we now logout, or open a new private browser window, we can see the new home page:
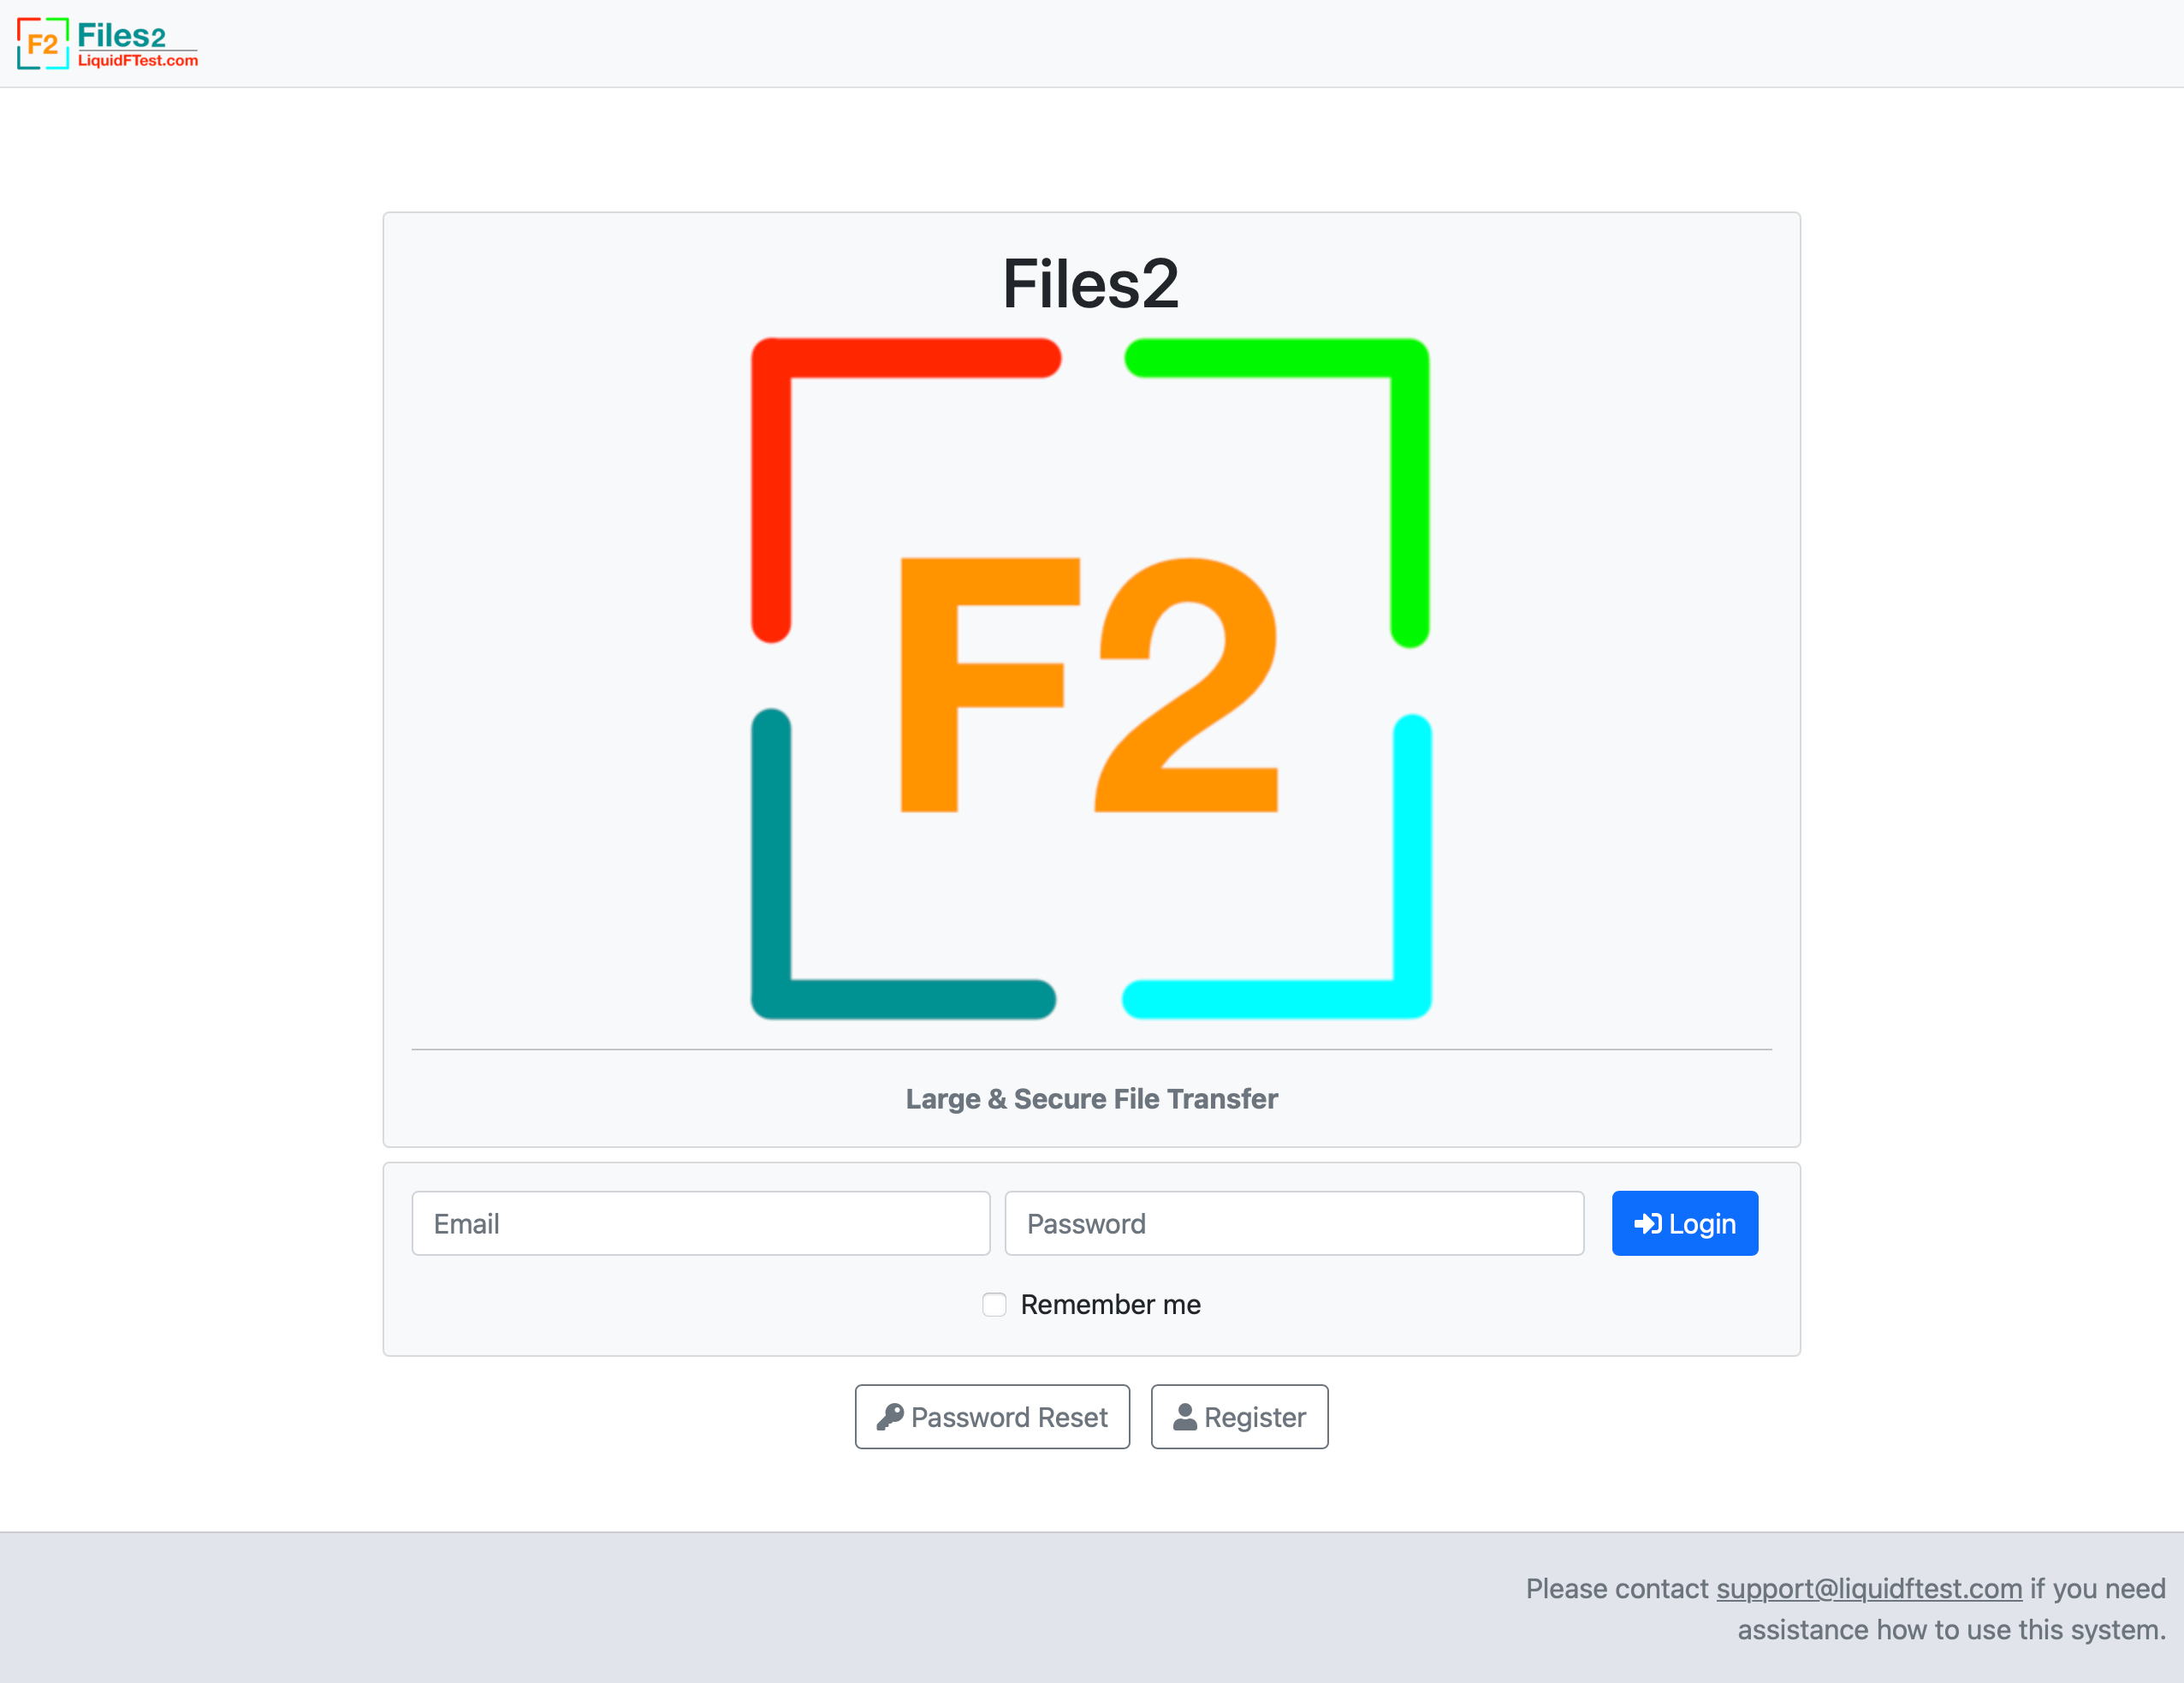
As you can see, using the branding quickstart and a minimal amount of tweaking, we know have a system that has a good basic branding for your company or organization.