Logging in to the System Console
While console login as root is permitted with LiquidFiles. That does not mean that making any changes are supported.
If you login to the console, it is assumed that you know what you are doing and are comfortable administrating Unix/Linux/Ubuntu systems.
If anything happens and you don't know how to fix it, you will likely have to re-install the LiquidFiles system to get back to a supported state.
How do I login to the console in LiquidFiles?
Every system has a console, either you have a physical system to which you connect a keyboard and monitor, or you have a virtual system where the virtual system provides the console somehow. In VMware ESX for instance, there's a console tab.

After you've clicked on the console tab (or where the console is located in your virtual system), you can click F1 to get to the login prompt.
Root password
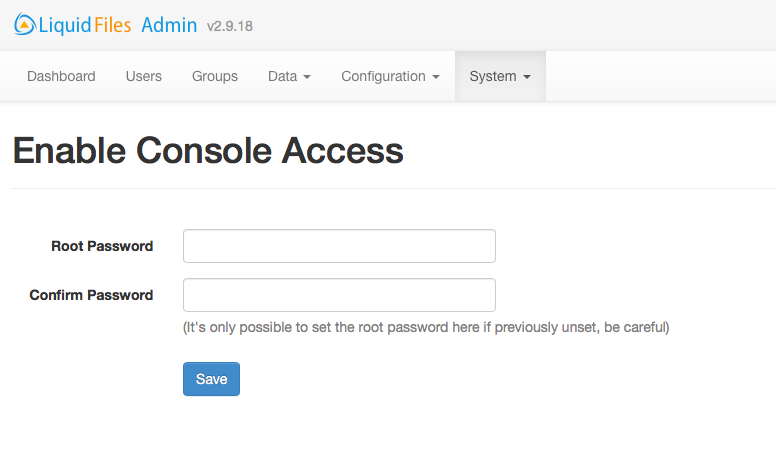
You login as the user root. There's no default root password. You set the root password in Admin → System → Console Access:
Reset Root password
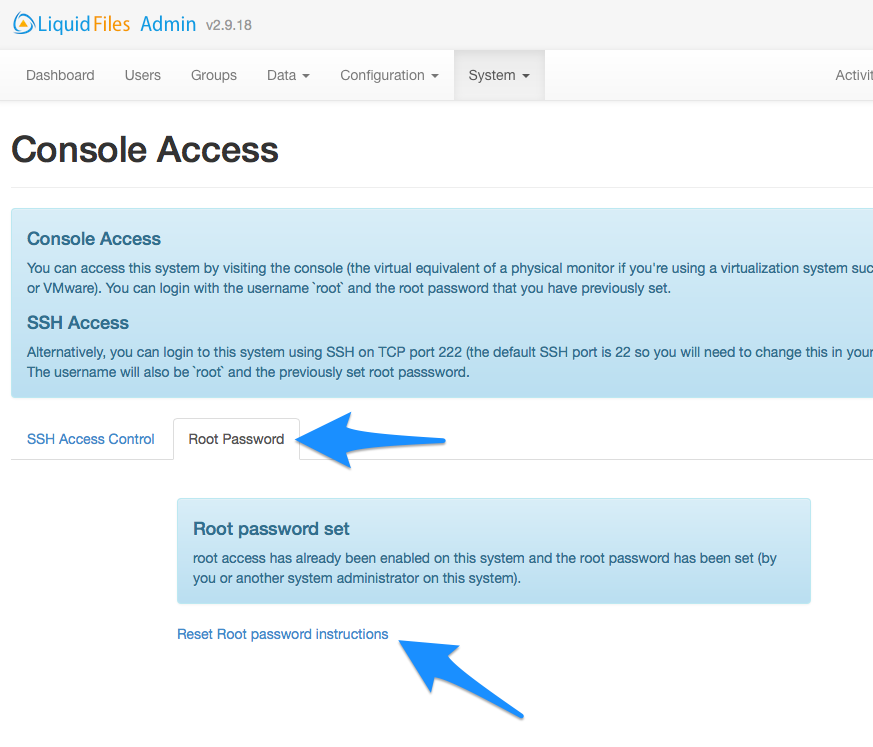
If you don't remember the root password, you need to reset it. To reset the Root Password, please go to Admin → System → Console Access. Click on the Root Password Tab and you will see the instructions there:
SSH Login
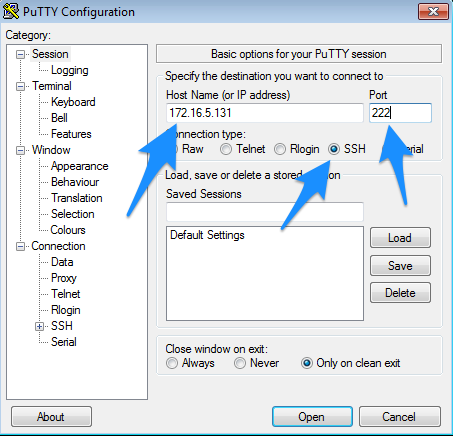
You can also use SSH with an SSH client like Putty (if you're using Windows).
When logging in, you need to enter the hostname or ip address of the LiquidFiles system, and specify TCP port 222 as per the screenshot below (LiquidFiles v2.x and earlier used TCP port 22 for SSH):
The equivalent example on a Unix/Linux system would be:
user@system% ssh -p 222 root@172.16.5.131
SSH Login with SSH keys
If you're using LiquidFiles in Amazon AWS, you will need to login to LiquidFiles using SSH keys. The last step of setting up a Linux based EC2 image is that the installer will ask you to either generate or confirm which SSH key to use. To login to the command line on a LiquidFiles EC2 instance you will need to use this SSH key.
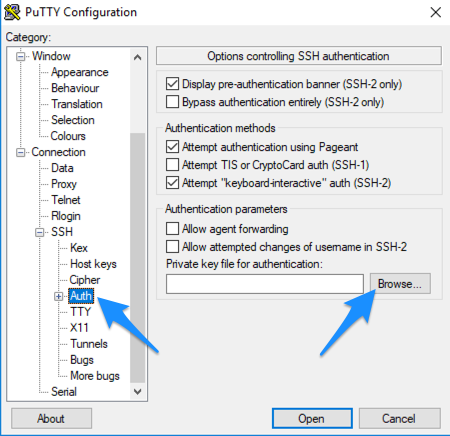
In the Windows based Putty client, you can select the SSH key to use by selecting Connection → SSH → Auth as in the screenshot below:
Depending on LiquidFiles version when you first installed LiquidFiles, the username to use when logging in is liquidfiles.
To become root (superuser), after you've logged in please run:
[liquidfiles@liquidfiles ~]$ sudo bash
The equivalent example on a Unix/Linux system would be:
user@system% ssh -p 222 -i /path/to/private_ssh_key liquidfiles@liquidfiles.mycompany.com
SSH Access Control
If you wish to limit SSH Logins to certain hosts and networks, please go to Admin → System → Console Access. You'll see the following screen:
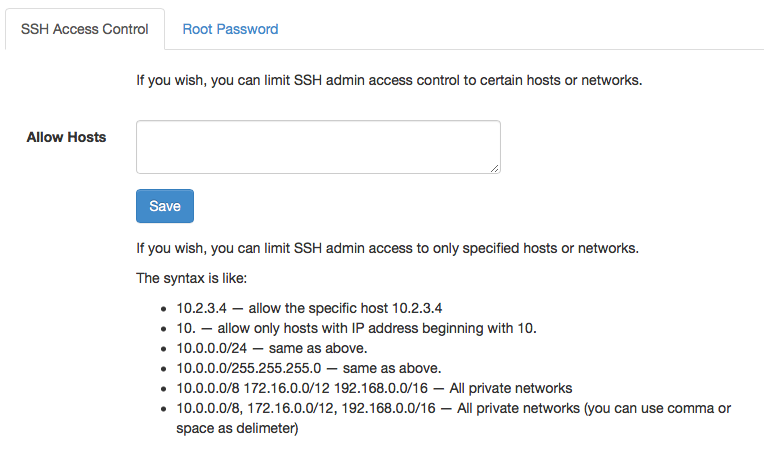
As per the screenshot, you can limit logins to this LiquidFiles system from certain hosts, ip addresses or networks. This is very useful if you have a general open network and all admin PC's on a specific network.