Digital Ocean Installation
Since LiquidFiles v3.4.9 the VirtIO drivers has been added in to the vmdk image. This allows upload the LF vmdk image to Digital Ocean cloud and create a Droplet from it directly.
Installation
This guides assumes that you've already signed up to DigitalOcean cloud. If you haven't signed up please see: https://cloud.digitalocean.com/ for more information and instructions how to sign up to DigitalOcean.
To start the installation of LiquidFiles, please go to the
LiquidFiles Download page and
download latest LF vmdk image.
Unzip the LiquidFiles-disk1.vmdk disk from the zip file to a local drive.
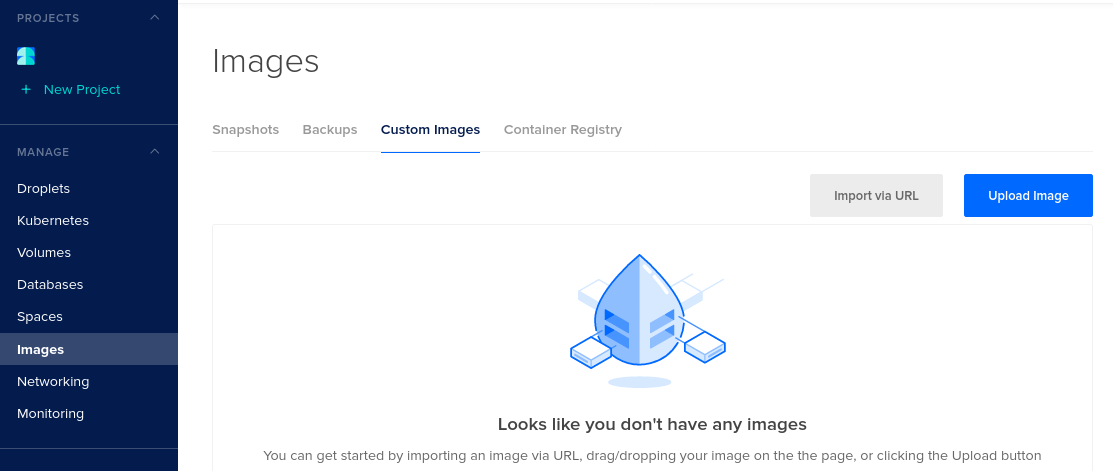
1) Image Upload
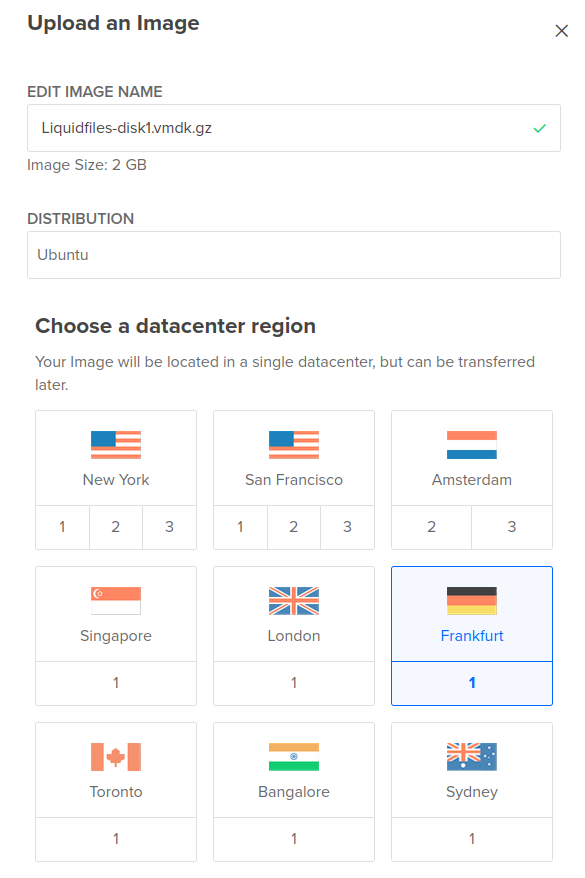
In your DigiatlOcean portal click on Upload Image under Images --> Custom Images tab and pick up the unzipped vmdk drive.
When asked, select Ubuntu as the distribution and datacenter in a region you prefer the image should be uploaded.
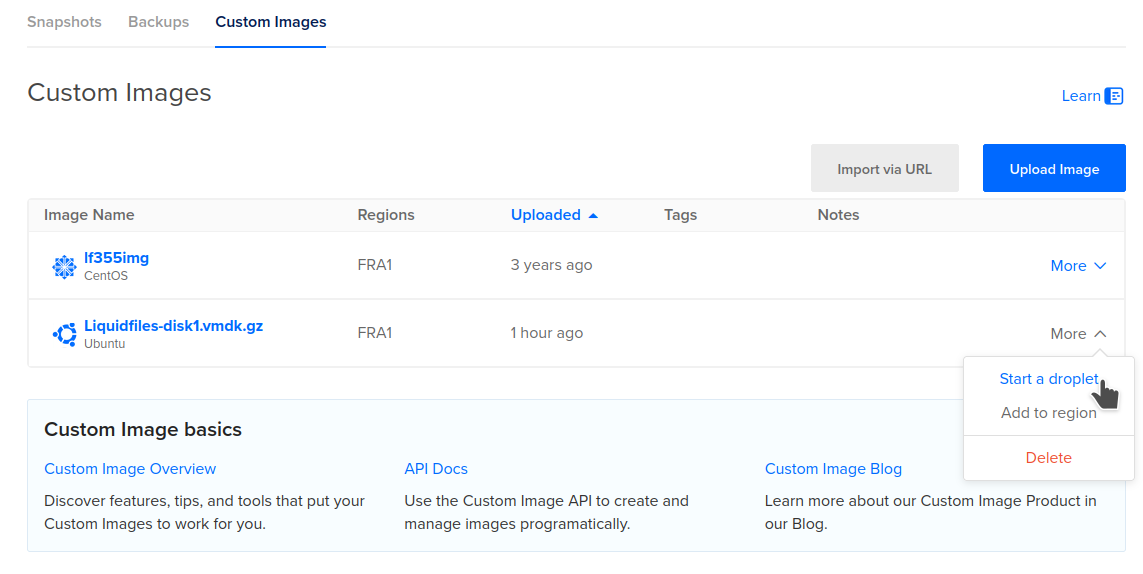
2) Create Droplet
When the image is completely uploaded, click on Start a Droplet under the More tab in the Custom images settings.
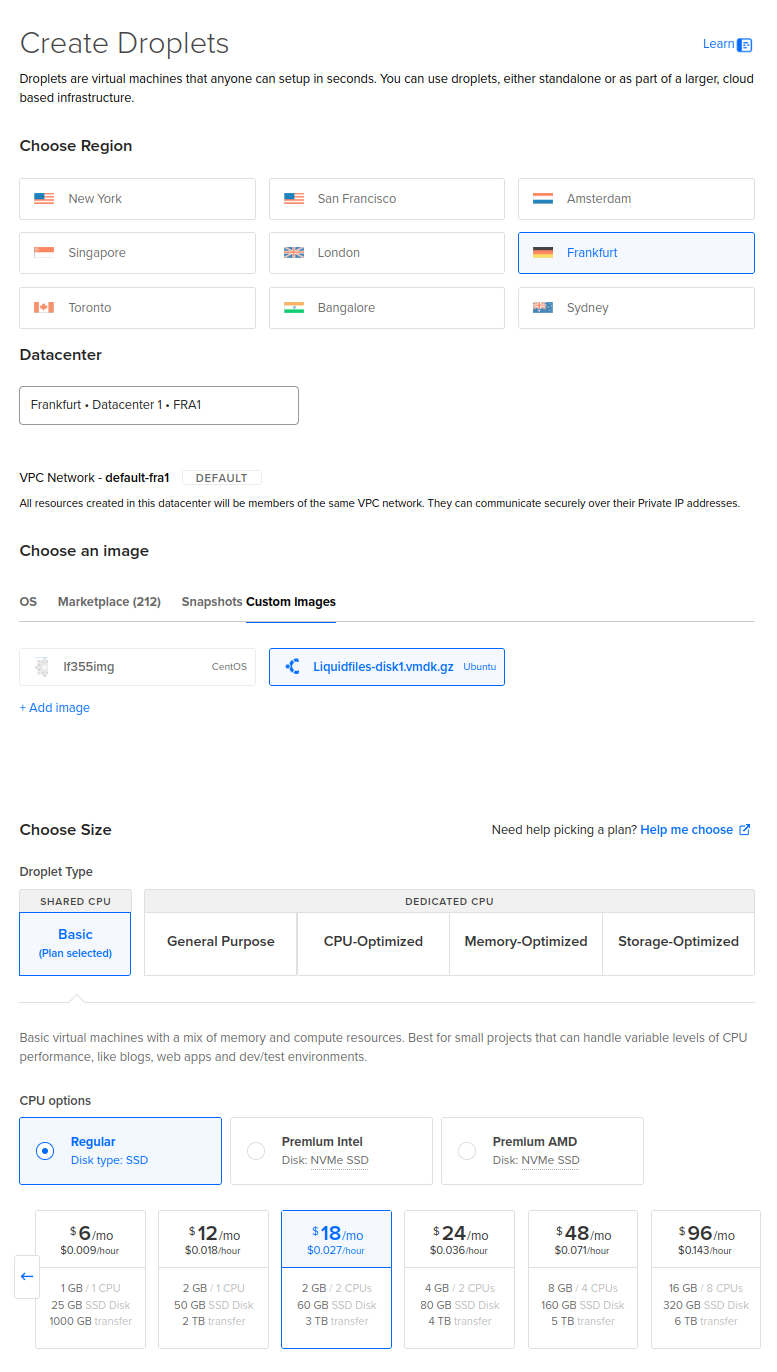
Select a datacenter region where the droplet will be running.
Choose a plan for your LF droplet. It should be selected at least the Basic plan with 1CPU or 2CPUs and 2GB RAM.
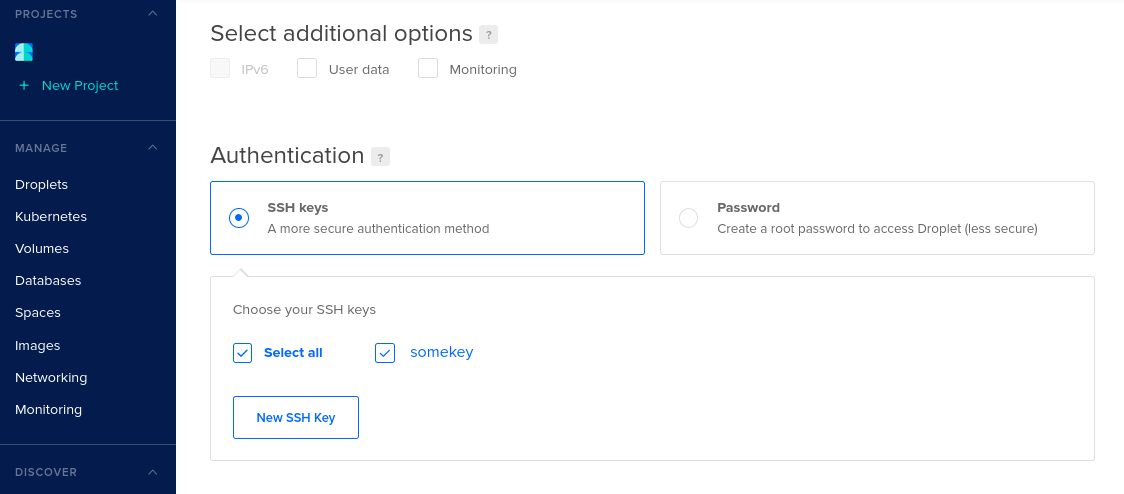
To be able save and create the droplet it's required to assign some SSH key. In Authentication section create a new or select an existing SSH key from your list.
When all was set click on the Create Droplet button.
After several minutes the droplet will be created with assigned public IP address.
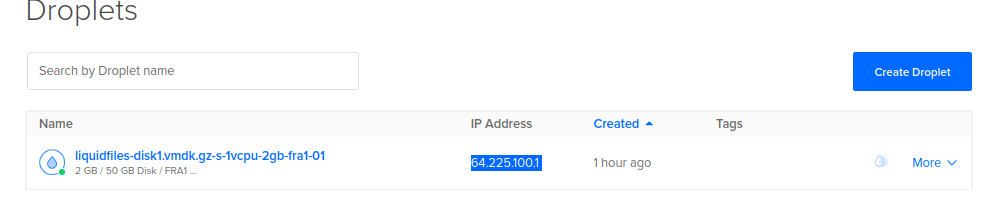
Please type that IP address in your browser. When the LiquidFiles web server is up and running continue with the configuration on the Getting Started page.