LiquidFiles Documentation

VMware ESX Installation

The following installation goes through the step by step procedure when installing LiquidFiles on VMware ESXi.

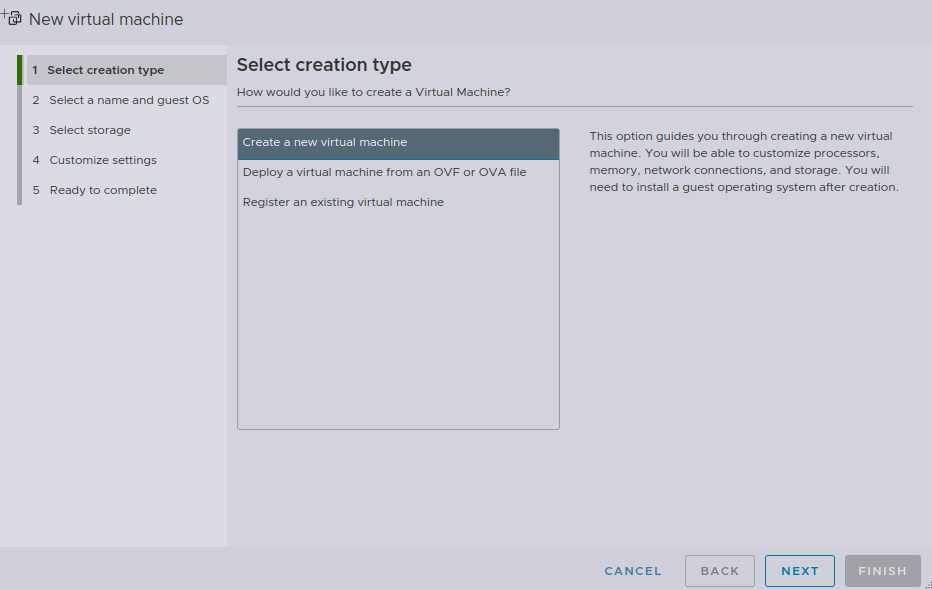
First, select to create a new virtual system.
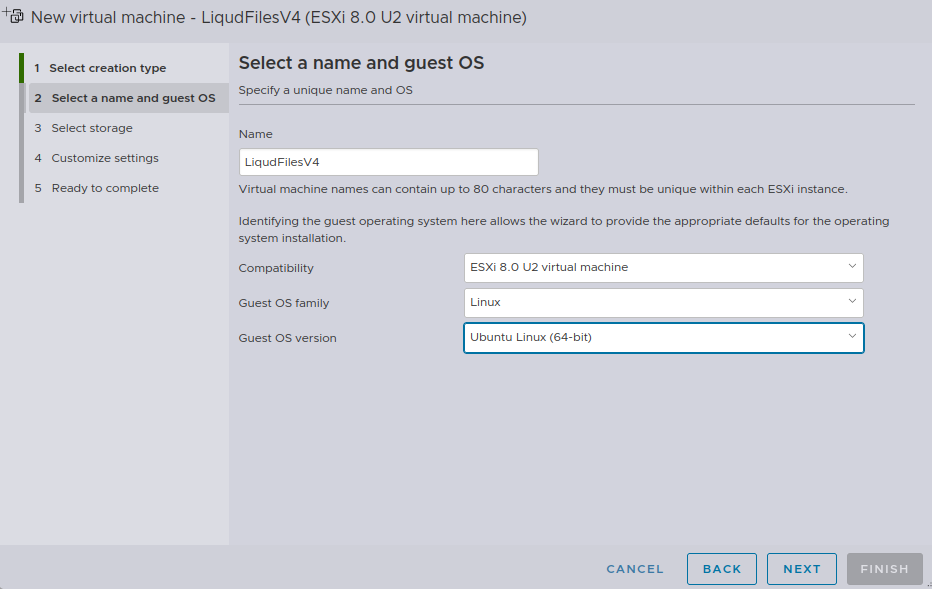
images/install/esx_install_01.png

Give a meaningful name.

images/install/esx_install_02.png

Select Datastore

images/install/esx_install_03.png

This is the critical bit, please make sure you select Linux and CentOS7 64bit, or as close as you can, and definitely a 64bit Linux platform.

images/install/esx_install_04_new.png

Network Configuration

images/install/esx_install_05_new.png

Disk configuration, please select as much disk as you need. Thick provisioning allocates all space now and gives better performance, thin provisioning grows the VMware disk as more data gets added but not as good performance as thick provisioning.

images/install/esx_install_06.png

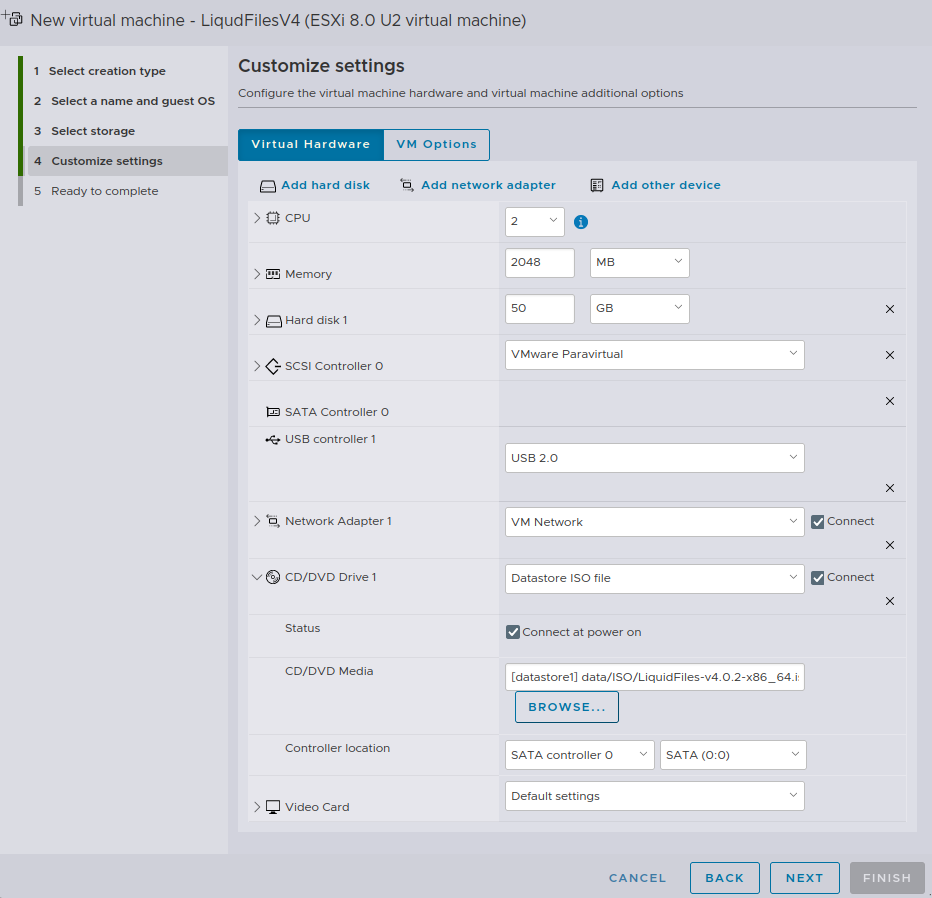
Adjust parameters as below, 2 GB RAM and 1 CPU will work fine in most cases. You can add more CPU but adding lots more RAM is not going to increase performance.

images/install/esx_install_07_new.png

Select the ISO image to install the system from.
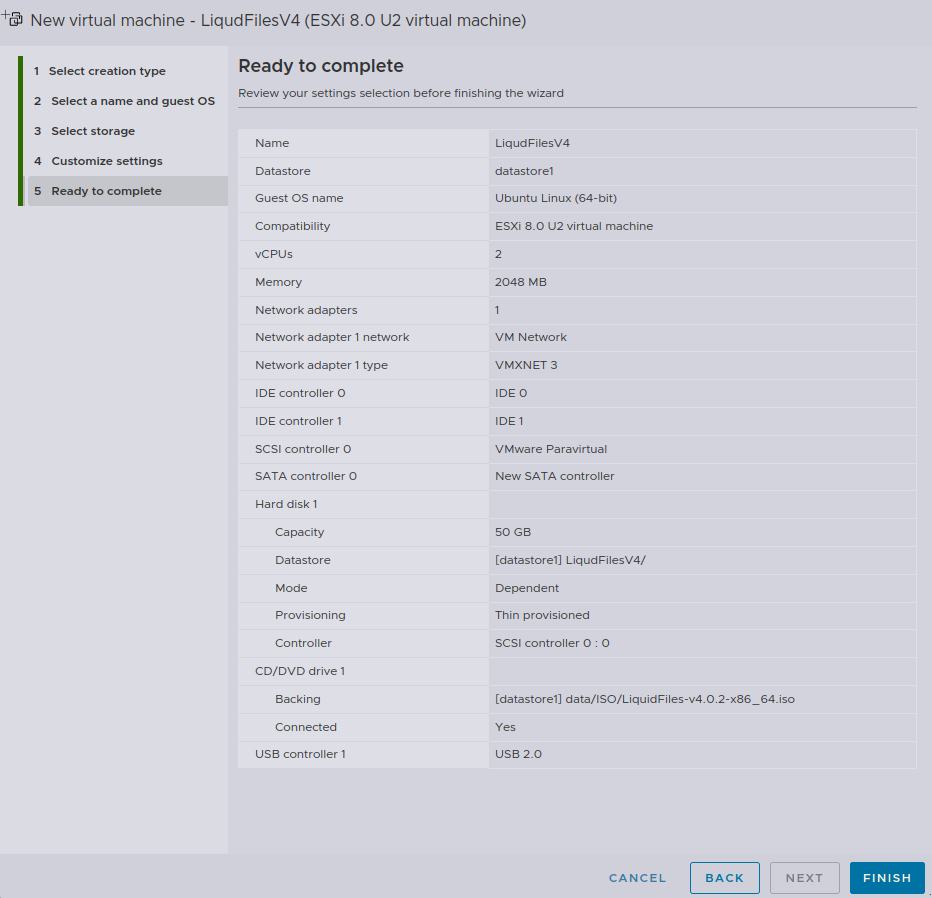
images/install/esx_install_09_new.png

Ready to start the system:

images/install/esx_install_10_new.png

ISO Installation

Please click on the Console, you will see this boot screen

images/install/esx_install_11_new.png

The next step is to acknowledge the warning that the disk will be erased.

images/install/esx_install_12_new.png

The installation will then commence and take a couple of minutes, depending on system speed. It will automatically reboot when finished.

images/install/esx_install_13_new.png

When the system has been installed, you will see something like this on the console.

images/install/esx_install_14_new.png

LiquidFiles is now installed and you can point your browser to the ip address listed on the screen to continue with the getting started configuration.

Please continue on the Getting Started page.