ISO Installation
This ISO installation guide is specifically if you want to install LiquidFiles on a physical server.
The first step after you've downloaded the ISO image is either mount it to your virtual CD/DVD drive in your VM or if you have a physical server mount the ISO image through IPMI, Drac or ILO card and boot the system. Or alternatively if you don't have any management card burn the ISO image to a DVD-rom using your favorite burning software. Then insert the DVD on the physical server and boot the system using the DVD.
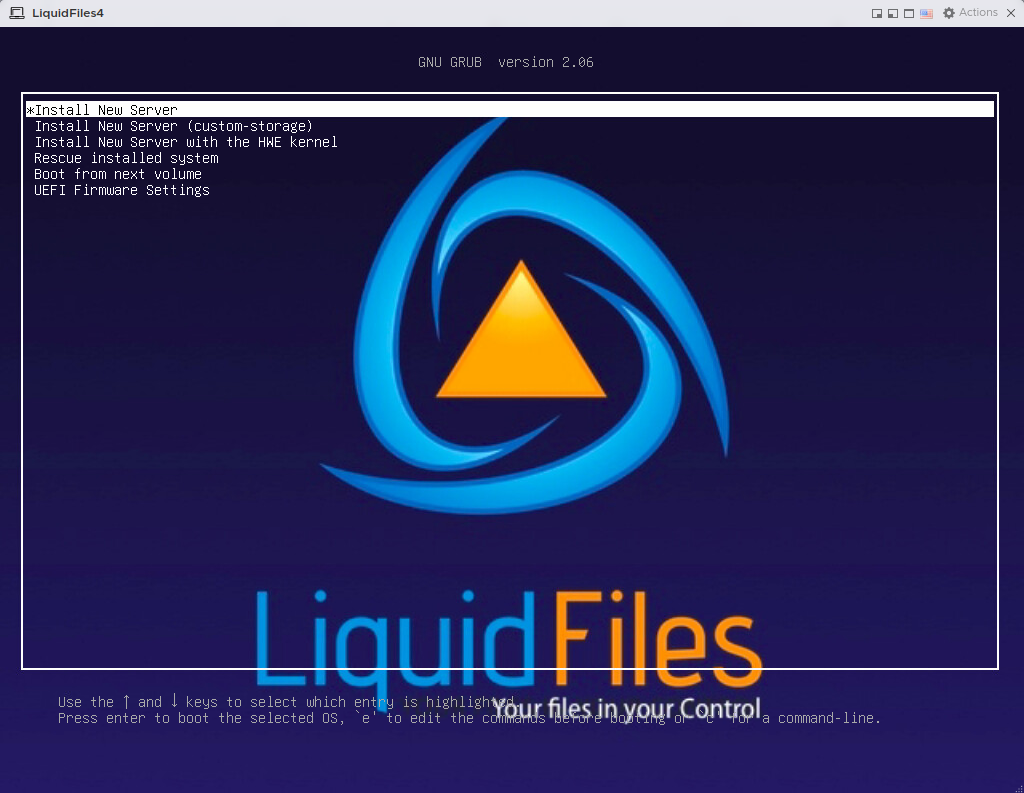
When the system boots, you will see this boot screen. Please select to Install New Server.
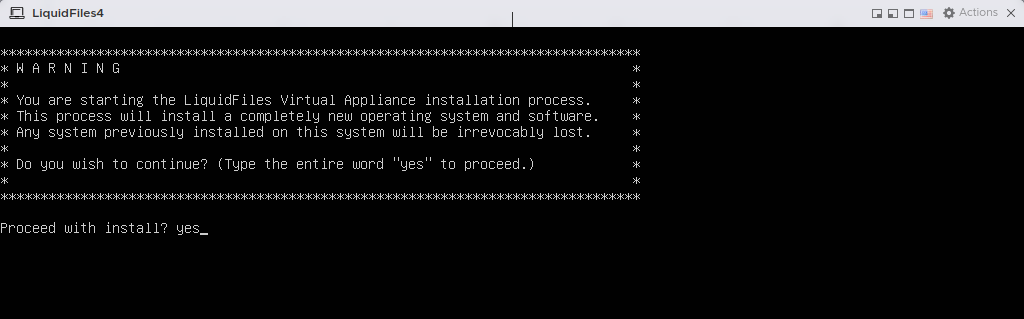
The next step is to agree to continue the installation.
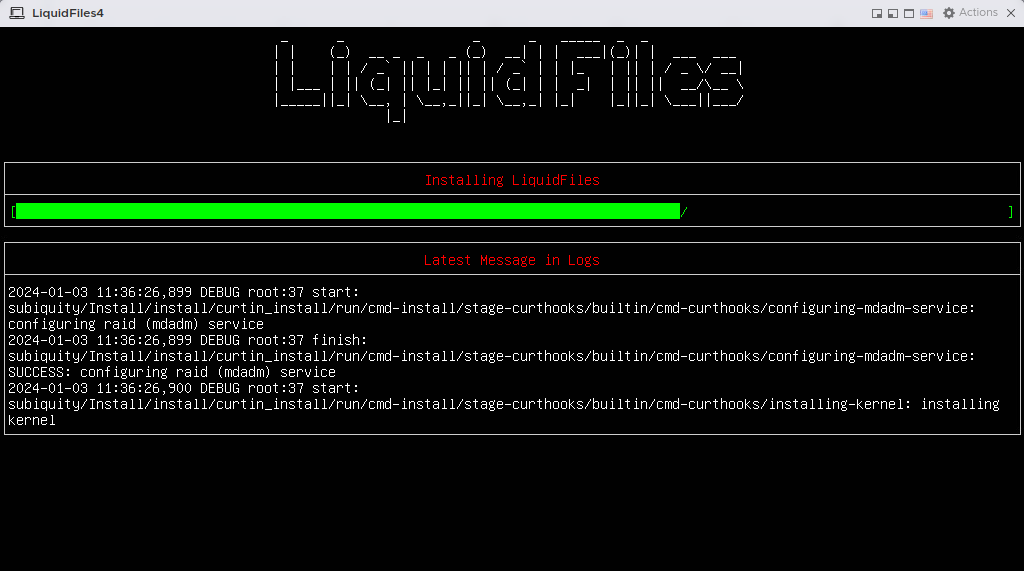
The installation will then commence and take a couple of minutes, depending on system speed. It will automatically reboot when finished.
When the system has been installed, you will see something like this on the console.
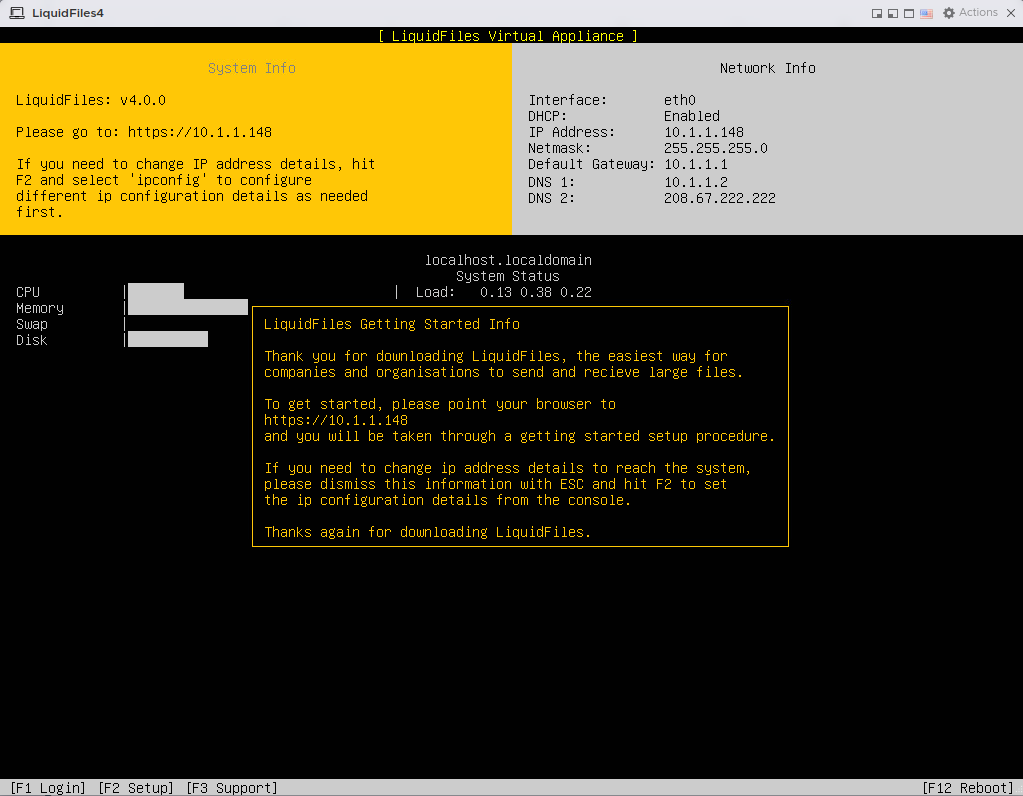
LiquidFiles is now installed and you can point your browser to the ip address listed on the screen to continue with the getting started configuration.