Microsoft Azure Installation LF v4.x.x (Ubuntu based)
In the Microsoft Azure Cloud, it's possible to launch a pre-configured LiquidFiles Virtual Appliance. Microsoft has several data centres across the globe. LiquidFiles is available in all Azure data centres.
Installation
This guides assumes that you've already signed up to Microsoft Azure. If you haven't signed up to Microsoft Azure, please see: https://azure.microsoft.com/ for more information and instructions how to sign up to Microsoft Azure.
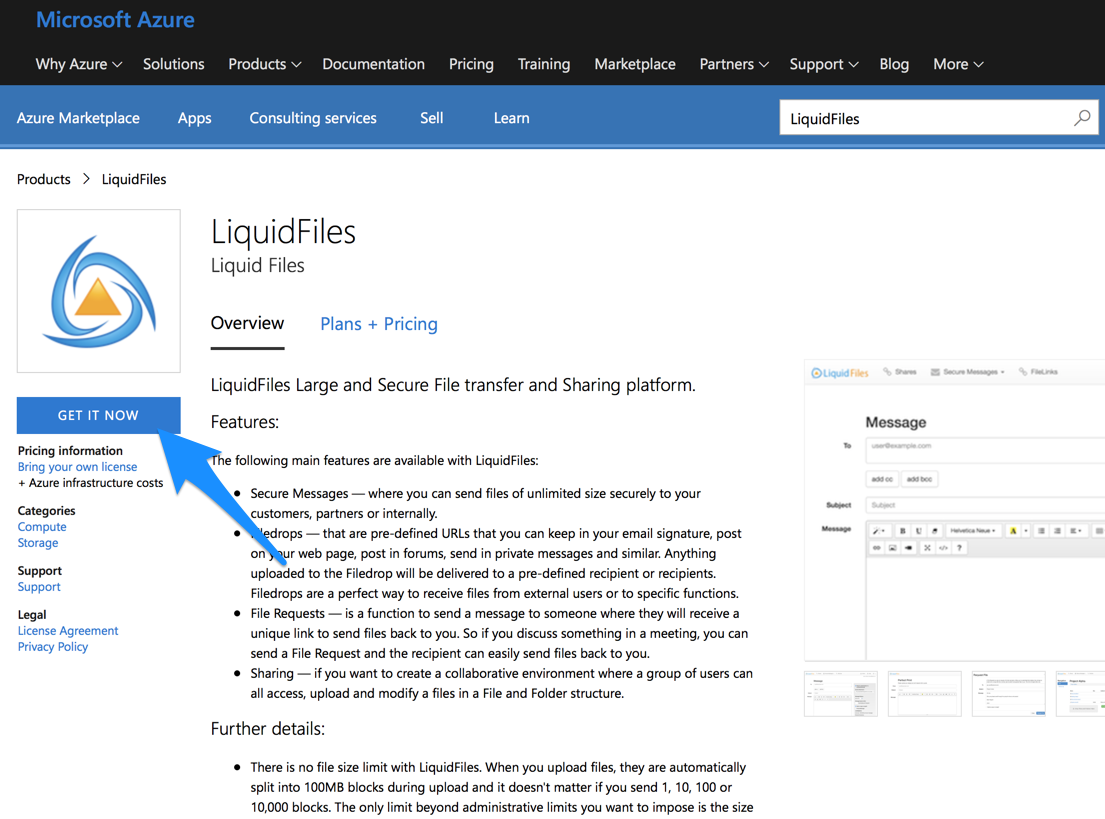
To start the installation of LiquidFiles into Microsoft Azure, please go to the LiquidFiles Azure Marketplace page and select "Get it Now". You can also search for "LiquidFiles" where you create Virtual Machines inside the Microsoft Azure Console.
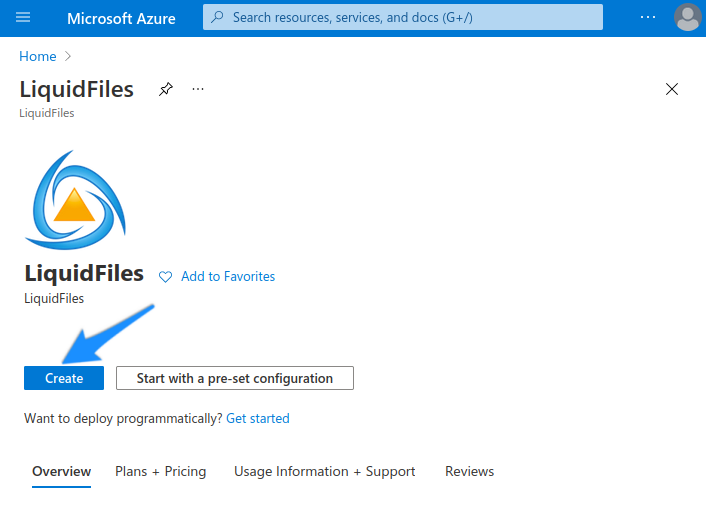
In the Azure Console click on the Create button to start with the deployment of new LiquidFiles Virtual Machine.
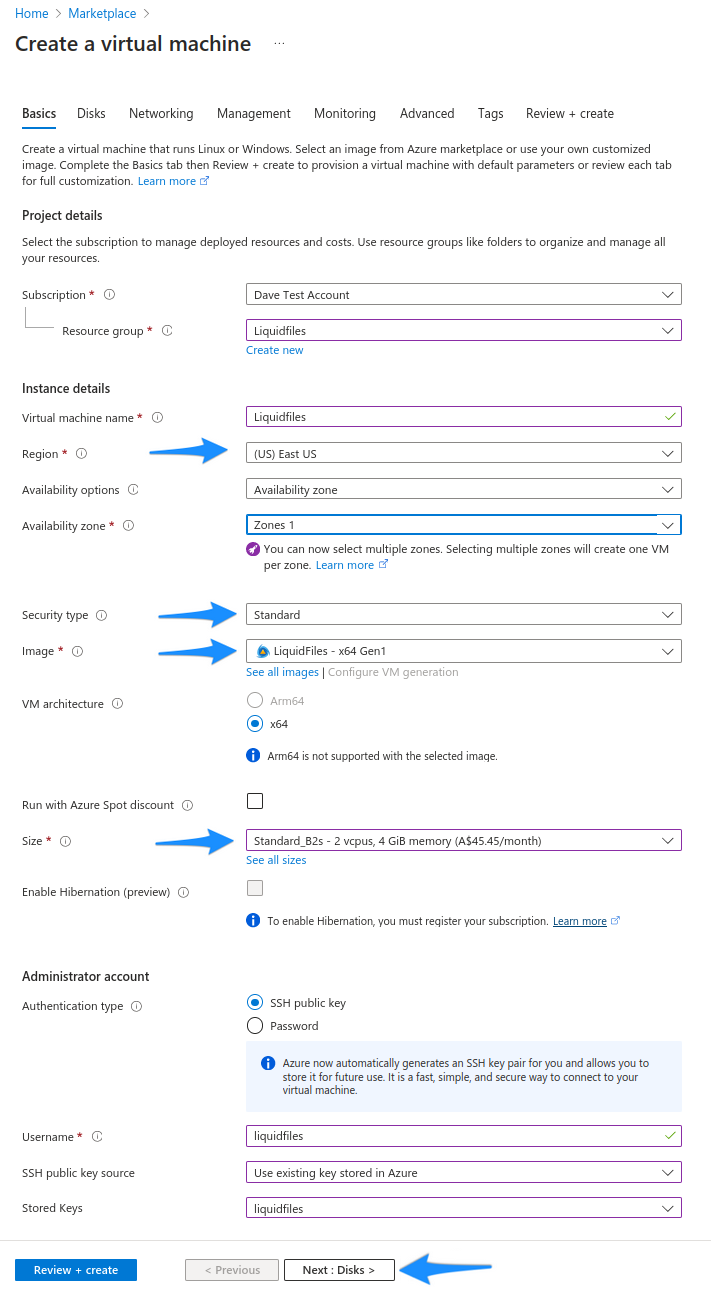
In the Basics Configuration Options you need to select Region where you want to Launch LiquidFiles and VM size. LiquidFiles is best suited for the General Purpose deployment options. You can select the A1_v2 or B2s VM sizes for smaller machines. The A2_v2 or higher VM sizes for unlimited user licenses should be selected. The Security Type option should be switched to Standard.
In the Disks Configuration Options, the preferred choice is the Premium SSD or Standard SSD drive. The disk size can be increased when needed. The default size is 30GB.
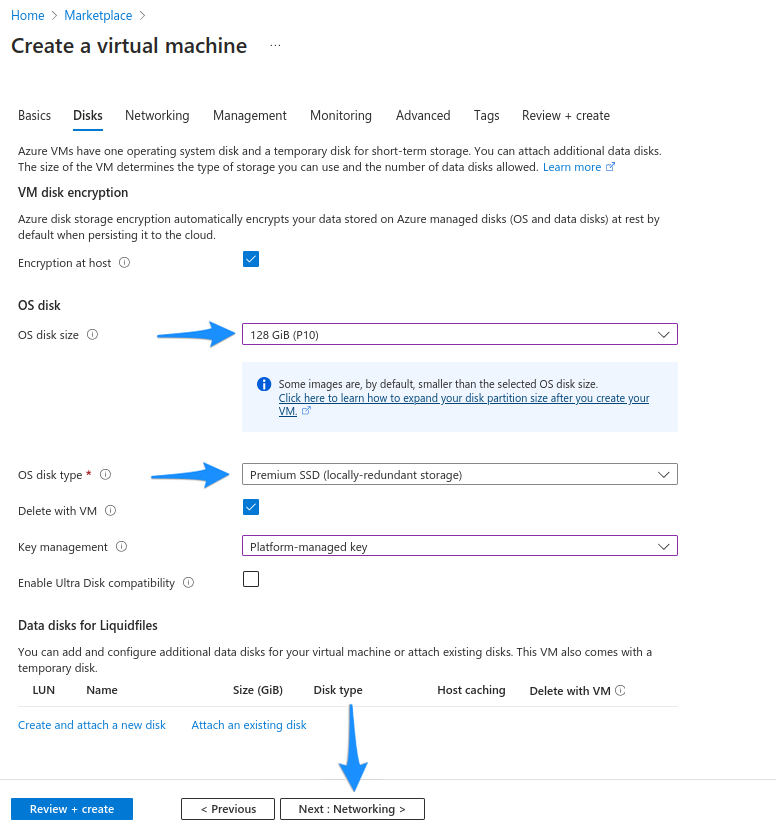
If you already have an existing Azure virtual infrastructure set up, feel free to adjust these parameters to match. The default values work well if you don't have a strong opion about any of these settings. Also, you will need to adjust the Firewall configuration if you want to enable FTPdrops or FTPdirs with LiquidFiles. Please see the Firewall Configuration Guide for a list of network ports LiquidFiles requires for more than the basic functionality.

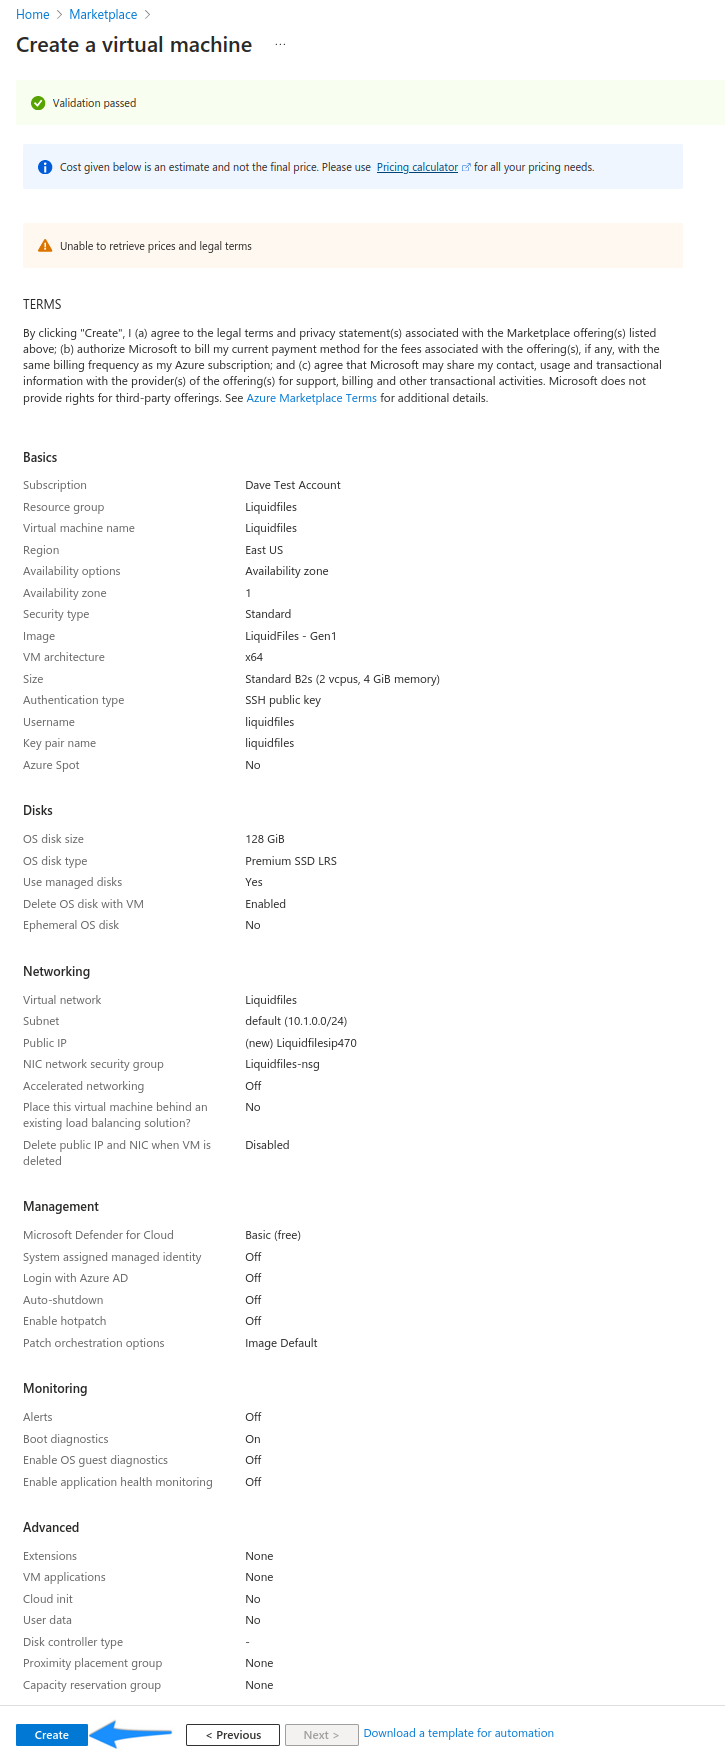
Final confirmation before the LiquidFiles virtual appliance is created.
When your deployment is completed continue to the VM resource page.
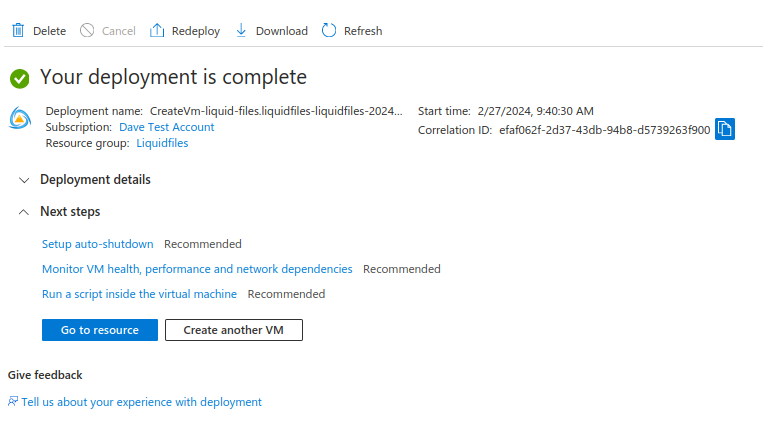
Find its assigned public IP address and continue on the Getting Started page.