Getting Started
This guide assumes that you have already installed the LiquidFiles system onto your system to the point where you have booted it for the first time. If you haven't, please begin by starting at the beginning of the installation instructions.
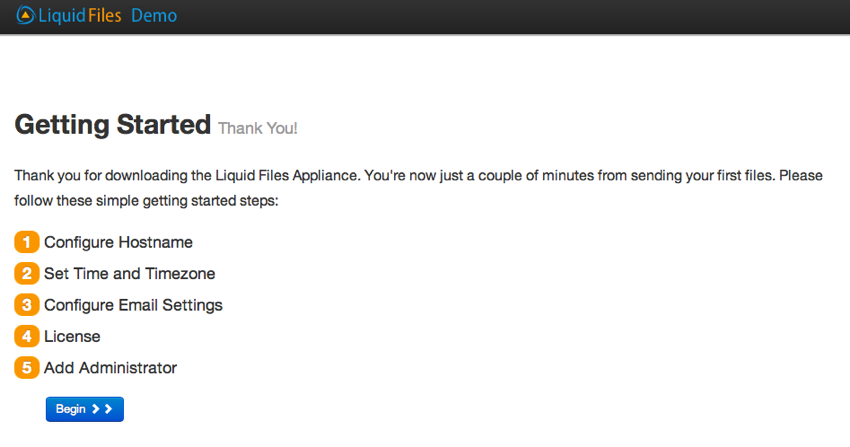
The first screen you will see is this:
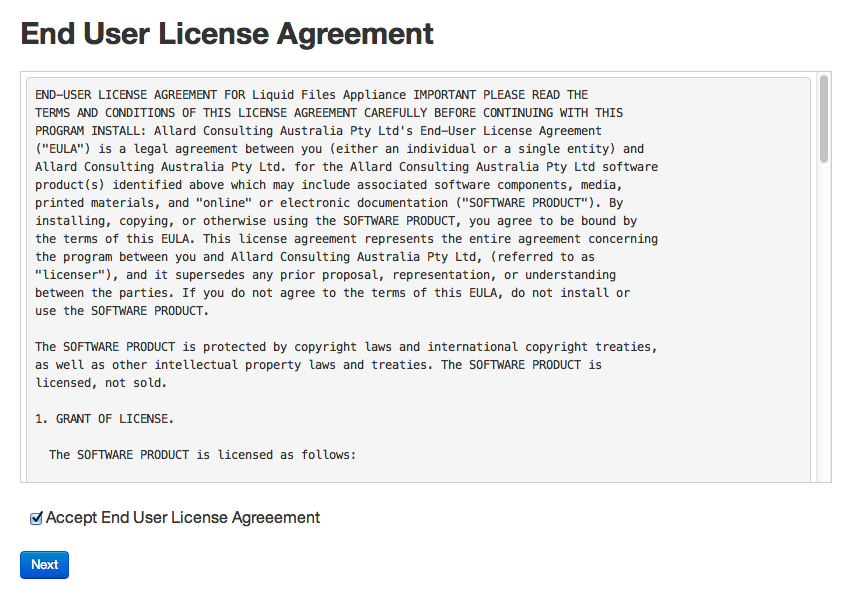
Please read and accept the EULA:
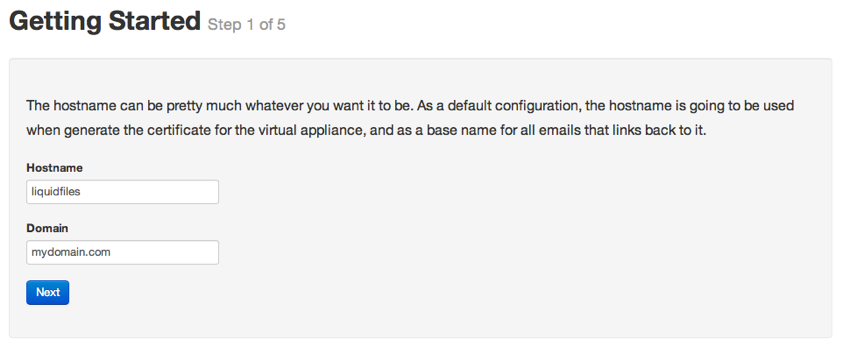
The first real configuration is to set the hostname. The best hostname is what you want to URL to be when sending the files. I.e. if you want the URL to be something like: https://send.company.com, please set 'send' as hostname and 'company.com' as the domain.
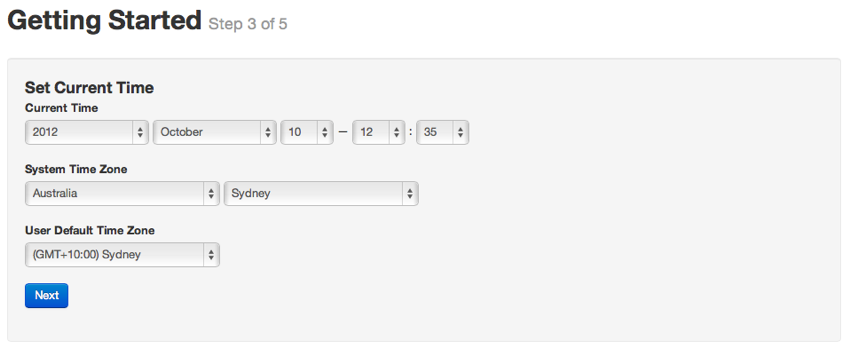
Set the time and Timezone to what's accurate. Most of the time the System Time Zone and User Default Time Zone is going to be the same, but could be different if the system is installed in the US but most users reside in Europe, or similar situations.
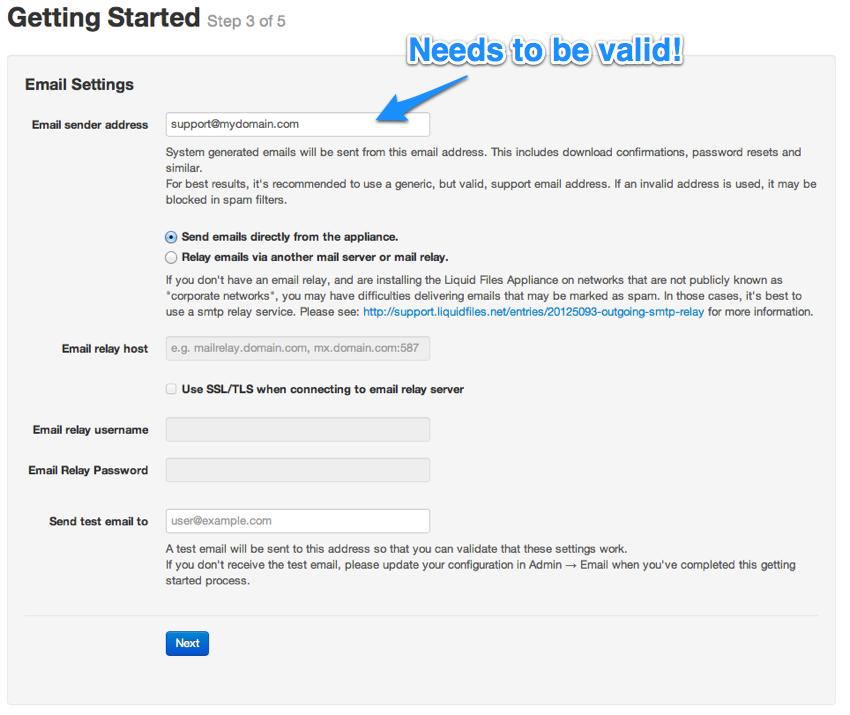
Please make sure that you set the Email sender address to a valid address. This is the address used for things like password resets, download notifications and similar. If you set a fake address, these emails are sure to be classified as spam.
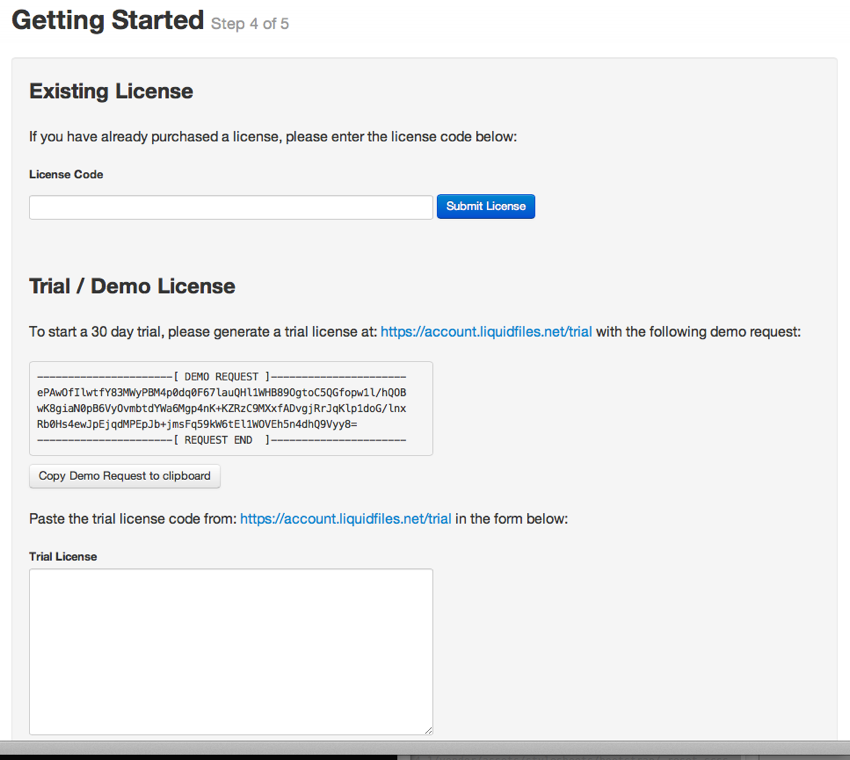
The next step is to install a license. If you already have a license, please enter that in the top section. If you want to request a trial license, please copy the Demo Request to the clipboard and click on the link to the account site. In this guide, we assume you want to install a trial license.
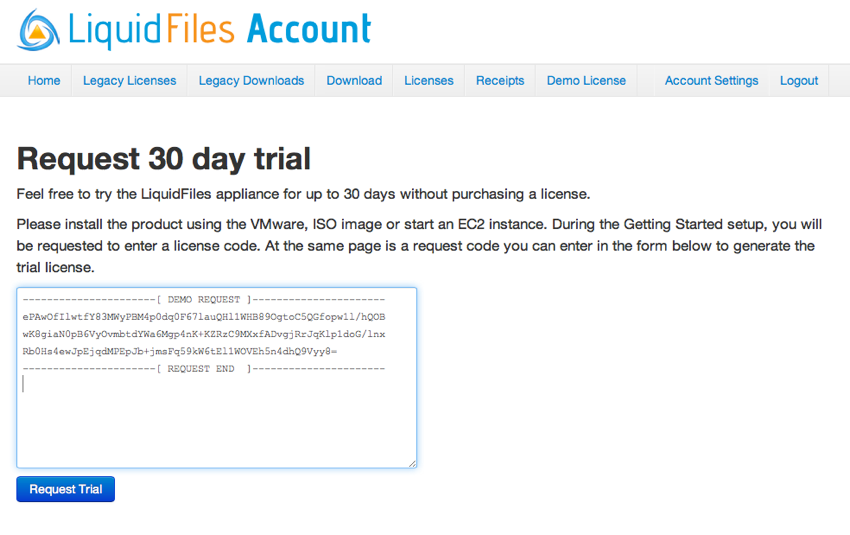
On the account site, paste the license key and click "Request Trial"
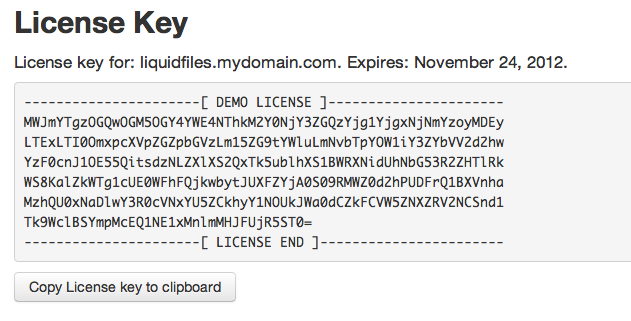
When the license key has been generated, copy it to the clipboard and head back to the LiquidFiles server.
Paste the license key and click "Submit Trial License".

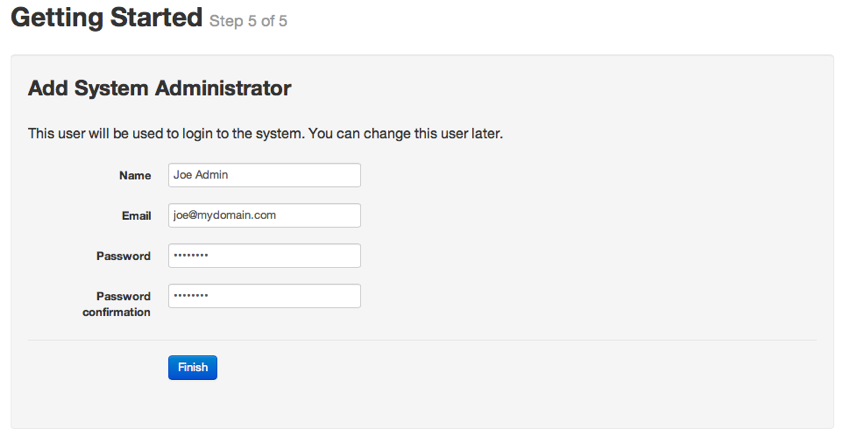
Final Getting Started step is to create the administrator account.
When that's completed you'll be redirected back to the home page of the LiquidFiles installation. Login with the account details you just created.
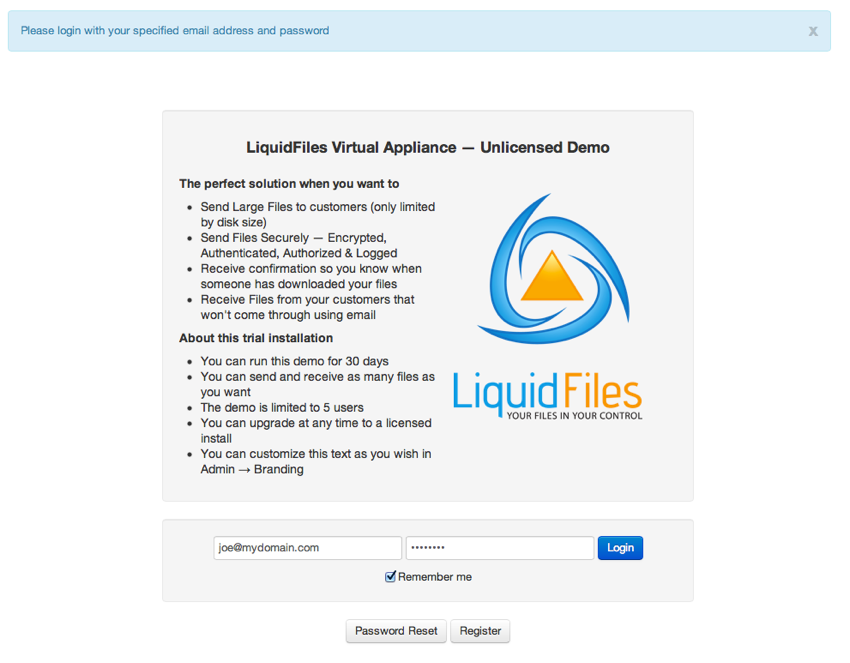
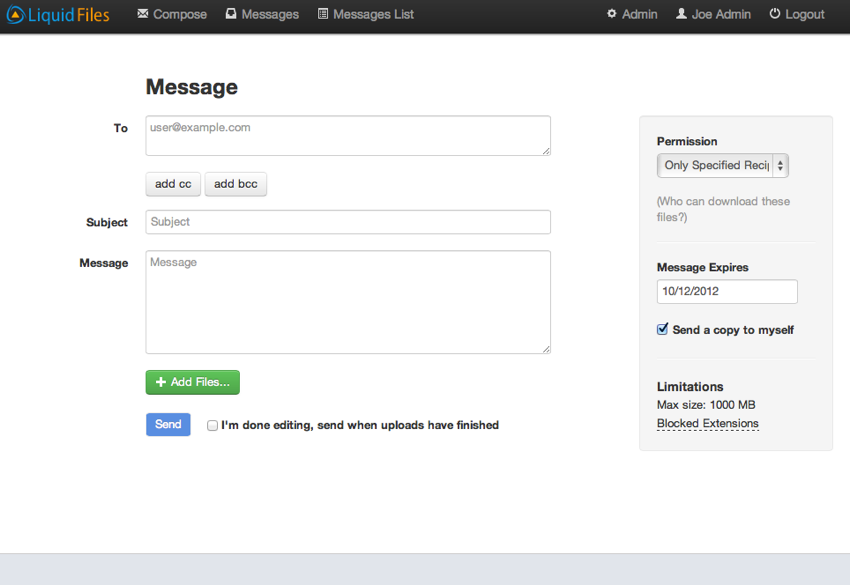
And now you've logged in and can continue the configuration in the Admin section, or start sending files.
That concludes the Getting Started guide. You have now successfully installed and performed the initial setup of the system.